How To Get A Bundt Cake Out Of The Pan In One Piece
The bundt as we know it today is a fairly young creation, only dating back to the late 1940s. Round cakes with holes in the middle have been around for a long time, such as European Bundkuchens, German for gathering cake. In Minnesota in 1949, a group of women from the Minneapolis Hadassa approached the then up-and-coming chemical engineer and aluminum pan manufacturer H. David Dalquist Sr about creating a round pan with a hollow center to make cakes like the bundkuchens. Dalquist had recently started a metal baking pan business with his brother and agreed to make the pan. He called it a bundt, and after years of work, it became a staple for his brand, Nordic Ware.
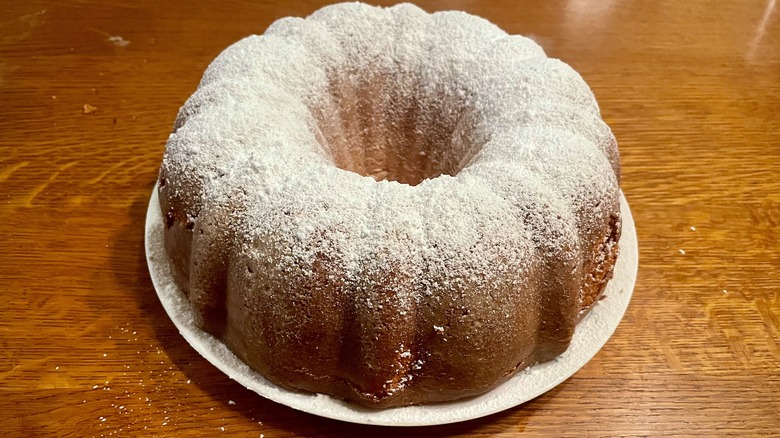
Bundt cakes have a lot going for them. The original eight-humped design is excellent for slicing and serving at parties. It is also reasonably attractive, so a simple glaze gives a beautiful and clean aesthetic. Over the years, even more intricate and detailed designs have come out.
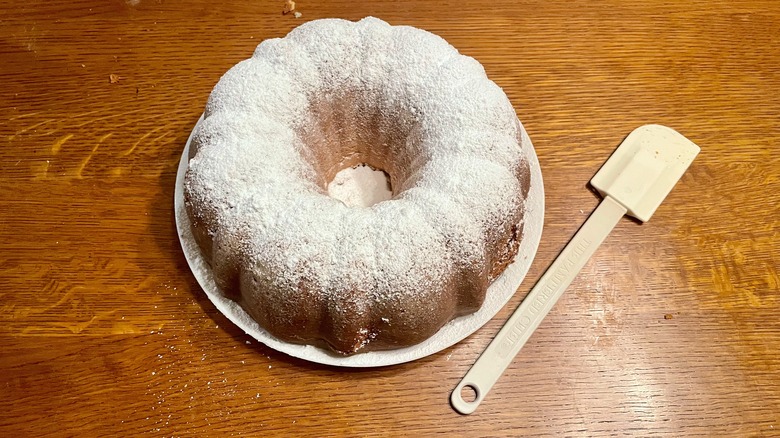
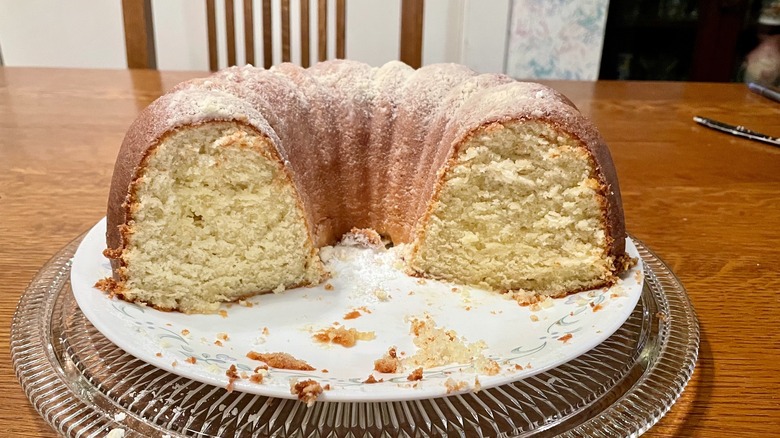
Of course, to reap the benefits of the design, the cake has to come out in one clean piece. This can be a bit of a struggle for those just starting because you can't just line a bundt in parchment paper as you can with other pans. With some help, though, even a new bundt baker can get the cake out in one piece.
Tools you will need
The first and possibly most important thing you will need is a good recipe. Bundt cakes were designed for thick, dense cakes. The hollow design helps these cakes cook evenly without burning or drying out the edges. You may have noticed that many bundt cakes bake for longer times than single-layer cakes. That is because of the thickness. Make sure you pick a bundt-specific recipe.
Next, get a quality pan. While it is not strictly necessary to get a non-stick-coated one, it will help you get the cake out. A simple design, such as the original one, is the ideal place to start. The more intricate the design, the more difficult it is to get the cake out in one piece. Save the detailed plans for after you have practiced a few times.
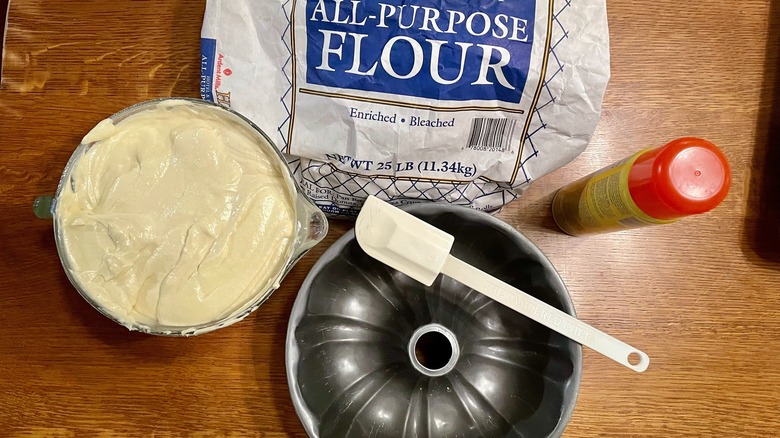
You will also need some kind of grease; spray oil will be the easiest. However, a bottle of oil or melted butter will also work. You will also need a powdered coating, the most common of which is flour. However, depending on your recipe, cocoa powder, almond flour, and even powdered sugar can be appropriate. Finally, you will need a cooling rack and a silicone spatula, preferably a small one.
Prepare your batter
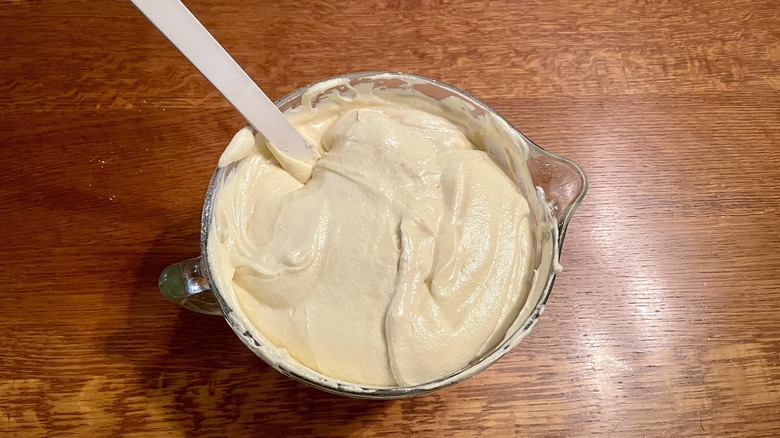
Prepare your batter first. Contrary to most instructions, the first step of making a bundt is to prepare your batter, not grease your pan. You want to have your batter ready to go the instant your pan is coated. The reason for this is that, left to sit, the oil will bead up and eventually slide down the edges of the pan, pooling in the bottom. Not only does this create an unsightly oily spot on top, but it means you will not have oil on the side of the pan, which will cause it to stick.
Grease your pan
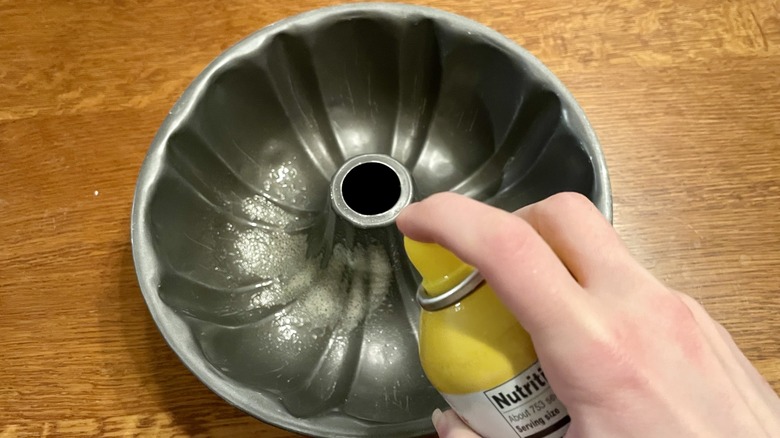
Grease your bundt pan. The key to this step is to ensure every bit of the inside is coated in a liberal layer. The easiest way to do this is to use spray oil. However, regular oil, melted butter, or melted shortening can be used. Use a pastry brush to put oil on the inside of the pan to ensure that every nook and cranny is adequately coated.
Flour your pan
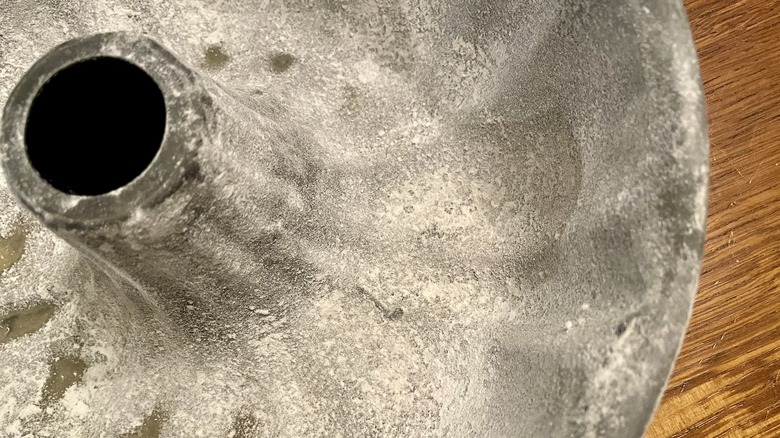
Next, flour your pan. A little goes a long way, but do not skimp. Start by sprinkling a few tablespoons of flour into the bottom of your pan. Turn it on its side and rotate it gently, tapping as you go. Make sure the inner wall that forms the tube is also being coated.
For chocolate cakes, you can use cocoa powder in place of flour. In a pinch, almond flour or powdered sugar can be used, though it should be noted powdered sugar will add a crunchy exterior and run a higher risk of burning.
Prepare and bake cake
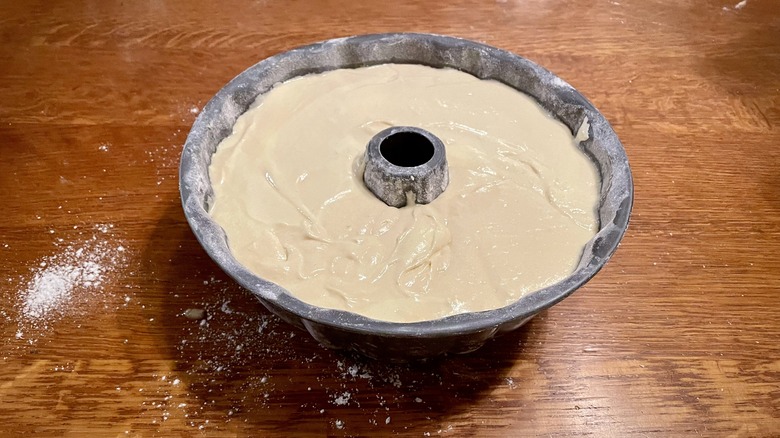
Pour your batter in and bake your cake. Bake the cake according to recipe instructions. Ensure the cake is fully baked before removing it from the oven, as an undercooked cake will not have as much structure so it won't hold together properly when you take it out of the pan.
Let cake cool
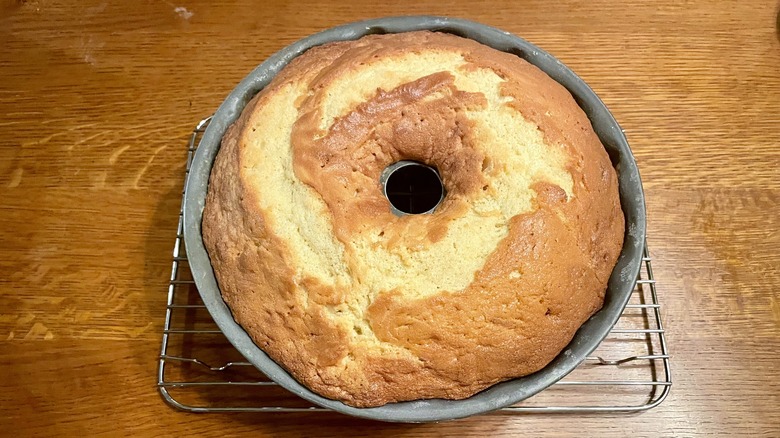
Take the cake out of the oven. You may want to try removing your cake immediately but resist temptation. Be patient. Place your cake on a cooling sheet, and allow your cake to cool for at least five to ten minutes. As it cools, the cake will naturally pull away from the sides.
Separate sides and pan
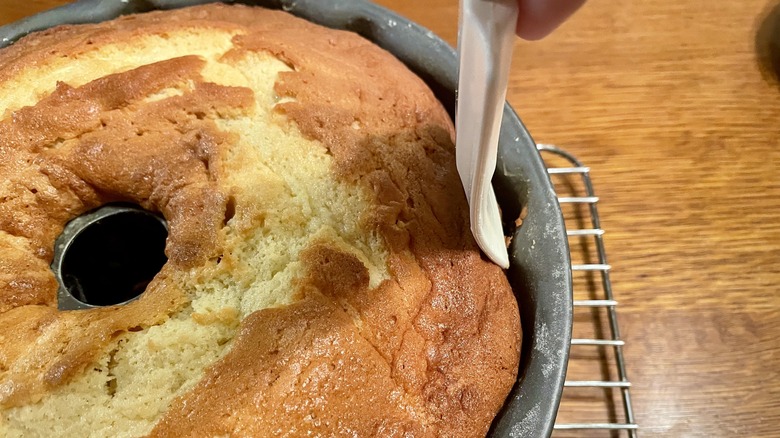
Take your small silicone spatula and gently pull the edges to release the sides and center of your cake from the pan. Do not use a knife or anything sharp, as it can break the cake and scratch the pan.
Flip the bundt
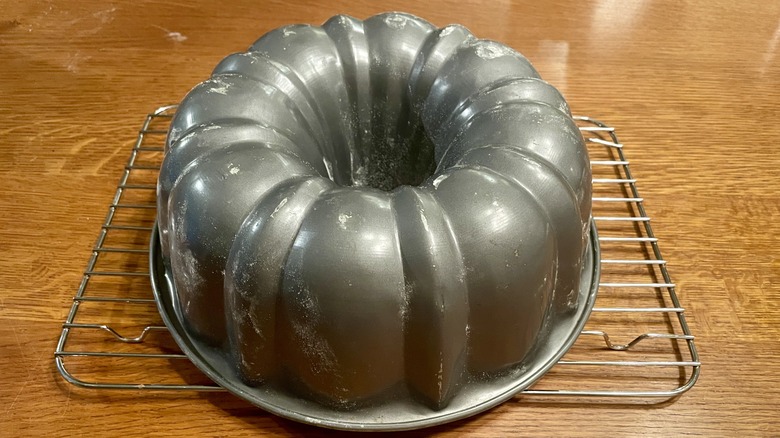
Invert the cake onto a cooling rack. The cake may not be released immediately. If it does not immediately release, let it sit for a few minutes and let gravity do some of the work. Then, try to remove the bundt cake again.
Steam the bundt
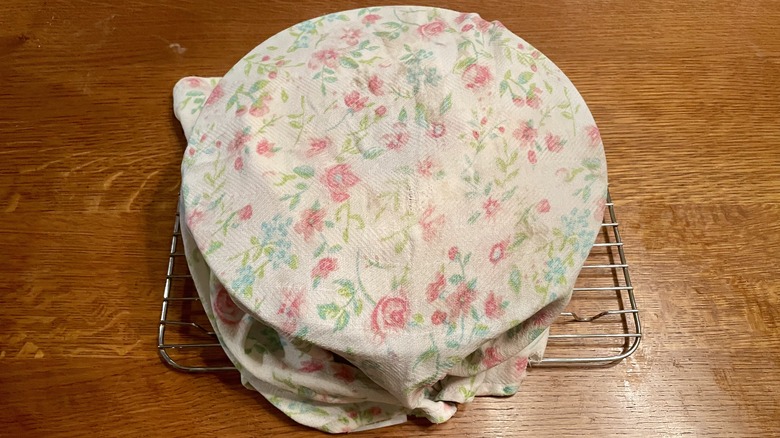
If the cake still refuses to come out, get a kitchen towel wet with hot water. It should be evenly damp but not soaked or dripping. Drape the towel over the top of the bundt cake. Leave it until the towel is completely cool. Then, remove the towel and invert the bundt onto the cooling rack again.
Storing bundt cakes
Once the bundt is completely cool, it is time to store it. Store the bundt in an airtight container on the counter for up to five days. Bundts can also be stored in an airtight container in the refrigerator for a little longer. If you want cake for a few months, cut bundt into individual pieces, wrap it tightly with plastic wrap or aluminum foil and a Ziploc bag, and store it in the freezer. Remove it and let it come to room temperature before eating.
Bundt recipes that make delightful desserts
The great thing about bundts is that while they are relatively simple to make, the flavor possibilities are endless. A basic butter bundt cake is a great place to start. But if you want, you can mix it up with flavors such as apple cider donut or a Kentucky Bourbon butter cake.
