Omelet Tips That Will Change The Way You Cook Forever
The question of how to cook the perfect omelet has plagued mankind for a few millennia. The first-ever instances of omelet recipes in print appeared in none other than Apicius' book of cookery "Cooking and Dining in Imperial Rome." Given the number of times egg recipes and omelets, in particular, appear in the book, the conclusion is clear. The practice of eating mixed-up eggs filled with the likes of honey and fish and all manner of good things isn't new. Considering that recipes detailing how to cook Scrambled Dumpty made their way into the cookbook of an ancient and very famous Roman foodie should comfort those who have trouble making omelets. It should also trouble those who think they've solved all the problems that home cooks inevitably run into when they're making omelets from scratch.
Even though home chefs have been trying to perfect the omelet for eons, it doesn't mean that all is lost when it comes to cooking it the right way. Centuries of ingenuity and invention have given home gourmands advantages like Teflon pans and guidance from famous chefs like Jacques Pépin, making omelet cooking a lot easier. Our list of omelet tips is sure to contribute to the conversation that Apicius began centuries ago and that people are still taking part in today.
1. Capitalize on the flavor of fresh ingredients
Because eggs are such a simple food, taste buds seem to detect anything that's a bit off with this fridge staple. There's not a complicated mix of ingredients to mask a bad taste, and a bad egg tastes like a bad egg. An egg doesn't have to be downright rotten to leave a questionable, or at least less-than-satisfying, taste in the mouth. As such, you'll end up with a better-tasting omelet if the eggs you put in it are as fresh as possible. The nutrient content degrades quickly too as eggs age, which means eating fresh eggs does your body better than stale ones.
The whites offer the first clue that maybe your eggs might be ready for the old folks' home. Take note if they appear clear and especially runny in the bowl. If you have the option to get free-range or farm-fresh eggs, this is the best way to avoid this phenomenon. But it's not just the eggs that should be fresh. Fresh vegetables, cheeses, and meats also taste better in an omelet and are better for you. Using fresh ingredients also cuts down on the likelihood that you'll eat food that's gone bad and get sick as a result.
2. Three eggs is optimal for French-style omelets
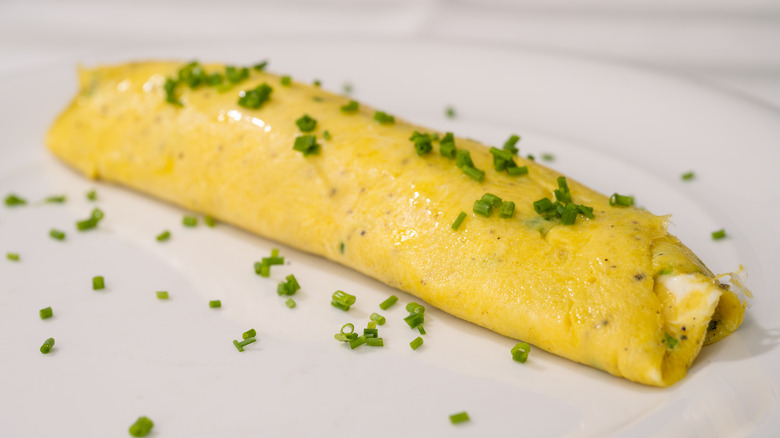
Omelets come in different varieties, and arguably the most popular come from France. French omelets are a bit trickier than other kinds of omelets in that they don't have a plethora of other ingredients in them. It's just a couple of eggs cooked in butter until smooth and then rolled up into a burrito shape. As such, using the right number of eggs makes a big difference.
French omelet tradition calls for three eggs because once it's rolled up, it fits perfectly on a plate. Three eggs also fit in a standard 8-inch non-stick pan, the right size to produce the egg dish. This quantity will spread out over the entire pan in a thin layer, ensuring that the eggs get thoroughly cooked and yet are thin enough to roll without issue once the time comes.
If all of this seems like a bit much, remember that French omelets come with food archaeology behind them. They don't include the extras, like diced ham or melted cheese, that other omelets do, so all you taste is egg. Part of this comes from the fact that the simple French omelet carried France through its war-torn years. As such, wasting ingredients was a no-no, and cooking methods needed to be precise to avoid waste.
3. Turn it into street food with rice paper
Omelets qualify as a pretty universal food, and while country and French omelets count among the most well-known, there's at least one more that's worth mentioning. On TikTok, Vietnamese pizza has been described as a mash-up between spring rolls and pizza due to the addition of rice paper. These rice paper omelets are made with an egg mixture filled with the sort of goodies you'd normally eat in an omelet, plus the paper that wraps around spring rolls.
The way you cook it diverges from how you cook other omelets. It starts with a sheet of rice paper placed in a non-stick pan. Chopped onions, cheese, and other ingredients go on top of the rice paper, and you stir the eggs around them until they scramble. Cook until the rice paper turns slightly brown. When you're ready to eat it, flip it over in the pan as you would a country omelet and remove it from the stove.
Aside from offering you a new taste and texture experience, making a rice paper omelet makes the meal portable and a great candidate for street food. The rice paper on the bottom of the omelet keeps it together, much in the same way that the crust of a pizza keeps all the various toppings on top of the pie. A sweet and hot Asian spring roll dip complements it nicely.
4. Brown the butter for a country omelet
Unlike French omelets that boast a beautiful yellow exterior and no real eggy crust to speak of, country omelets fall on the opposite end of the spectrum. The best country omelets wear a crisp coat of brown brought on by the butter the eggs get cooked in. Getting started requires you to heat butter in a pan. Since you want the butter to brown but not burn, you must watch the pan during the browning process.
Pay attention to how you mix the eggs too, because if you don't do it correctly, the yolks and whites won't be well blended. When this happens, you'll get streaks of egg white running through the eggs. In the worst-case scenario, it looks a bit like marbling. Avoid this by quickly moving your fork from one side of the mixing bowl to the other. This effectively breaks down the egg whites, creating raw eggs that are uniformly yellow throughout.
Finally, some additional browning comes from cooking the egg under the broiler at the end. It's okay to start the cooking and browning process on the stovetop, but when you're ready for the final step, stick the pan under the broiler for a few minutes. Keep an eye on the omelet and pull it out once it has browned to your preference.
5. Cook the fillings first
Left to their own devices, plain eggs cook in a handful of minutes, usually less than five. The fresh veggies and meats you stuff into the omelet don't always cook in a few minutes though. The different cooking rates of eggs versus what goes into the omelet mean that some of the ingredients are done when it's time to eat the omelet and some aren't — think crunchy vegetables and undercooked meat. If you have cheese on top, it may not melt properly, leaving you with bits of cheese that are still uncooked right next to a melted topping.
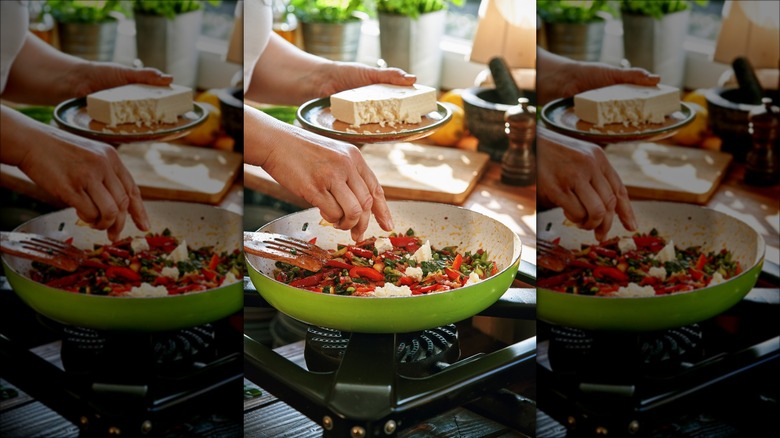
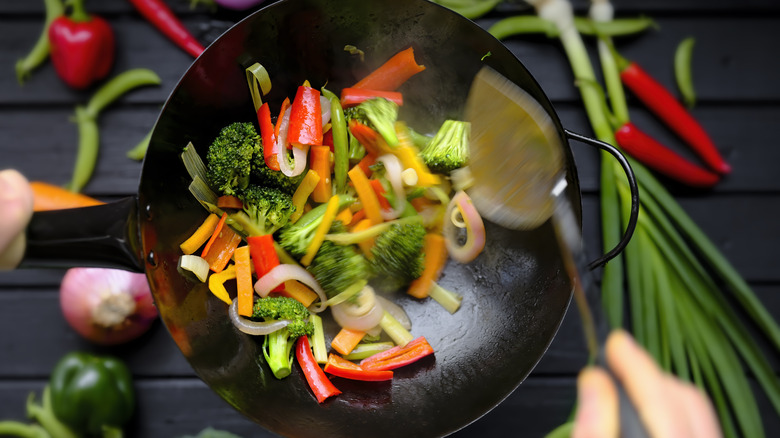
Cooking the veggie and meat stuffings in the skillet for a few minutes first ensures that everything in the omelet gets cooked the way it's supposed to. It's also helpful to remember to cut the ingredients into small enough bits that they get cooked all the way through. Cured meats usually require cubing, and vegetables like broccoli or cauliflower that tend to come in big chunks should be cut down too. Finally, crumble or grate cheese so that it goes into the omelet in small enough chunks to melt thoroughly.
6. Whisk with a fork
In a pinch, it's certainly more than okay to mix your omelet eggs with a whisk. It is called "whisking," after all. However, you might be better served by using a fork to beat the eggs for scrambled eggs or an omelet. Using a fork introduces the right amount of air to the mix. This produces a fluffy texture instead of a creamy one since you have ideal air pockets forming inside the eggs. And while you might swear by creamy scrambled eggs, you may not want your omelet eggs to be quite the same.
The proper technique to obtain this fluffy consistency is to hold the fork with the tines turned upright instead of turning the tines downward. Turning them downward will scratch the bowl or pan. If you're whisking the eggs in a metal vessel, this could be problematic because it will damage the pan.
7. Choose cheeses that melt easily
For egg and cheese lovers, omelets qualify as one of the best delivery systems for both of these foods. And while most cheeses taste good in omelets, some melt more easily than others, adding creaminess to the omelet.
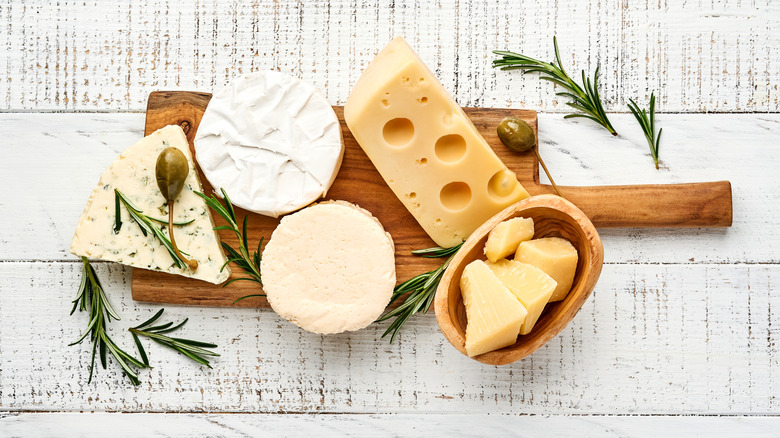
If you're not sure where to start, it's hard to go wrong with Asiago, Gouda, or Fontina. If you'd like your eggs to have a decidedly Italian flair, mozzarella, plus a bit of marinara and olives to garnish will bring the flavor of the Old Country to breakfast. Old stand-bys like American and cheddar always taste great in any omelet too.
For a bit of a spicy nip, think about introducing pepper Jack cheese. This option works well on its own to make a spicy cheese omelet. However, it's also an ideal choice for chili or Mexican omelets. The addition of jalapeños and habañero peppers to creamy Monterey Jack cheese adds natural spicy seasonings to the omelet that go with the theme.
As for adding the cheese to your eggs, you can sprinkle shredded cheese in the raw egg mixture before pouring it into the pan or top an omelet with sliced cheese before finishing it in the broiler. Both methods guarantee properly melted cheese. Like eggs, cheese doesn't take long to cook, so adding it to the omelet should be one of the last steps.
8. Never cook in a pan you haven't heated up first
Even in a non-stick pan, omelets tend to stick unless you know a little secret. Fire up the burner and heat the pan for two to three minutes before you pour in the egg mixture. The hot pan acts as an additional preventative measure against sticky eggs. Blame your eggs' sticky ways on tiny microscopic holes on the surface of the pan. In a cool pan, tiny bits of eggs get into the pores, causing some serious stickiness. The stick factor gets worse in pans that aren't created to be non-stick.
Heating the pan sort of acts like an astringent does, by closing the surface pores and making them smaller. In turn, this makes your omelet less likely to stick to the bottom of the pan. All you need to do is add a bit of butter or olive oil to the bottom of the pan and allow it to heat up for a few minutes on low to medium heat. The fat will melt and lightly bubble, without starting to smoke.
9. Go with a non-stick pan
Many home gourmands grew up cooking eggs in non-stick pans, so it's easy to forget that there was a time when Teflon pans didn't exist and omelets routinely stuck to the bottom of skillets. Like many good inventions, such as Worcestershire sauce, the invention of Teflon resulted from an accident in the science lab. And while it may have been an accident, it was a welcome accident.
Before Teflon cookware was introduced in the United States in 1961, home cooks made do with skillets and other pans to cook their omelets. Some people still like to cook omelets in skillets, but today, even well-trained restaurant chefs keep suitable non-stick pans in their kitchens. They're often set aside as dedicated egg pans to keep them in pristine, omelet-ready condition.
While there is something to be said for developing the skills required to make great omelets in a skillet, you may find that you get the best results by cooking your omelets in non-stick pans, just like the pros. Given that this is such an obvious advantage, it's easy to overlook just how much your cooking process will be streamlined with this one simple cooking hack.
10. Have a spatula on the ready
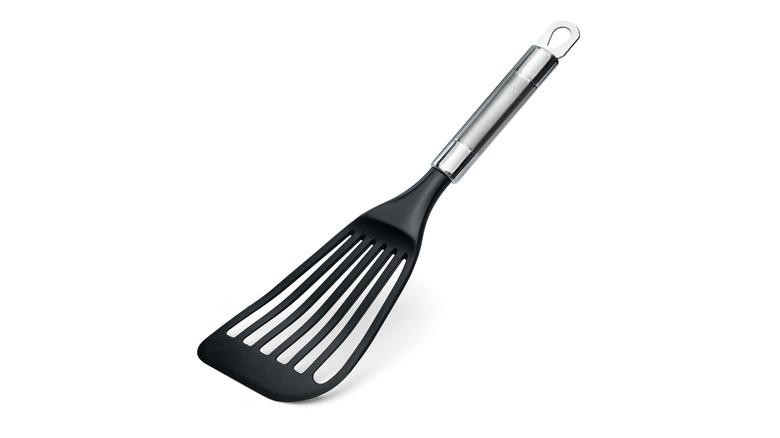
While not exactly a Swiss Army Knife, a spatula plays a multifunctional role in putting out a perfect omelet. Not only can you use it to push the egg round and round in the pan to make the perfect interior for the omelet, but it also pushes the extra bits of egg off the sides of the pan that threaten to stick there and ruin the omelet. The right spatula also ensures the omelet gets rolled into the perfect French omelet or folded into a glorious country omelet with no breakage to speak of.
It's no exaggeration to say that a spatula plays an equally critical role in producing omelets as the pan. Having a spatula on the ready before you drop the egg into the pan ensures that you'll be good to go to scramble where necessary, clean egg off the sides of the pan, and push the omelet out of the pan and onto the plate. As for the material, a silicone spatula offers the flexibility required to get under the eggs without breaking the omelet apart, while guaranteeing that your spatula won't melt during the cooking process.
11. Add seltzer water to the egg whites
Want to add a little sparkle to your omelets? Try adding seltzer or sparkling water to the egg whites. This bears a bit of an explanation, but it's worth the read-through. A lot of people add water to their scrambled eggs, with the rationale being that as the water evaporates, it leaves behind fluffier eggs.
Seltzer or sparking water brings similar effects, as well as extra air bubbles. Normally, air pockets are introduced into the eggs during the whisking process. Between the fluff of the whisking action and the effervescent gas from the bubbly water, a double fluff-up occurs. It doesn't take much sparkling water, either; you only need about a tablespoon or so.
There's an additional trick to ensure you don't end up with runny or watery eggs. First, separate the yolks from the whites, but keep both. Then, add the seltzer to the whites and whip them with a fork or mixer until they foam white. Fold the egg yolks back in, along with ingredients like chives, chopped spinach, and cheese. Pour the mixture into your pan and cook for just a couple of minutes. You'll have a fluffy, yummy omelet in no time.
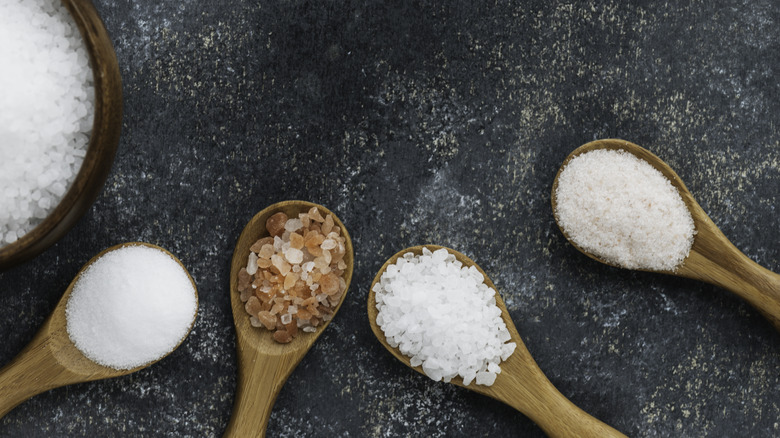
12. Salt it at just the right time
Food nerds will appreciate the humor involved when they hear that the best omelets come from chemistry and broken attraction. And while no one is suggesting that you take your eggs out on a date before turning them into an omelet, there is an argument to be had for upping the chemistry factor of your eggs before turning them into an omelet. In this case, it comes by adding salt to the eggs as you whisk them.
Adding salt to the eggs pre-cook breaks apart the yolks at a microscopic level. More specifically, the yolks have proteins that are attracted to each other. Adding salt to the mix puts the kibosh on the attraction. Once you cook pre-salted eggs, you'll experience the broken attraction in action. You'll have an omelet that is naturally more tender and moister than if you had salted the eggs late in the cooking process.
There's another bonus to this method of salting your omelets, though. If you salt toward the end of the cooking time, the omelet comes out weepy. If you've ever had an omelet that left water all over the plate, there's a good chance the salt went in at the wrong time. When you cook the eggs, the proteins pull together, squeezing out the water in the process and causing the eggs to weep. Salting them early in the process prevents this from happening, making crying eggs a thing of the past.
