The Only Tips You'll Need To Make A Perfect Fried Egg
On the surface, fried eggs are seemingly simple. Less involved than an omelette, less fussy than poached eggs, and nowhere near as committed to the strict timing rules of its boiled friends, it's a go-to breakfast item that requires little preparation, nominal skill and yet, still delivers a high amount of flavor.
But if you delve a little deeper, you'll discover a treasure trove of techniques, tips, and tricks to make a perfect fried egg from a simple dish into a culinary masterpiece. Such a journey of exploration comes with several questions: What type of oil should you use? What is an idea temperature? And how long should it sizzle in the pan?
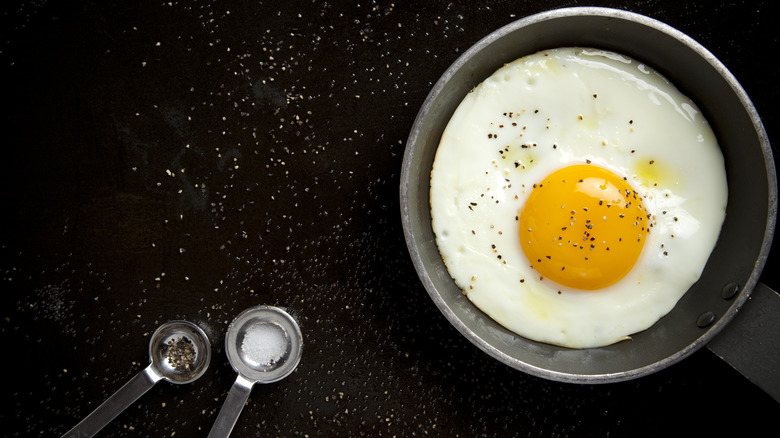
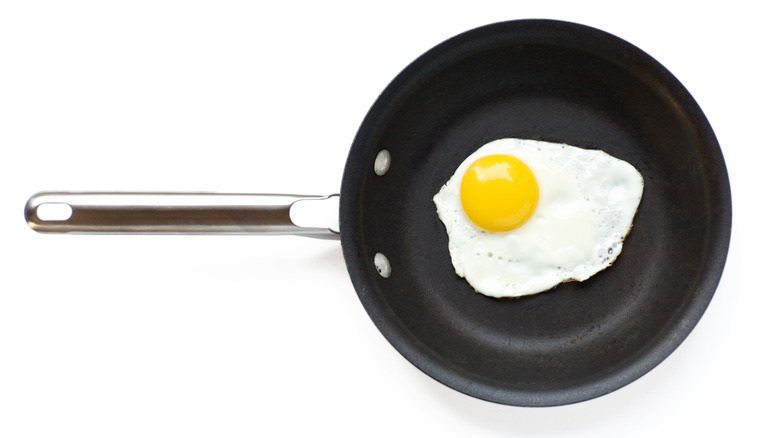
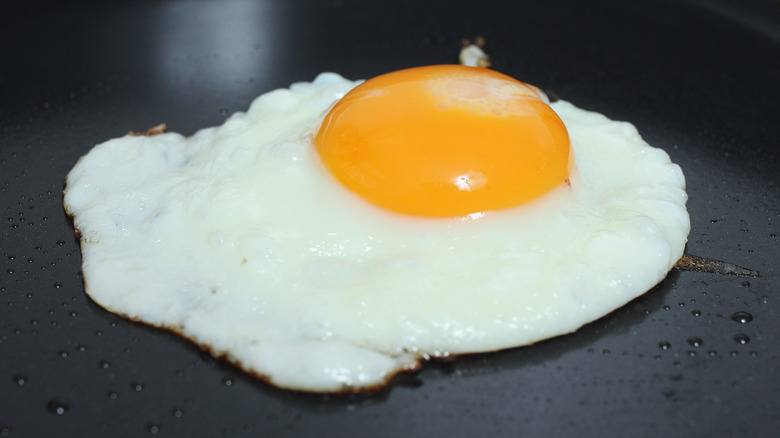
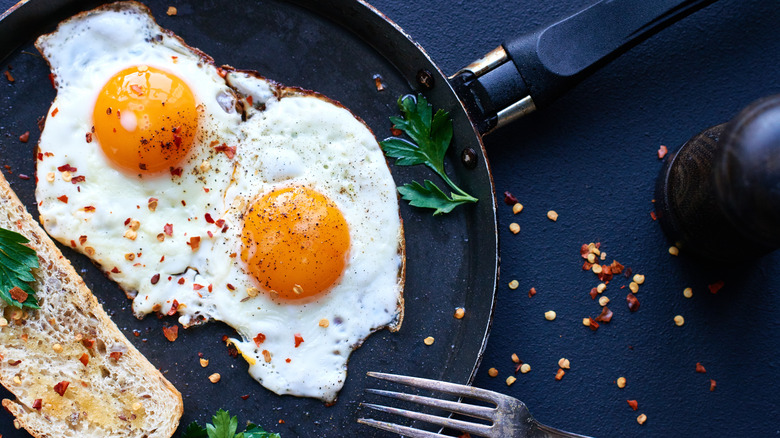
Then there's question of personal preference. Which of the four styles do you prefer: Sunny side up — crispy edges without the flip; over easy — flipped with a runny yoke; over medium — flipped with a slightly runny yoke; or over well — flipped with a well cooked yolk? Perhaps it's time then to put in some leg work, separate fact from fiction, and devise a winning formula. Below is our guide to making the perfect fried egg.
Use the right grade egg
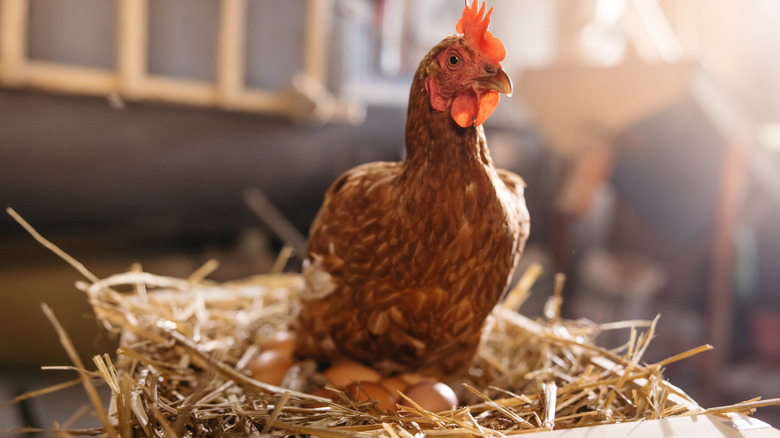
Not all eggs were laid equal. Rare breed hens produce specialty eggs noted for their unique characteristics, such as the Holland chicken's pristine white eggs. Other breeds are noted for the much-coveted deep amber yokes they produce.
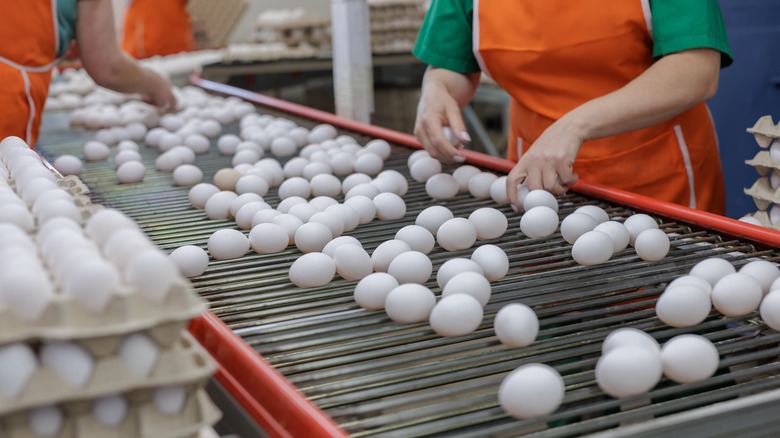
Regardless of which chicken lays the eggs, they are measured by two metrics: size and quality. The size ranges from peewee (about 15 ounces) to jumbo (about 30 ounces) per egg. And when it comes to baking, it's a good idea to follow Ina Garten's advice for choosing egg size, but with frying, it's a different situation altogether.
In the United States, there are three grades of eggs: Grade AA, A, and B, determined by their interior quality, appearance, and condition of the eggshell. Grade AA eggs have thick and firm whites, clean yolks and no defects, ideal for frying.When it comes to frying, aim for grades AA or A. The appearance of the eggs is part of the experience, and while there is nothing wrong with using grade B eggs, they tend to find themselves used in commercial liquid or frozen products.
Ensure your eggs are fresh
Now that we have selected our eggs and ensured we are happy with both size and grade, it's almost time to fry them. But one more thing deserves consideration: the freshness of your egg.
A float test is an easy way to tell whether or not your eggs are still fresh. As eggs age, proteins within the albumen break down, resulting in a thinner and watery egg white that's easier to whip up. The yoke also degrades — it's noticeably raised when fresh, whereas older yokes lay flat relative to the white.
When dropped into hot oil, such eggs tend to spread thinly across the entire pan, yielding three types of results. First, the egg will look unsightly, and this subversion of expectation (of a round white centered with a domed yoke) affects the taste to a surprising degree as flavor is a multisensory experience after all. Second, your ability to flip the egg might suffer due to the whites having spread out so much. Lastly, using older eggs introduces an element of unpredictability, making it more challenging to create your preferred fried egg type. A thin white might cook well before the yolk is done, and the yolk might sit so low in the pan that it sets before you can flip it.
Choose the right pan
Choosing the right pan for the job at hand is a great starting point for any cooking adventure. Thankfully, there is such a thing as a perfect pan size for cooking fried eggs. But there are other competing factors. For example, how do you like your eggs? And how many are you trying to cook at once?
Let's start with the basics. When selecting a pan to fry your egg, you have three choices: nonstick, enameled, and cast iron.
Most pans are covered in slight abrasions, invisible to the naked eye yet substantial enough to grip onto the food you are trying to cook; this causes food to stick. But don't worry, a good nonstick pan eliminates this problem with a thin Teflon coat that renders it free of such imperfections. If you prefer a more versatile option, seasoning a good quality cast iron pan has the same result — the heated oil polymerizes, creating a thin layer that stops food from sticking.
Lastly, we have the enameled cast iron skillets. Their ceramic coating prevents food from contact with the rough surface of the metal in much the same way nonstick and seasoning does. The downside is that all that extra weight is not always ideal for flipping. As for size, a 5-inch frying pan is ideal for frying a single egg. Two eggs fry comfortably in an 8-inch pan; a 12-inch pan will do just fine for three or four eggs at once.
Choose the right oil
The word oil might be a misnomer here since many chefs prefer to use butter when frying their eggs.
Butter does indeed work fine; it adds flavor and color, so if you like your fried egg crispy and browned at the edges, this is a good option for you. The downside is that browned butter is easy to burn when exposed to high heat due to its dairy content.
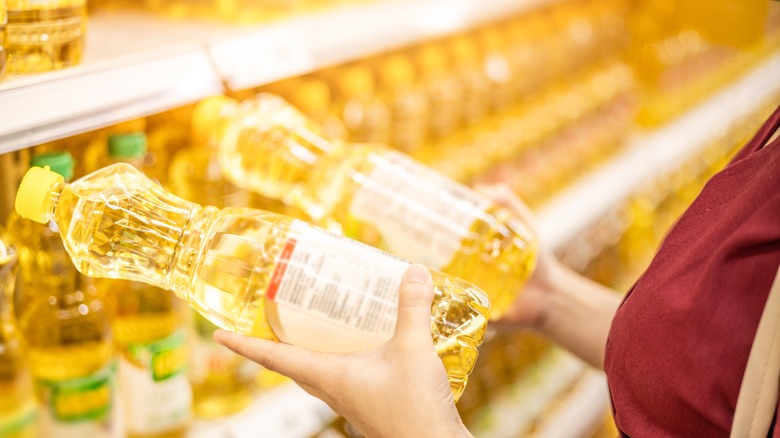
That brings us to oils, the preferred choice for the health conscious. Which oil you choose is generally a matter of personal preference, but there are some essential things to consider.
You'll want to pick an oil with a relatively high smoke point, which is an oil that can reach a high temperature without burning. Canola and vegetable oil meet this test and will undoubtedly yield a crispy egg. Unfortunately, as neutral oils, they won't add any flavor.
Olive oil, on the other hand, lends flavor to everything it touches. Olive oil's high smoke point makes it one of the best options for fried eggs and an even better option for frying in general. Be generous with its application and ensure the edges don't over-crisp and burn.
Make sure the temperature is right
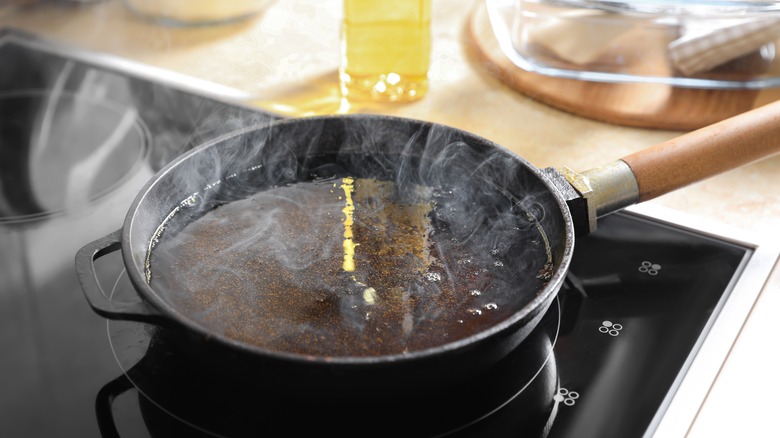
The next step in frying the perfect egg is to look at heat. How much heat you apply depends to a certain extent upon the oil you have chosen, but one thing is for sure: You should always heat the pan before you put in the oil.
Oils are complicated. They are laced with a cocktail of nutrients, many of which give them distinctive flavor profiles. When heated, chemical conversions occur, and their by-products can be hazardous to human health if consumed regularly. By heating the pan first, you can minimize the time the oil is subjected to heat. The result is a better oil that adds flavor to your fried egg.
Eggs fried with butter require a relatively cool pan. Cooking them on low heat — around 275 to 300 degrees Fahrenheit produces a soft white at the lower end and a smooth white with browned edges at the upper back. For everything else, medium heat — 300 to 400 degrees Fahrenheit — is somewhat ironically right in the butter zone. At this temperature, the egg should fry in a consistent and predictable way. This gives you control over how you want the egg to turn out and allows technique to triumph over blind luck.
Crack your egg the right way
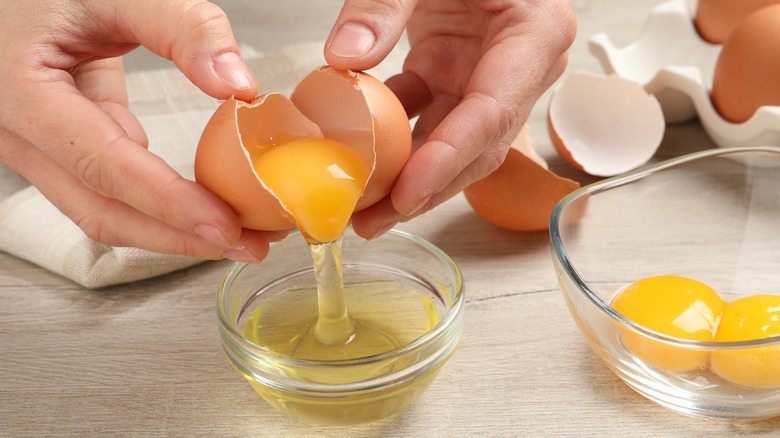
The pan is hot, and the oil has been selected. It's time to get that egg into the pan. Cracking an egg is less of a gentle art and more of a learned skill. If you're a home cook, there's no need to learn the one-handed speed cracking method like a professional chef. Instead, you can spend your energy mastering two essential tasks. First, to crack an egg without getting a shell in it, and second, to keep the yoke perfectly intact.
Using the blunt edge of a knife is reasonably common practice, but you might thrust shards of broken shell inwards. Picking flakes of shell out of a gently frying egg is about as much fun as it sounds, and you risk breaking the yoke or, worse, burning yourself.
To avoid making a mistake when cracking eggs, tap the egg on a flat surface, insert your thumb into the crack, and gently part the egg. Mastering the technique takes time, but the payoff is worth it.
Lastly, the cracked egg should be poured into a bowl, not straight into the hot oil. Doing so means that the egg is ready to go when you are. It also provides more control, allowing you to slide rather than drop the egg into the pan.
Make sure your timing is spot-on
Temperature is a crucial metric to monitor when attempting to cook the perfect fried egg, but another variable deserves your careful attention: the amount of time you spend frying the egg.
Regardless of your egg style preference, one thing is non-negotiable: make sure your egg whites are fully set as there are risks to eating raw eggs, including salmonella contamination. While a runny yolk is acceptable, a runny white indicates the egg needs more time in the pan.
Depending on its size and freshness, a sunny-side-up egg requires around four minutes of cooking on medium heat, longer if you like a hard yolk. This is how long it should take for the white to set to the point where lifting it with a spatula is possible. There are three other types of fried egg that require flipping and how long you should cook the egg depends on your preference.
If you want over-easy eggs, that time is a mere five to 10 seconds, long enough to brush the yoke with a bit of heat without causing it to set. Over medium should be cooked for around one minute post-flip, while over hard can go for about two to three minutes or until the yoke is completely set. The usual caveats apply. Butter's low smoking point demands a gentler heat, which increases the time needed to fry an egg.
Fry your eggs carefully
As soon as the egg slides into the pan — regardless of how hot it is or which oil you have chosen — it begins to cook. All that's left to do is to employ one of these fried egg cooking hacks.
If the oil is aggressively spitting, then the pan might be too hot, which means turning it down a smidge can save a lot of heartache later. You should also pay close attention to the shape of your egg at this stage. While there is absolutely nothing wrong with a bit of a splodge, the perfect fried egg should be roughly circular. You can tease errant tendrils of still-raw egg white to the center by dragging them back with the tip of the spatula and holding them there until they begin to set.
At this point, it's best to leave the eggs alone; moving them around the pan won't help them cook faster and risks spreading the white out too thinly or, worse, breaking the yoke. Instead, watch for a slight curling at the edges. This is a sign that the egg is nearly done. Combined with your sense of time, this is a reliable indicator of when to transfer the egg to a plate. A sunny-side-up egg is usually ready at this stage. For other styles, it's time to master the flip.
Flip the eggs at the right time
As we have seen, the word 'over' in the context of a fried egg means flipping the egg over in the pan to cook the yoke and the upper side of the white. Sadly, flipping an egg can be quite a challenge as they can be slippery. But with the proper guidance, you'll be flipping like a pro in no time.
Two measures of success are associated with the flip. First, you want to cook the egg to the type. Second, you want to keep the yoke intact.
The easiest way to do this is with a spatula. Simply work it under the egg, lift it, and flip. It's not a foolproof method — you might spend time chasing the egg around the pan or breaking the yoke. But with each successful flip, you'll feel more confident. And with practice, this technique works pretty well.
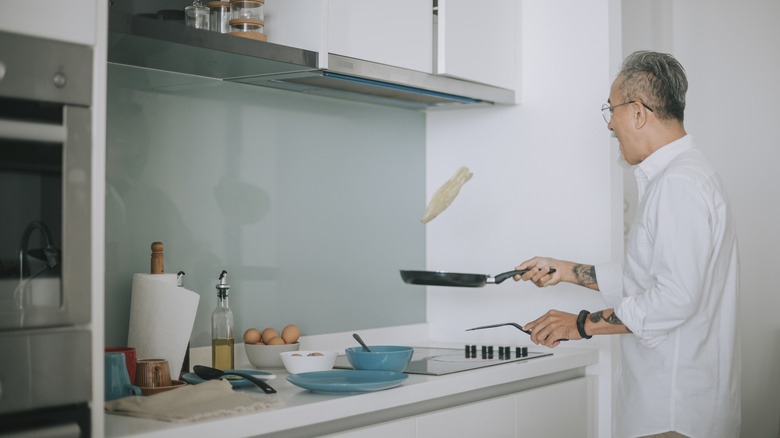
A more complex method involves tossing the egg like a pancake. The trick is to raise the pan in the air, meeting the egg on its way back down so it doesn't break when it lands. It can take years to master this particular maneuver, and you run the risk of burning yourself with hot oil. Thankfully, there is an easier way to flip your eggs. When the eggs are cooked, simply slide them onto the pan's lid, invert the pan, place it over the lid, and flip the whole thing again.
Flip multiple eggs the right way
That's all well and good, but what about frying multiple eggs? Most metrics remain the same: pan size, temperature, time, and the various flipping methods all apply. There are, however, some additional things to watch out for.
First, each egg should be dropped in the pan and left for 10-15 seconds before sliding the next one. This leaves just enough time for the egg whites to set and avoids the risk of the eggs running into one another and forming one giant multi-yoke behemoth.
Secondly, you need to give your eggs a little room to breathe. Each egg needs enough space around it to slide a spatula under it when it's time to flip or serve. It's also important to note that each egg will have a slightly different cooking time, so it's a good idea to remember which egg went in first, second, and so on.
Put your eggs in a steam bath
At this point, we've covered all the main steps involved in frying an egg. But what if you want to exercise your inner chef by taking things to the next level? In that case, consider finishing with a quick water bath for the best over-easy eggs.
As your egg nears its final stage, simply introduce a few drops of water to the pan, being careful to avoid any oil splatters. Then quickly cover the pan with a lid. As the water turns to steam, it begins to circulate and cooks the top side of the egg. This results in what's known as basted eggs, noted for the delicate white film that forms over the yolk, which gives it the appearance of an over-easy egg without the need for a flip.
This method can be taken to the extreme with the French style of fried egg. Cooked in a covered pan with plenty of butter — a medium that generates its own steam — on the lowest heat possible, then cover with a lid and allow the eggs to cook for about 5 minutes for an incredibly soft and delicious egg.
Baste your egg in oil
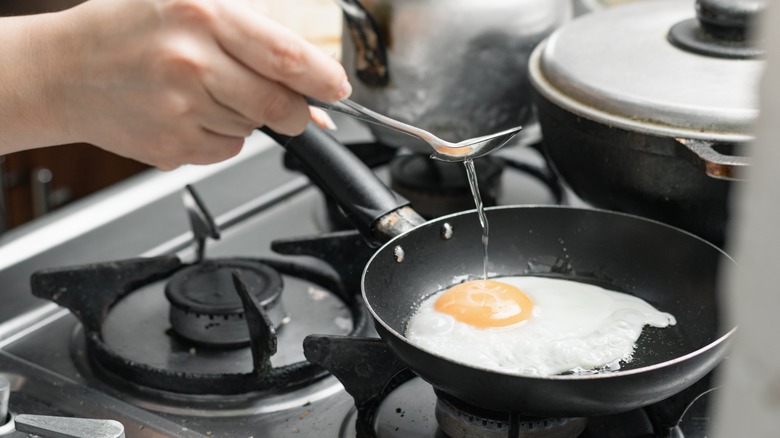
Another way to sidestep the need to flip an egg is to baste it in oil. The process of basting is a preventative measure to stop joints of meat from drying out while also adding flavor. When used on fried eggs, it is more about ensuring that the top and bottom cook at roughly the same rate.
To baste an egg in this way, you'll need to start by adding plenty of oil. You'll want some to pool on either side so that you can dip a spoon in and scoop some up. As the whites set, carefully spoon hot oil over the yoke and let it run off onto the white below. This will cause the egg to firm up much more quickly, creating a runny yoke reminiscent of over easy but again without the need for a flip. For over medium or hard, simply baste for longer and control the temperature so you do not overcook or burn the white.
