How To Make Airy, Creamy Cold Foam For Café-Worthy Coffee
We may receive a commission on purchases made from links.
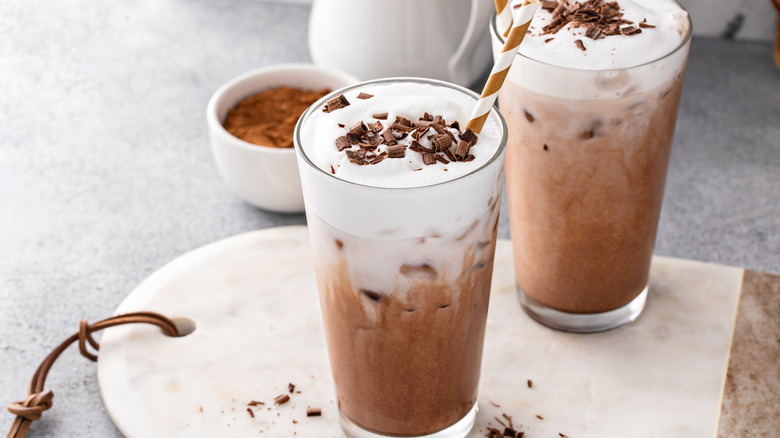
During the warm months, a refreshing iced drink can make the difference between feeling miserably hot and sweaty or enjoying your time in the sun. An invigorating iced coffee, perfectly made cold brew, or iced latte is the caffeinated remedy that will cool you down and prepare you to conquer the day. But what's even better than an iced drink is your favorite iced drink with a layer of airy cold foam.
You've likely enjoyed cold foam after ordering one of Starbucks' many varieties of iced coffee. It's a delicious layer of aerated milk, perfect for adding just the right amount of creamy flavor to your iced drink.
Cold foam is one of those magical barista creations that may feel out of reach to the average at-home coffee lover. But the good news is you don't have to pay coffee shop prices to get a café-worthy iced coffee with cold foam. In fact, you can make it yourself surprisingly easily. By consulting experienced baristas and coffee experts, we've learned the trade secrets for the perfect cold foam. Follow these tips and tricks and make rich foam to add to your at-home iced drink.
What is cold foam?
Cold foam is a frothy, creamy layer of dairy that you can add to the top of your favorite iced coffee drinks. The uniquely light and smooth texture is achieved by aerating milk so that tiny bubbles form throughout. Cold foam resembles the classic frothed milk topping, typically added to warm lattes and other drinks. The difference between cold and hot foams is that hot foam is made by steaming and frothing milk to create the perfect thickened layer.
Cold foam is also different from whipped cream, another popular coffee topping. Whipped cream is made by whipping heavy cream in a stand mixer, introducing air until peaks form. Whipped cream is made with heavy cream, while cold foam consists of lower-fat dairy. This is because whipped cream requires fat to develop, while cold foam relies more on the milk proteins to trap bubbles. While whipped cream has a thick and silky texture, cold foam is more airy and frothy. All three of these toppings have the addition of air bubbles, which allow them to float on top of the drink when you add them to coffee.
What is the perfect cold cream ratio?
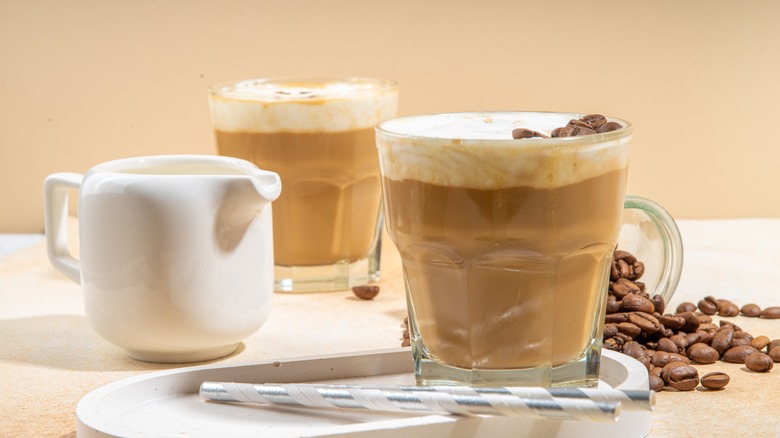
Using just a few simple ingredients, you can make flavored cold foam at home and add it to iced coffee or cold brew to take your drink to a new level of decadence. You can combine heavy whipping cream and milk for a wonderfully rich and creamy result. You can achieve the perfect cold foam ratio with 3 tablespoons of heavy cream and 2 tablespoons of milk. The heavy cream makes for a richer, silken foam texture. Then, for an added flavor boost, add 1 tablespoon of flavored syrup to give the perfect sweet taste to your drink. The 3:2:1 ratio adds just enough syrup without weighing down the creamy mixture too much.
Johny Morrisson, a former barista and blogger for Coffee About, recommends using 2% milk instead of whole milk if you add heavy cream. "The cream provides a nice thick, velvety base while the milk allows for maximum aeration and an ultra-light, airy texture when frothed," Morrisson explains. "The lower fat content in the milk prevents the foam from becoming overly dense and heavy. If you just use heavy cream, the cold foam will be very rich and more like a softly whipped cream consistency. Adding some low-fat milk keeps it light and frothy."
Alter the texture of cold foam with the milk variety

While using a combination of heavy cream and milk makes for a decadent and thick cold foam, some baristas prefer the results from lower-fat products. As a former Starbucks barista and current head of marketing at Barista HQ, Kayla Stavridis is an experienced coffee maker and drinker. For her, the perfect cold foam should be less heavy and more frothy; for that, she suggests using low-fat milk instead of whole milk or cream. "The lower fat content actually helps produce more foam, thanks to the higher protein content in skim and low-fat milk. This protein acts like a stabilizer, trapping air bubbles and creating that delightful frothy texture," Stavridis explains. Note that although nondairy alternatives like oat and almond milk are lower in fat than cow's milk, it's challenging to make them hold foam.
So, what type of milk you opt for depends on the consistency and flavor you want. Lower-fat milk will result in tighter air bubbles for a stable froth, whereas more cream will give you a thicker, buttery foam topping. Both types of foam are delicious, and one may be more or less preferable to you based on taste. If you want something between the two, Theo Chan, managing editor of Coffee Roast, recommends using 2%. "I've found that 2% milk yields the best texture, striking the right balance between creaminess and foaminess," he told Chowhound.
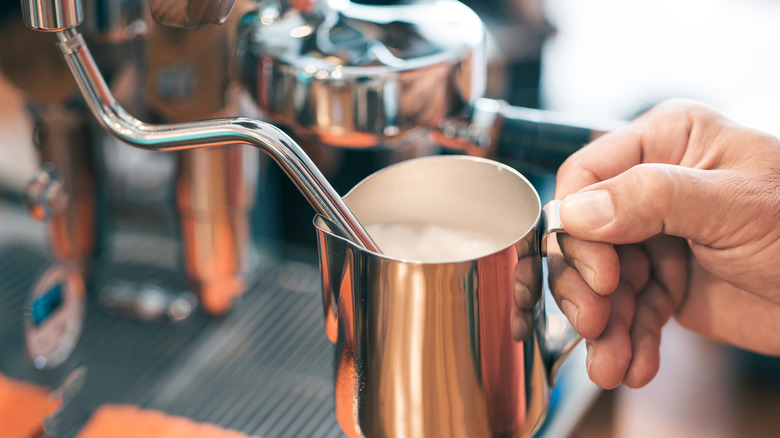
Make cold foam with a milk frother
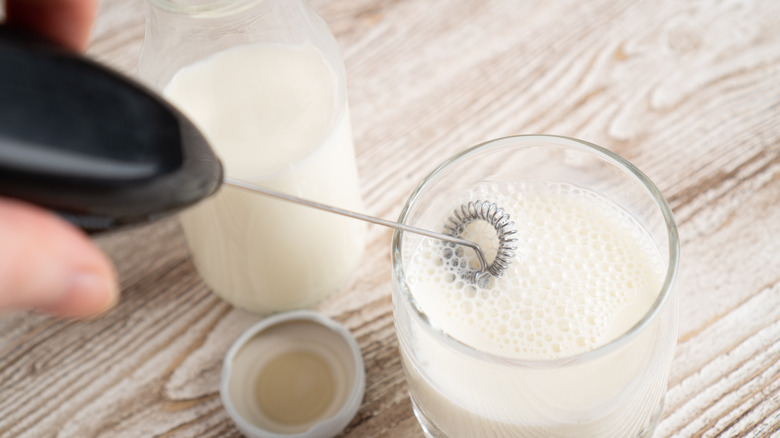
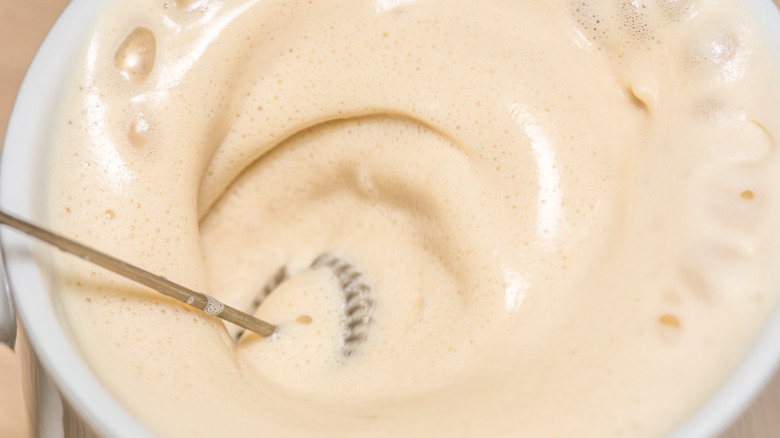
There are several different methods for making cold foam. A milk frother is the most straightforward tool made for this exact purpose. While this is an essential gadget you'll find at any coffee shop, at-home coffee makers may be less familiar. But don't worry; you'll get the hang of it quickly. A frother is the perfect instrument for aerating milk and creating the microbubbles you need for the perfect latte texture or cappuccino foam. You can also use a frother to froth chilled milk or cream and make the ideal cold foam.
Johny Morrisson suggests using a handheld frother. The small electric whisk is easy to use, and you can purchase them at a very affordable price. "Just pour your milk and any sweeteners or flavors into a tall glass," Morrisson says. "Pop in the frother wand, and let it work its magic until you have a nice, thick foam." You'll want to move the wand up and down at an angle to create microfoam throughout the milk as you work.
Note that a frother differs from a steamer, which will heat the milk. Some pitcher-style milk frothers also heat the milk, but you shouldn't use this feature when preparing your sweet, cold foam.
Use a blender to turn milk into foam
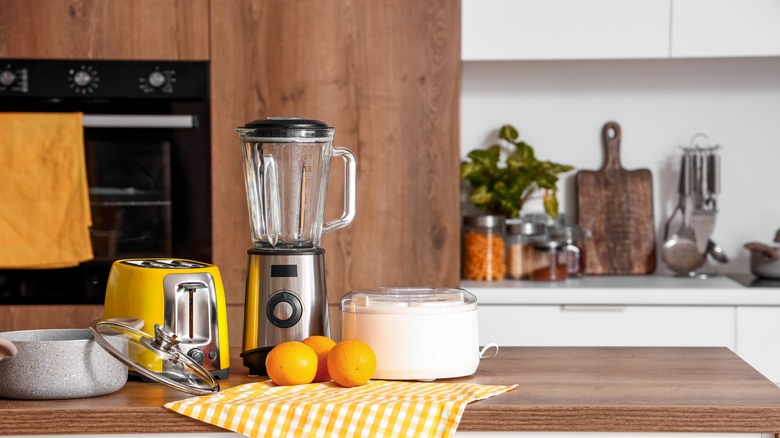
There are several ways you can create cold foam, and a blender is another option. Although blenders are typically used for puréeing smoothies, soups, and other recipes, the fast circular motion of the blades will introduce air bubbles into milk or cream in the same way that whisking with a frother does.
Johny Morrisson recommends that anyone without a frother can foam milk with a blender set to the highest speed. Using an immersion blender, you can submerge it in the liquid and turn it on to whisk it at high power. Immersion blenders are very similar to a handheld frother, except larger, so you'll use essentially the same technique.
Alternatively, you can use a standard countertop blender. Simply add milk to a high-powered blender and slowly increase the speed to the highest setting. Blend for about a minute or until the mixture forms a rich foam. Depending on what you have, you can use a large high-speed blender or a compact bullet blender; either will achieve the same goal. This method is user-friendly and takes advantage of a kitchen appliance with many other uses, so you don't have to buy any specialized coffee-making equipment.
Try making cold foam with the French press method

A French press is a coffee maker consisting of a carafe, plunger, and mesh filter. French press coffee is different from pour-over coffee and many other types of brew because it's known for its full-body flavor. It's the perfect option for anyone who loves a bold coffee taste.
You may already use your French press to make your morning cup of Joe, but it has other uses, including making cold foam. If you don't have a milk frother but already own a French press, try this method before ordering a frother. You may like the results just as much.
For this technique, Kayla Stavridis instructs adding cold milk to a clean coffee press. Be sure to only fill the container a third or less, as it will increase in volume as you work. "Pump the plunger up and down vigorously, maintaining a consistent pace," Stavridis advises. "Continue this for about 30 to 60 seconds until the milk has doubled in volume and appears frothy." It's important that you move the plunger quickly; otherwise, the air bubbles won't form. Once you've reached your desired consistency, pour the foam over your iced drink and enjoy!
Make DIY mason jar cold foam
Although a milk frother, blender, or French press are great methods for making cold foam, they all require a kitchen appliance. If you're not much of a cook or have a more low-tech kitchen, you may not own any of these tools. And, if you're new to coffee making, rushing out to buy a new tool isn't that appealing. Fortunately, there's one more accessible way to create the perfect cold foam.
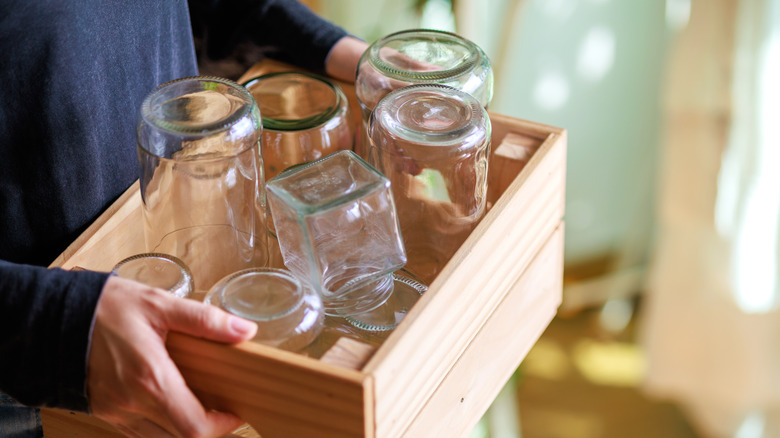
If you don't have a frother or the other tools, try the DIY mason jar method. Most of us already have a canning jar or several in our kitchen; if you don't, save and wash the container the next time you finish a jar of pickles or jam.
Kayla Stavridis directs, "For a low-tech option, fill a clean mason jar halfway with cold milk and simple syrup (if using). Tightly secure the lid and shake vigorously for about a minute." This manual option takes a little more time and elbow grease. Since you're shaking the milk by hand, it's more tiring than an electric frother. Starvridis adds, "You'll get a less consistent froth, but it can work in a pinch." You could always try this technique at first, then purchase a frother later if you like the results and want to take your cold foam to the next level. A mason jar is a great starting point for anyone to try.
Always use cold ingredients
You may have already guessed from the name, but to make cold foam, it's essential to use cold ingredients. Although room-temperature ingredients are often better for baking, that is not the case in coffee making. Fresh and chilled milk will create the best foam. "If your ingredients aren't straight from the fridge, you'll end up with a soupy foam instead of that glorious rich and creamy texture," Johny Morrisson warns. "Colder is always better when making cold foam."
Along with using cold ingredients, it's also helpful to use a cool container. "Warm milk or a warm container can prevent the milk from frothing properly," Kayla Stavridis says. Although you don't need to go so far as to chill your container in the freezer until it's icy, it's important that it isn't above room temperature or it can heat the milk. So be sure not to use glass or a frothing tin that you had warm liquid in recently. Washing your container in warm water right before is also a mistake that can make the vessel too warm.
Using chilled milk makes it easier to create and maintain an airy consistency. You'll likely add the finished cold foam to cold brew or other iced drinks, so you want it to be as cool as possible.
Keep your cold foam batches small
There are a few common pitfalls that will keep your cold foam from rising into frothy bliss. Easy mistakes such as using lukewarm ingredients, as discussed above, will make a disappointing iced drink and leave you with a bitter taste in your mouth. Another error to avoid is making too much cold foam at once. Doubling or tripling up your foam ingredients may be tempting if you're playing barista for yourself and a few friends. After all, it would be an easy time saver to prep one larger batch of frothy milk than to do the same process multiple times. But while this seems obvious, you won't get the results you want and will have to start over.
Kayla Stavridis strongly advises against overfilling your milk frother. "This can prevent the milk from aerating correctly and often leads to a mess," she explains. Coffee making is an art that requires careful attention to detail. It may take a bit more time, but the results you'll get from working in smaller batches are worth it. Theo Chan learned this lesson the hard way after trying to batch his cold foam recipe. "It restricts air circulation and affects the foam quality," he notes. "I like to make it one small serving at a time like you would foam milk for a cappuccino."
Add flavoring ingredients for the perfect addition
Along with adding a creamy layer for richness and airy texture, cold foam is an excellent vessel for incorporating more sweetness and flavor into a simple homemade coffee. Kayla Stavridis advises adding a few drops of simple syrup to your dairy mixture to create a sweet, cold foam. You can use 3 tablespoons of heavy cream, 2 tablespoons of whole milk, and 1 tablespoon of simple syrup as previously noted. This is a good ratio that makes the cream sweet enough without the syrup weighing down the foam.
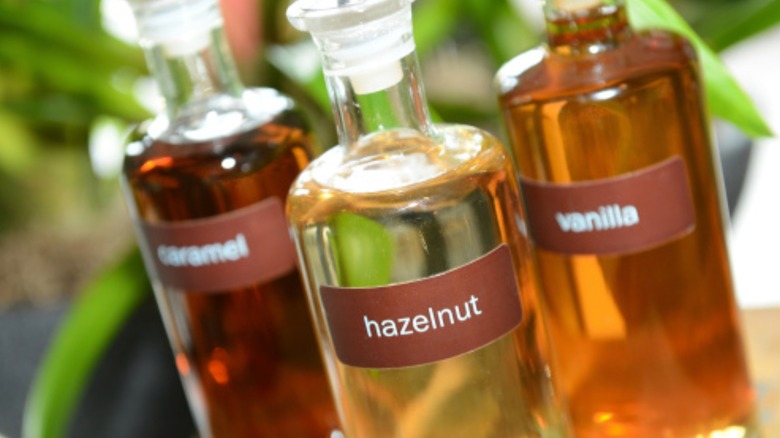
For more flavoring, you could use other types of syrup like vanilla syrup, lavender syrup, or caramel. You can purchase flavored syrups in the coffee section of many large chain grocery stores and use them for your at-home drinks. If you don't want to purchase an ingredient specifically for this, maple syrup makes a great replacement for vanilla and is an ingredient you likely already own. Or, get more creative in your flavoring ingredients by adding adding marshmallow fluff to the cold foam. You can infuse simple syrup with a variety of different flavors. This is a part of the process where you can really get creative and create your own iced coffee masterpiece.
Be sure to avoid over-frothing
Another easy mistake to make is over-frothing your cold foam. You want the cold cream to be as light and airy as possible so it can float above your coffee as a beautiful and tasty finishing touch. But going too far will ruin the effect entirely. Aerating the dairy ingredients for too long thickens the mixture into an unpleasant and heavy texture. When frothing your milk, Kayla Stavridis advises, "Aim for a thick but still pourable consistency. Over-frothing can make the foam too stiff and difficult to use."
Exactly how long this process takes depends on your method and ingredients. For example, if you're using non-dairy milk, it will take much longer to achieve the desired consistency, but a high-fat mixture will aerate quickly. Similarly, a milk frother works faster than the mason jar method.
So, there's no set time we can give for the perfect foam, but you can judge based on what you see. It's a clear sign you've reached the right point when the mixture has doubled. It should appear thick and foamy but is still soft enough that you can pour it over your cold brew or iced coffee. Stop frothing as soon as it reaches this point, and avoid over-mixed cold cream.
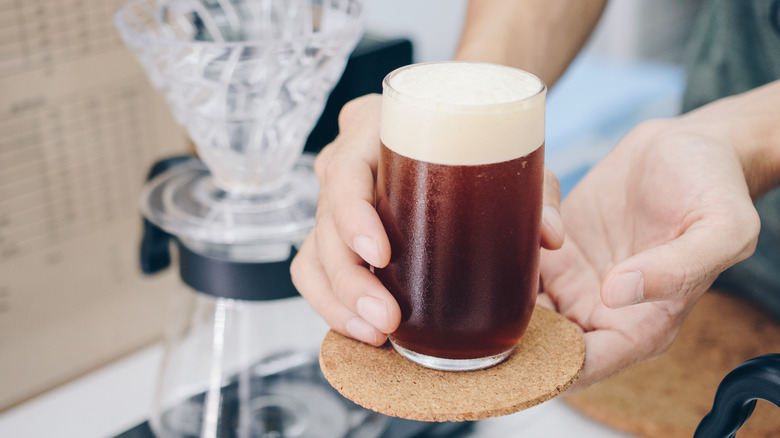
Making the perfect drink with cold foam
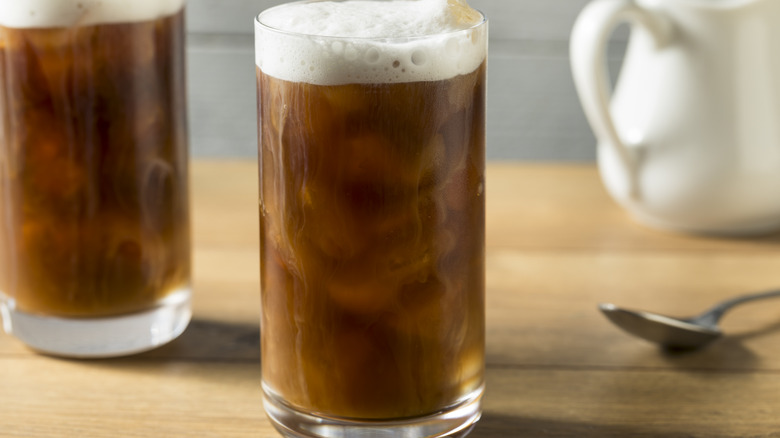
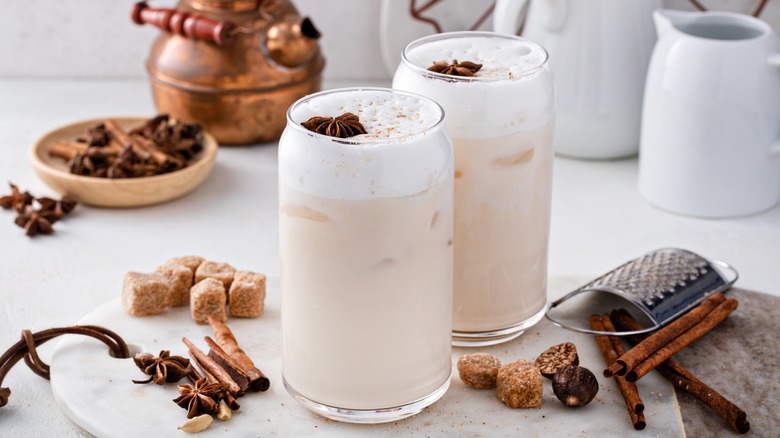
Once you've mastered the art of cold foam, it's time to use it to make the perfect iced beverage. Kayla Stavridis recommends adding cold foam to classic iced coffee or an iced latte. Or, make your own cold brew for a stronger alternative to regular iced coffee. If you want something more unique than these standard coffee orders, try your hand at matcha. "Add a layer of cold foam to your iced matcha latte for a visually stunning and delicious drink," Stavridis suggests.
Remember that you can experiment further with the flavor of these drinks by adding your favorite syrups to the cold foam mixture. Lavender syrup is the perfect addition to make a lavender iced matcha, the ideal spring and summer drink. Other flavored syrups like hazelnut, vanilla, or pecan would complement an iced coffee or iced latte beautifully.
You can elevate practically any of your favorite iced drinks with cold foam. So, instead of waiting in line and spending $6-$8 dollars on a café drink, you can create the same delicious creations yourself. With sweet, foamy cream at your disposal, you'll save money while still getting a café-worthy drink.