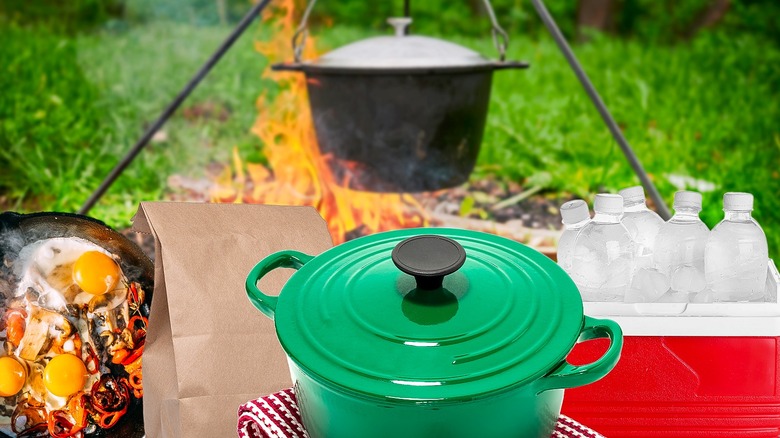
Cooking Hacks You Should Know Before Your Next Camping Trip
When you're camping, the last thing you want are obstacles that prevent you from enjoying the outdoors. And unfortunately for many ardent foodies, some of the biggest issues in the great outdoors arise during the cooking experience. However, if you come prepared with a few tricks up your sleeve, the most challenging aspects of outdoor cooking will be ironed out faster than a short-order cook can make breakfast.
Camp cooking hacks range from simple — constructing the right fire for perfect marshmallow roasting — to serious — ensuring that your camp food prep doesn't set you up for food poisoning. There are plenty that fall in between those extremes, too, but what they all lead to is easier cooking and eating. Preparing and making food at camp becomes less of a chore if you make plans ahead of time to help tackle these and any other challenges Mother Nature (and general inexperience) throws at you. With these simple hacks and a little patience, you'll be ready to turn your humble campfire into a centerpiece for all kinds of outdoor food delights.
Build a teepee fire for better s'mores
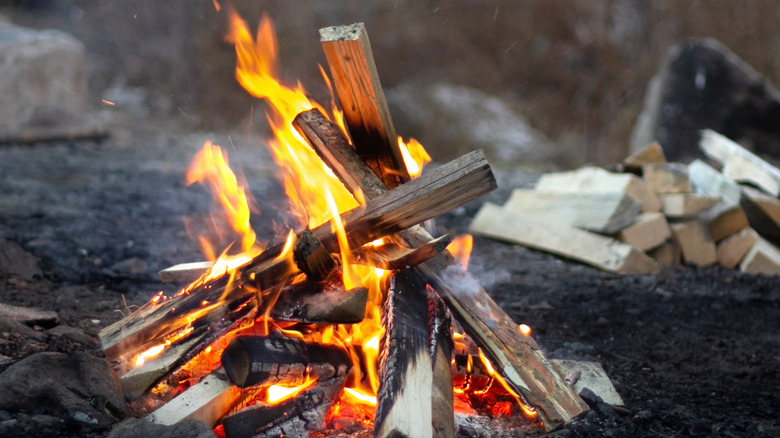
Cooking over a fire is quintessential to camping, particularly if you're making s'mores, the all-time camp favorite. Fire building comes with a learning curve, but there's one simple hack you can use to navigate it. According to Dana Gillespie, Camp Manager for Silver Sage Girl Scouts, it all comes down to the type of fire you build. "If we're using a Dutch oven, we're going to need more hot coals," she explains. "And if we're doing s'mores, we're gonna need flame, with coals in the background."
Achieving the type of flame Gillespie speaks of requires building a teepee- or a cone-shaped fire. It has the potential to produce big flames, depending on how much fuel you put on it. However, because it begins to burn quickly, it also creates coals just as fast. These two qualities together give you the perfect fire to help create ridiculously good classic s'mores (or a hearty helping of s'mores croissants if you're feeling a little creative).
To build a teepee fire, you'll start by putting together a kindling ball made of pine cones and needles, tiny twigs, and dried grass. Next, stand a variety of small, medium, and large sticks or logs around this ball in the shape of a teepee. Light the kindling ball to set it aflame. If you've created enough airflow between the sticks and logs, the ball (and the teepee) should fire up fairly quickly. Once it's lit, add logs as needed to keep the fire toasty while you're roasting your marshmallows.
Bury your Dutch oven in a pile of coals
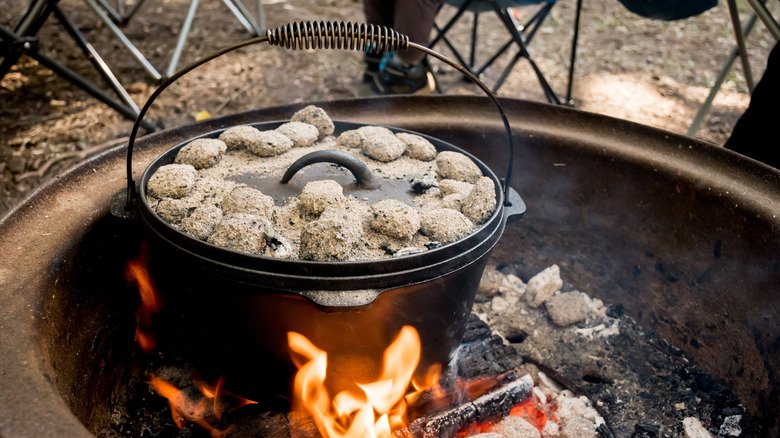
If you love baking baking peach cobbler or making a thick roast at home, you're only a Dutch oven away from bringing those delights to the campsite. "A Dutch oven is a fantastic tool," Corrie Duffy of Corrie Cooks says. "Think of it as your campfire slow cooker!"
It's also an excellent convection oven, and even a nice place to fry some eggs and bacon on cold camp mornings. To make foods like these over a campfire, you need bury the Dutch oven in a bed of hot coals and then bring the heat to the lid by shoveling more coals on the kettle's lid. Once you do this, you've effectively created an oven-like effect inside thanks to how well the Dutch oven's cast iron retains heat.
The metal makes this kitchen tool as strong as Superman, too, though some things, like rust, are its kryptonite. Pantelis Kakaris, founder of Adventourely, advises campers to season the Dutch oven before their camping trip. Doing so not only helps to prevent rust but also creates a natural non-stick surface for easier cleanup.
Finally, to make your Dutch oven easier and safer to navigate, keep a pair of thick work gloves, some long-handled utensils, and a shovel nearby. The gloves and the longer utensils keep your hands protected from the heat of the coals as you cook. As for the shovel, it's perfect for moving coals from the fire on top of the Dutch oven's lid. And for putting the fire out when you're done.
A brown bag replaces your morning skillet for breakfast
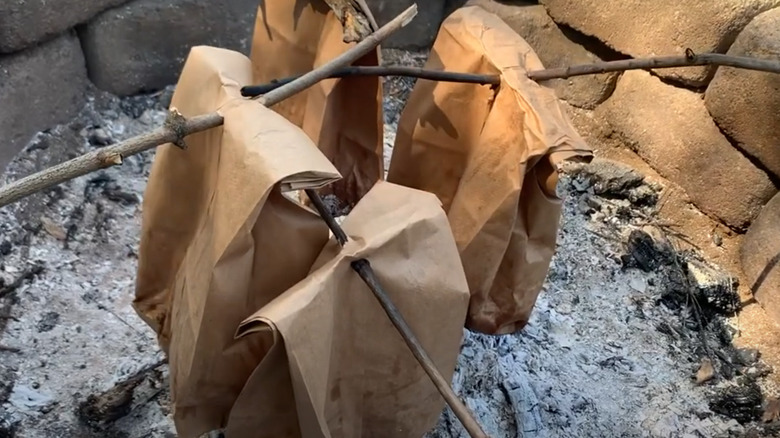
No one likes cleaning up after breakfast, regardless of whether you're cooking at camp or at home. Fortunately, with the brown paper bag breakfast trick, there won't be any pans or dishes to wipe out.
The concept is as simple as its name. You're going to cook a bacon-and-egg breakfast in a brown paper bag – yes, the kind you use for lunch — over the fire. To get started, gather some uncoated brown paper bags and line the bottom of them with bacon strips. You'll want three or four strips per bag — enough to completely cover the bottom of the bag, as the bacon helps protect it from catching fire. From there, you'll break a couple of eggs over the bacon, add salt, pepper, and whatever other seasonings you prefer, and fold down the top of the bag. Pierce the top of the bag with a sharpened stick and hold the bag over the coals as you would when cooking s'mores or hot dogs.
When everything's cooked and you're ready to eat, there's no need for a plate. Just roll down the top of the bag, dive in, and toss the bag in the trash when you're done. Cleanup doesn't get much easier than that.
Pre-prep food when you're cooking with kids
Cooking with kids comes with its own set of challenges, and those are magnified when you're cooking outside over a campfire. Hazards like knives and hot fires are compounded by things like uneven picnic tables, bugs flitting about, and a lack of prep space. However, prepping food ahead of time allows you to bypass some of these challenges and ensure that the kids in your charge stay safe while they cook. That said, you don't want to take all the fun out of cooking outside, so it's a good idea to decide what you'll prep ahead for the kids and what you'll let them cook onsite.
Here's how that decision looks for Girl Scout Camp Director Dana Gillespie. Pre-camping prep revolves around safety. The Girl Scouts in her charge never cook raw meat — that task is handled by the camp's cooking staff to ensure that the scouts don't accidentally consume anything that's undercooked. However, the kids are permitted to chop vegetables and do other cooking tasks, which allows them take part in the process and remain adventurous. Following a similar plan on your family camping trip can help keep your kids involved and your mind at ease when it comes to food safety.
Keep your cooler dry with bottles of ice
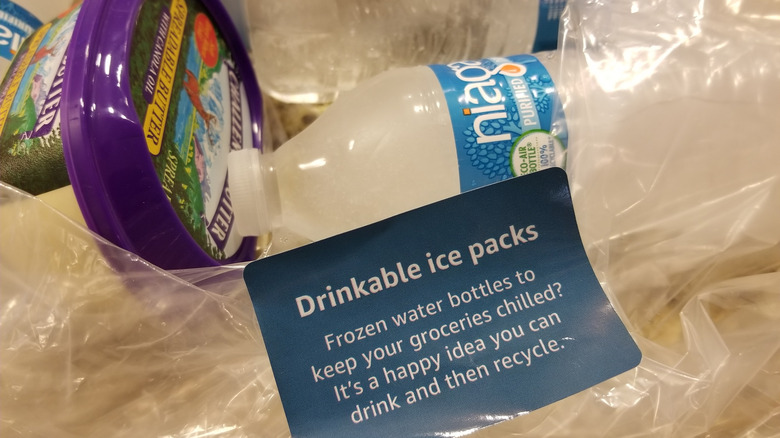
Most campers rely on coolers filled with ice to keep their food cold. Once the ice starts to melt, though, the food inside can get wet. Corrie Duffy has a simple recommendation to prevent this eventuality. "Freeze water bottles ahead of time," she explains. "[They] serve as both ice packs and drinking water as they melt."
But there are additional steps you can take to prevent the ice in the bottles from melting in the first place. For professional photographer and expert travel guide Kevin Mercier of KEVMRC Travel, "last in, first out" is the way to go. "Organize [your cooler] by placing items you'll use first on top," he says. This means less frequent and shorter trips to the cooler, which prevents cold air from escaping its walls and the water in the bottles from melting.
Kayte Billerman sometimes takes measures even beyond what Mercier does. It's not unusual for her to bring a couple of coolers along on camping trips, and she usually takes the extra step of taping shut the lesser-used ones. Ice doesn't melt as fast in this scenario, allowing her to continue to eat well on the trail for a whole lot longer.
Multi-colored cutting boards prevent cross-contamination
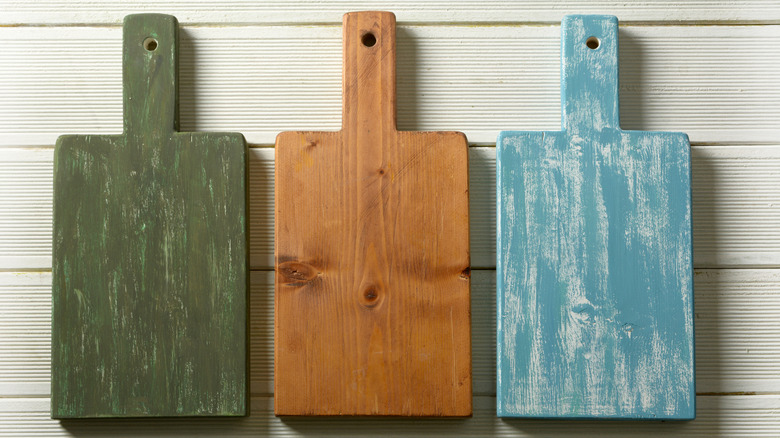
Camp cooking, by its nature, has the potential to engender cross-contamination. Poorly-wrapped items in a cooler combined with melting ice and dirty hands create an environment in which bacteria can thrive. Savvy camp planners make adjustments to how they pack and handle food in order to mitigate any issues that may arise. This includes creating a system to keep foods that shouldn't be together, like raw meats and vegetables, apart from one another. And Stephanie Webb, a travel expert at Trip Shepherd, has just the trick for that: "I use separate cutting boards for meats and veggies –- one red, one green –- and store them separately to avoid any mix-ups."
In other words, color coding. People associate colors with certain messages all the time — red stop signs or yellow caution tape come to mind here. You get the idea. For your camping color coding system to work for you, try to make a logical connection between the colors and the food. For example, red meat gets a red cutting board. Veggies go on the green one. And your yellow cutting board can signify poultry.
Lastly, no system designed to prevent cross-contamination will work if you don't properly clean the cutting boards after you're done with them. Give them all a good scrub with hot, soapy water before dunking them in warm bleach water to ensure they're really germ-free.
Clean public grills with tin foil
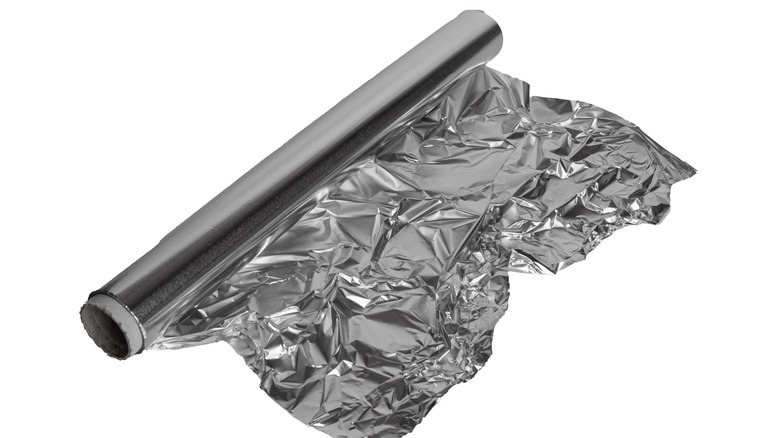
If you're camping in a public park, then chances are you'll run into one of those barbecue grills provided by the parks system. While this makes barbecuing your spiralized hot dogs super convenient, it's also a gigantic source of potential grossness. You have no idea when that public grill was last cleaned. And while it goes without saying that you should give it a good scrub, the tool you should use when you clean the grill might surprise you: aluminum foil. Aluminum foil has an advantage over other common grill-cleaning tools, including a wire brush. Aside from being lightweight and easy to carry, foil serves multiple functions, including giving you something to cook veggies or chicken in.
Using foil as a cleaning device is easy-peasy. Start by heating up the grill for a bit; you don't want a big fire under the grate, just enough to warm the grates. Next, crumple a sizable piece of foil into a big, shiny ball. Once you have the ball, scrape it back and forth over the grates once the grill cools a bit. If you're concerned that you'll burn your hands, grab the foil ball with a sturdy pair of grilling tongs before you start scraping. Finally, if the grates are extra grimy, scrub the grill with baking soda and white vinegar before you fire it up.
Crack eggs into a water bottle
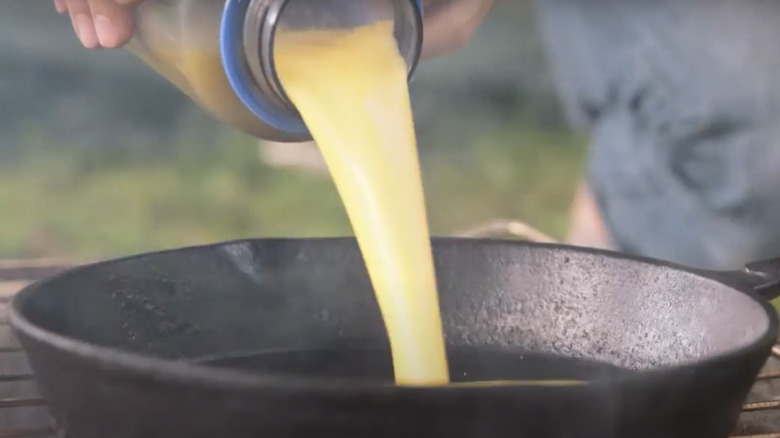
Fragile eggs in a carton plus a jostling vehicle equals broken shells (and a mess) by the time you reach your campsite. It also means that the scrambled eggs or omelets you dreamed about for breakfast are a no-go, unless you come up with a trick to save your chicken seeds from destruction. Enter the wide-mouthed water bottle. Saving breakfast only requires you to break the eggs into the bottle and screw on the cap. When you're ready to cook, all you need to do is to pour the eggs into the skillet or Dutch oven.
There are a couple of advantages to this, aside from putting the kibosh on a mess waiting to happen. First, if you have more than one water bottle, you can portion out the eggs for each breakfast you'll have at camp. For example, if you'll be gone for three days, make up three separate bottles of eggs to use with each breakfast.
Second, this makes pre-camping meal prep simpler, because you can season the eggs before you even pack up the car. It also means you don't have to carry a full spice detail to season your food. Scrambling them is way easy, too — just shake the bottle to break the yolks and mix 'em up good.
Start a fire with your corn chips
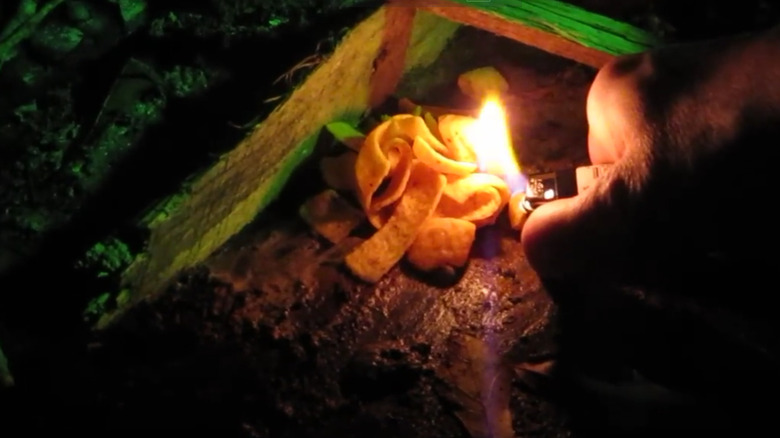
Short of kerosene, there are few things that get a fire started better than a bag of Doritos or Fritos. If you're like most people, pine needles, and not corn chips, are what you turn to when you need a little kindling. However, pine needles aren't the only game in town when it comes to finding an effective fire starter. In fact, once you learn why Doritos and other corn chips ignite so quickly, you may change your kindling habits for good.
Corn chips have a few things going for them that other types of kindling don't. First, fat is part of average snack chip recipe. In your standard bag of Doritos, you'll find sunflower, corn, and canola oils listed as ingredients, all of which make the chips extremely flammable. The oils tend to burn a long time, too, which gives the other burnables in the fire a chance to ignite.
Aside from that, ground corn burns extremely well thanks to the amount of carbohydrates it contains. Basically, corn is fuel for the body and fuel for the fire. Finally, the seasonings — salt being the most important — keep the chips dry, and dry means flammable. And because they're sealed in a water-proof bag, you always have dry fire starters even in the wettest conditions.
