Stuffing Pasta Shells Is Ridiculously Easy With A Piping Bag
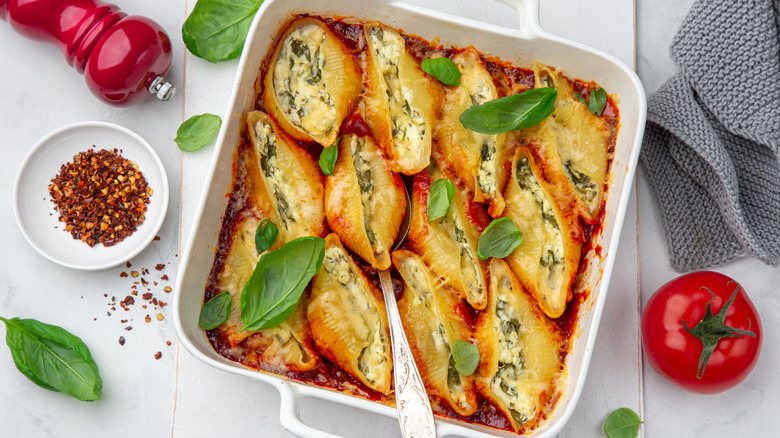
Whether you're preparing the dish for a weeknight dinner or a special occasion with friends, stuffed shells can hit the spot. Akin to other cheesy pasta casseroles like lasagna or manicotti, stuffed shells have an extra special allure because, well, pasta in the shape of a seashell is not only cute, but makes for the perfect pocket to hold a cheesy filling. However, it's important not to rip the shells during the filling process. Luckily, there's a simple trick to fill them flawlessly and gently, and all you need is a piping bag.
Before filling your pasta shells, you must cook them a couple minutes less than directed on the pasta box, since they'll continue cooking as they bake in the oven. Though the shells will be slightly under al dente ("to the tooth" in Italian — having a soft, yet slightly firm bite), they'll still be delicate to work with.
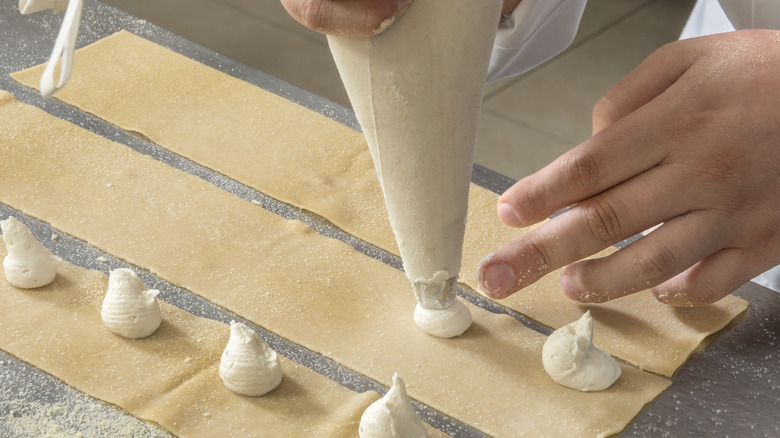
While many recipes call for using a small spoon to scoop ricotta filling into the pasta, that method can be a bit cumbersome. The filling tends to stick to the spoon, causing rips in the pasta shells as you try to deposit the cheesy mixture. Instead of fussing to fill your pasta shells with a spoon, however, you can simply transfer your filling to a piping bag, cut the bag's corner, and easily pipe clean rows of cheese-filled pasta shells — with minimal mess or broken pasta pieces.
How to pipe cheesy filled pasta like a pro
Piping ricotta cheese filling into pasta doesn't require any special tools or fancy piping skills — all you need is a piping bag (or large Ziplock) and a pair of kitchen scissors. First, prepare your filling by combining ricotta cheese, along with Parmesan, salt, pepper, oregano, red pepper flakes, and lemon zest. Some home chefs also add sausage and spinach to their stuffed shells, and some use an egg or two as a binder.
Once your filling ingredients are well combined, transfer the mixture to a piping bag. For less mess, place the piping bag over a tall water glass, folding the bag's edges over the rim and sides of the cup. Fill the bag about halfway to three-quarters full, then twist the bag at the top, tie it shut, and snip the corner end of the bag with scissors.
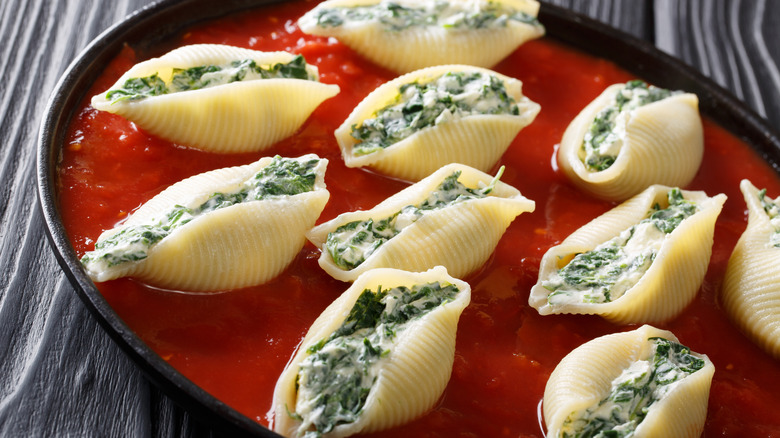
Next, arrange your cooked and cooled pasta shells in a casserole dish coated with a thin layer of marinara. Fill each shell individually by squeezing the piping bag with steady pressure, depositing the filling from one end of the shell to the other, until the shell is completely filled. You'll find the process is both quicker and more gentle than using a spoon. When all your pasta shells are filled in neat rows in the dish, cover the whole thing with sauce, top with shredded mozzarella or parmesan, then cover the casserole with foil and transfer it to the oven to bake.
Additional tips for making an impressive filled pasta dish
Just like whipping up a quick 30-minute lasagna, making stuffed pasta shells is simple if you have the right know-how. While using a piping bag to fill stuffed pasta shells makes the process so much easier, there are some small tips (literally) that could seriously elevate your dish. If you have piping tips on hand (the kind used to pipe icing into rosettes and swirls on cake), you could add one to the piping bag prior to filling it with cheese. Of course, the filling will be encased in pasta shells and sauce, but using a star or ruffle tip can help you distribute the filling evenly and make your dish just a touch more elegant. If you have any leftover filling in the piping bag, you could even pipe ricotta filling stars or roses on top of the shells after they're filled and topped with sauce.
If you're piping without a tip, your pasta will certainly still be filled neatly. Once the bag is filled with cheese, just cut a medium-sized hole at the corner so an ample amount of filling comes out when you pipe it — you can always snip it to be a bit larger, if needed. However you choose to fill your pasta (simply, or with some extra star-tip flair), be sure to garnish your stuffed shells with parsley and grated cheese for that extra finishing touch before serving and digging in.


