11 Tips That Will Improve The Way You Make Hard-Boiled Eggs
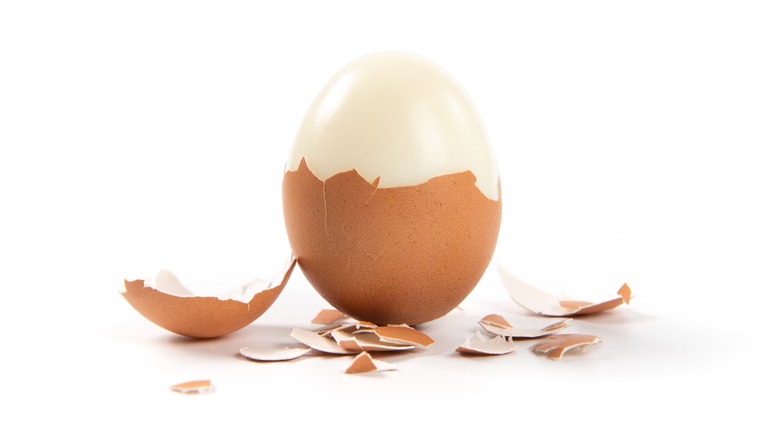
If you've got a dozen eggs, a pot of boiling water, and 30 minutes, you've got the beginnings of dinner or appetizers. All of these meals are possible because you're able to make one of the most versatile foods around: hard-boiled eggs. Despite their versatility and ubiquity, quite a number of home cooks feel challenged by this refrigerator staple. These food nerds either end up with undercooked yolks. Or they wind up tearing up the egg whites after the eggs are cooked because peeling hard-boiled eggs can be more challenging than anyone in their egg-loving mind could expect. And if that weren't enough, even under the best of circumstances, it's still possible to end up with rubbery hard-boiled eggs that have a green tinge around the yolk. Any of these mishaps can lead to a less than appetizing presentation and a subpar taste for dishes, like deviled eggboats or hard-boiled Easter eggs.
Fortunately, there are several tips that increase the likelihood that your next hard-boiled egg recipe will turn out better than any of the other ones you've made previously. These hacks make peeling the egg easier. They'll also tell you if the egg is done or allow you to save your hard-boiled eggs for future time. In this piece, the tips that follow introduce you to these oh-so-helpful techniques that take your hard-boiled eggs from green-tinged fridge monsters to the most beautiful plate of hard-boiled eggs eggs ever.
1. Know how to time an egg
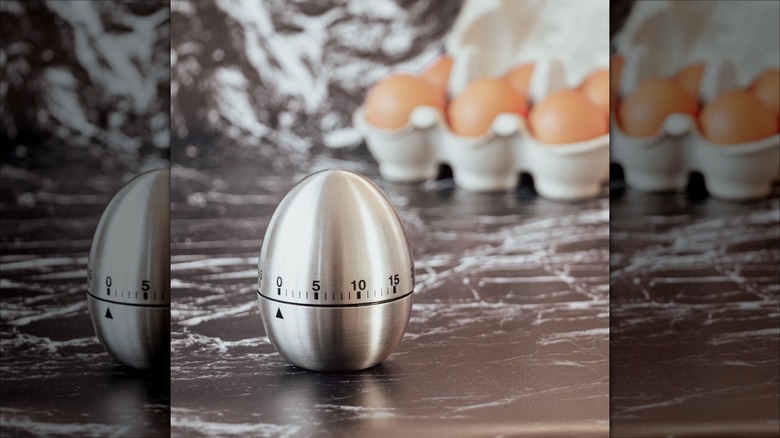
The term "hard-boiled" isn't set as hard fast as the eggs it's supposed to represent. While it is true that hard-boiling eggs makes the whites and the yolks solid, you do have control over how solid each part of the egg becomes in the process. It all comes down to timing your eggs' cooking time correctly.
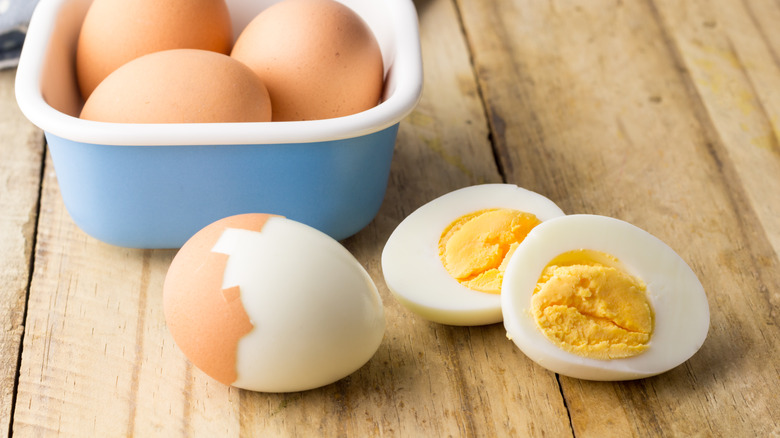
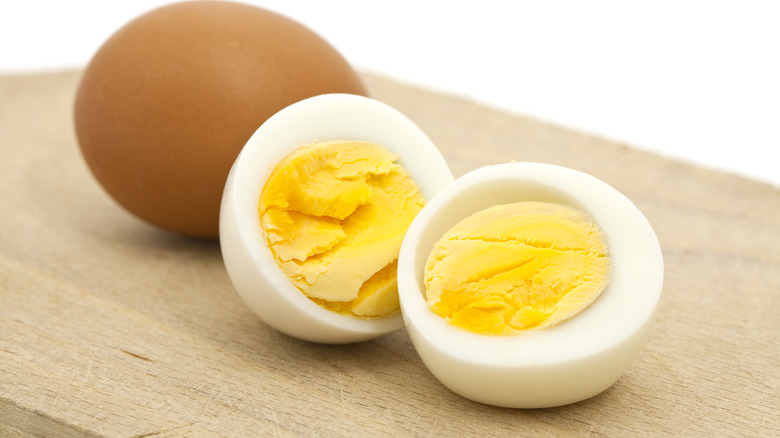
Roughly speaking, you can have runny, soft, medium, and hard eggs. If you want your hard-boiled eggs to be runny, set the timer for six minutes. Eight minutes nets you soft-boiled eggs. Ten minutes brings the kind of consistency you expect when you're hard-boiling eggs for Easter and other occasions. If, for whatever reason, you want eggs harder than that, boil them for up to 15 minutes. Do be aware that the longer you cook your eggs, however, the more rubber-like consistency they take on.
As for cooking options, you have a couple of possibilities. Take eggs directly from the refrigerator. They need to be cold for this. Start your water to boiling and then put the eggs into the water, cooking them to the desired doneness, based on the information in the previous paragraph. You can alter the process slightly by allowing the water to come to a boil, dropping the eggs into the boiling water, and then turning off the stove, permitting the residual boil to cook the eggs for 10 to 12 minutes. Once all of this is done, immerse in an ice bath and peel.
2. Add in cooking oil for an easy peel
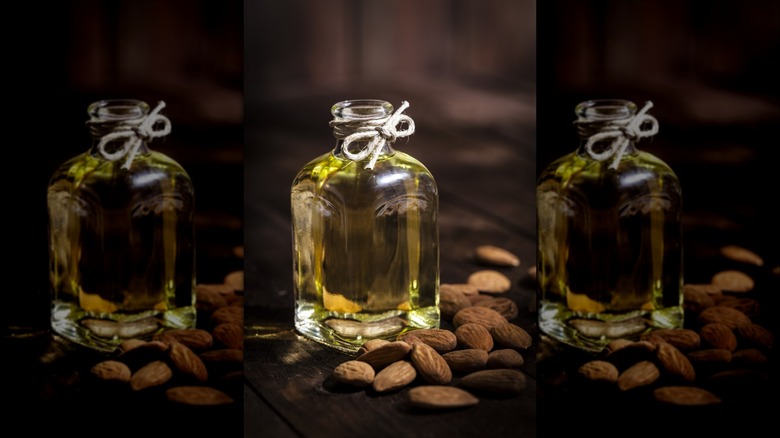
To the naked eye, an eggshell appears solid. Under the microscope, the eggshell tells a different, more holey story. All eggshells are porous, a trait that makes this little-known hard-boiled egg hack possible. Here goes. One fresh egg plus water plus a tablespoon of vegetable oil equals the easiest peeling egg you'll ever find.
Chalk this trick up to the porousness of the egg. Although the pores in the egg might be microscopic, they're large enough to let the vegetable oil inside the egg. (On a related note, the baby chick inside the shell would have a hard time breathing were it not for the pores in the eggs' shells.) The oil gets under the shell and forms a thin layer between the hardening whites and the shell. This prevents the sticking action that normally happens when an egg gets hard-boiled. This oil and water bath makes peeling the egg easy because the oil doesn't allow the shell to stick to the whites. Shells that can't stick to the egg whites can't tear up said egg whites.
If you want to prep an ice bath, you can. Though the oil and water mixture allows for easy peeling, the ice bath will cool the eggs off if you want to use them right away in salad or other recipes. Five to 10 minutes ought to be enough to get a good chill on the eggs. After that, just crack and peel — easy peasy.
3. Turn to the Crock-Pot for the slow burn
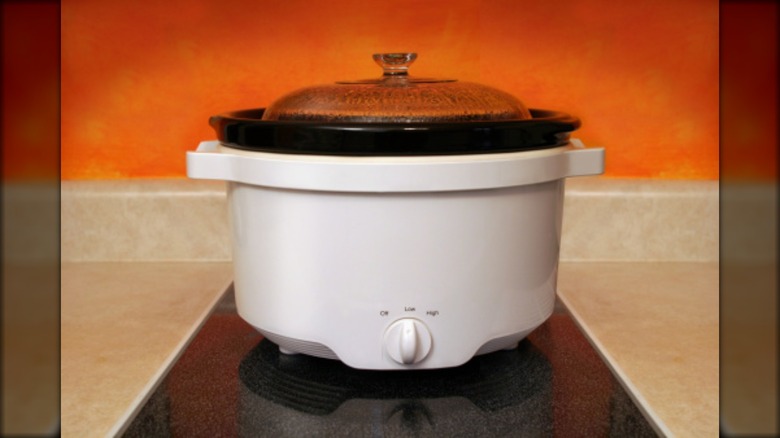
Putting food in the Crock-Pot to cook allows you to add a set-it-and-forget-it cooking option to most recipes. While it's likely that you know how convenient it is to use the slow cooker for dishes like casserole or chili, it's actually also a great tool for an unlikely food: hard-boiled eggs. The set-it-and-forget-it component of the slow cooker makes it ideal for when you don't want to watch a batch of eggs cook but you still need to cook them. There are some practical reasons why cooking them in the Crock-Pot might be a good option for you. Traveling or camping, where you have limited resources, count among them.
It takes between two and three hours to hard-boil a dozen eggs in the Crock-Pot on the high setting and up to five on the slow cooker's low setting. You'll start this method of cooking with a cold Crock-Pot. This allows the slow cooker to heat up more evenly, which in turn will cook your eggs more evenly. Add enough water to cover the eggs with a little bit of water left over on top. Aim to have an extra inch or two of water over the eggs. Once the eggs are cooked, immerse them in an ice bath to cool them off before you peel them.
4. Use a steam basket
As it turns out, your favorite steam basket doesn't just work when it comes to cooking Chinese dumplings or steamed veggies. It makes for some mean hard-boiled eggs that happen to be much easier to peel than usual. It comes down to those little pores that cover the shell of the egg. The steam gets inside the shell of the egg, which cooks the egg while simultaneously allowing a little bit of water to insert itself between the shell and the egg white. The thin layer of separation more readily encourages the peel to come off the egg.
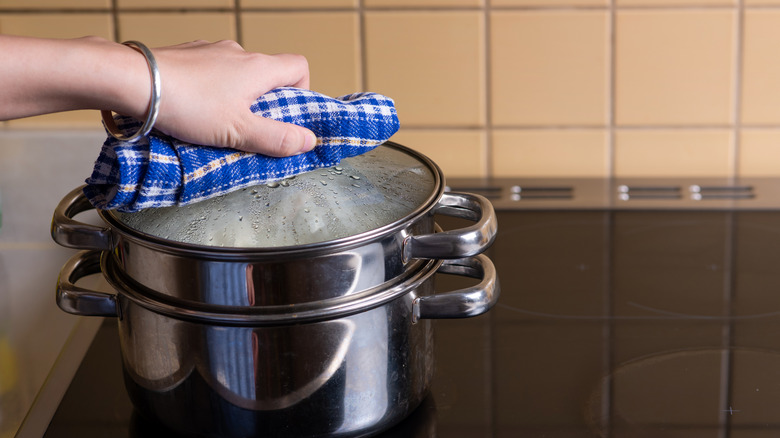
Steaming eggs follows the same setup that steaming your vegetables in the steam basket does. Fill a pot with water and drop the steam basket in it. The water should just graze the top of the basket. Fire up the stove and allow the water to boil. Once boiling has commenced, turn the heat off and place the eggs in the steam basket. Ideally, you go for a single layer of eggs in the steam basket, though in a pinch, making a pile of eggs in the basket also works.
Fire the stove back up but take it down to medium this time. Steam the eggs anywhere from six to 15 minutes, depending on how soft or hard you want the eggs to be. Dunk the eggs in an ice bath once you're ready to peel them.
5. Opt for older eggs
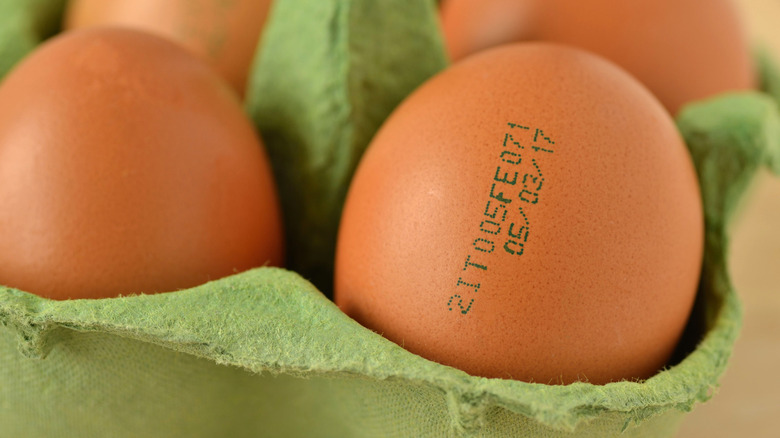
Some home gourmands swear that the way to cook perfect eggs is to start with fresh eggs. Mostly this advice rings true, but there is at least one time when older eggs work better, and that's when you're making hard-boiled eggs. On older eggs, the albumen, otherwise known as the egg whites, begins to break down. Basically, the moisture that was originally inside the egg white begins to evaporate, escaping from the shell via the pores that cover it. Because of the shrinkage, peeling the egg becomes easier because the egg whites don't stick as closely to the shell. After all, the volume of them has decreased.
If you have unused eggs that have been sitting in the refrigerator for a week or two, this is a great way to use them without worry. However, despite facilitating an easy peel, you still want to shock the egg whites by dunking the cooked hard-boiled eggs into an ice bath.
6. Let vinegar and salt do the heavy lifting for you
Peeling hard-boiled eggs would be so much easier if there were just a way to evaporate the shell completely. If you know the vinegar and salt trick, then you're actually pretty close to this evaporated eggshell reality. To get this egg-peeling hack going, pour ¼ cup of vinegar and one tablespoon of salt into your egg water. Heat the water until you've got a good bubbling boil going.
Gently add the eggs to the boiling water and allow them to be immersed in their stovetop jacuzzi for around 14 minutes. Once the eggs are hard-boiled to your preference, allow the eggs to sit in a bath of ice for another 15 minutes before you attempt to peel them.
The vinegar and salt mixture does two things for you here. Like all eggs that come into contact with vinegar, the vinegar starts to set the egg whites a little bit. The second thing that happens is that the acid from the vinegar and the salt dissolves some of the egg's shell, making it easier to break open and peel. Finally, if you're trying this hard-boiled egg hack and you have a choice, go with white vinegar.
7. Understand how to check for doneness
It's one thing to make soft-cooked hard-boiled eggs on purpose. It's another thing altogether when you have misjudged how long it takes to cook an egg and you wind up with underdone or overdone eggs. Fortunately, a couple of tricks exist that make this part of the hard-boiled egg-cooking process a lot more cut and dried.
The first trick is to give the eggs a good spin. It's simple to do. Just lay the egg on its side and spin it. If it wobbles and rocks, it's not quite done yet. A smooth spin indicates doneness throughout the egg. The second way to tell if your eggs are done is to give them a good shake. If the sounds of slopping and sloshing break forth from the interior of the egg, then the egg isn't quite done and may require a bit more time in your boiling water bath. You may have to practice this hack for a bit to get the hang of it. After a time, you'll start to get a feel for how an underdone egg feels when you shake it as opposed to one that is done all the way through.
And when all else fails, you can just use a timer and cook the eggs according to how done you want them. The more time you cook the harder the eggs become. The last time you cook the softer they remain.
8. Set the timer for seven days
Hard-boiled eggs count as such a staple that it's not unusual for egg eaters to cook up a bunch and store them in the fridge for work lunches throughout the week or to use in recipes. That said, like all perishable items, these precooked hard-boiled eggs do have a time limit, after which you don't want to use them. If you put them in the refrigerator with the shells still on, they should hold up for about a week before you need to toss them. If you've already peeled them, that week drops down to just two days. It's also worth noting that if they are peeled, they're best stashed in a Ziploc bag or a plastic container with a lid so that they don't dry out.
The length of time that they stay in the refrigerator equals only one-half of this equation, however. For best results, you also want to keep them in the fridge where the temperature is just right. Although most doors of most refrigerators do come with egg compartments, avoid storing your eggs there. Because the refrigerator door opens and closes so often, the items in your refrigerator door are subjected to the most temperature fluctuations, which could cause your pre-cooked hard-boiled eggs to spoil prematurely. For best results, place them in the back of the fridge or deep in one of the drawers just to make sure that the temperature will be most consistent on them.
9. Pickle the eggs to preserve them
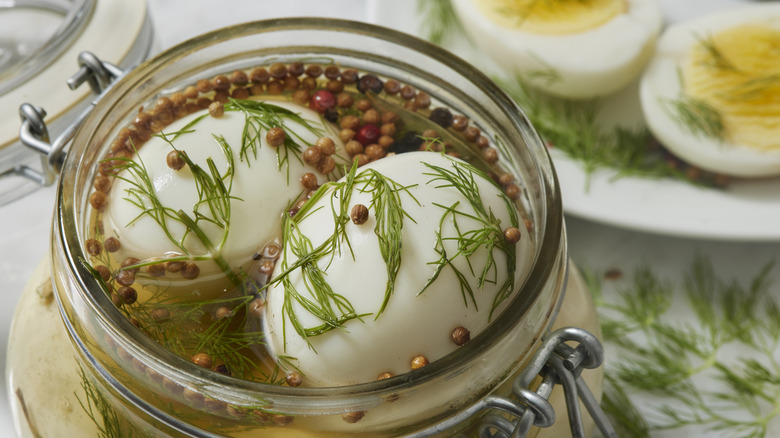
People have been pickling eggs since at least around the time of the Revolutionary War. Food historians believe that this acidy concoction may have started with German immigrants, though they were also popular with the English. By the mid-1800s, this pickled snack found its way to bars and pubs where they made for a tasty snack to have with a spot of ale. For hard-boiled egg lovers today, pickling represents another option for enjoying their little yolky snacks for longer. More specifically, stashing pickled eggs in the refrigerator means that you can enjoy hard-boiled eggs on command for up to three months.
There's more than just one type of pickled egg. Certainly, the simplest is the classic pickled egg recipe, but savvy home gourmands have raised the bar with this delicious snack. Beet pickled eggs, sriracha pickled eggs, curried pickled eggs, and more count as just a few of the options that pickled egg lovers can indulge in.
To make pickled hard-boiled eggs, you'll start by making your preferred hard-boiled egg recipe. Once they're done, peel them, and immerse them in your pickling recipe of choice. When you pickle eggs with other items, like beets or onions, feel free to drop some of those ingredients inside the pickling jar as well. Your eggs will soak in the jar, soaking up the delish pickling solution along the way. Once they're pickled, keep them in the refrigerator until you're ready for your next pickled egg snack.
10. Cook them in the Instant Pot
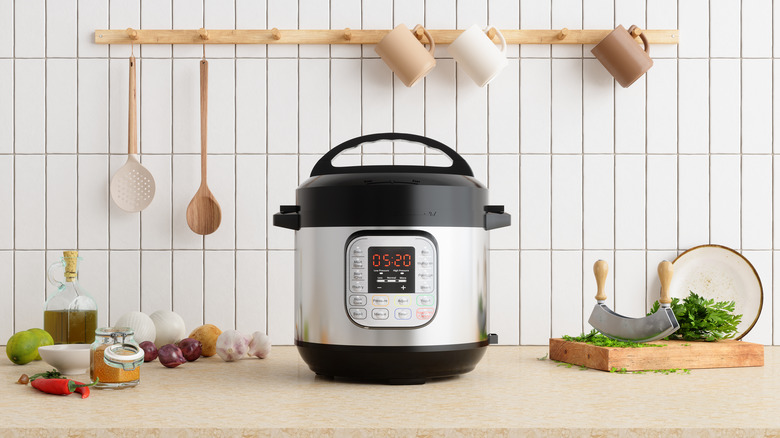
When it comes to cooking some foods in the Instant Pot, the quick cooking time offers a big draw. However, some foods may not necessarily be done faster when it's all said and done. The question comes, then, why use a pressure cooker if it's not faster? It would be hard to answer this for all foods that you can cook in a pressure cooker, but when it comes to hard-boiling eggs, the answer is a bit easier. The long and short of it is peeling them after you cook eggs in the Instant Pot is infinitely easier.
Aside from ease of use, cooking your hard-boiled eggs in the Instant Pot also offers you some insurance that you'll never again have undercooked eggs if you embrace pressure cooking as an egg-cooking tool. Pressure-cooked eggs also have one more advantage: They typically don't have the green ring around the yolk that some hard-boiled eggs develop.
To get this going, put your eggs into the pressure cooker with some water. Set the pressure cooker for six minutes on low pressure, and then, allow them to sit for another five minutes. The pressure needs to take a big dip inside the pressure cooker before you move on to the next step, so don't skip this part. Then, set them in ice water. After 30 minutes, peeling the Instant Pot hard-boiled eggs should be a breeze.
11. Freeze the yolks
Many home cooks may not think of the freezer as a food-filled bank account of sorts but for savvy home budgeters, that's exactly what it is. This ice chest is a treasure trove that allows you to hide away bulk meals that you've created, encouraging you to eat more economically. Foods like frozen pizzas, chili, and vegetables from the garden are all candidates for freezing for later use.
However, your zeal for the freezer shouldn't extend to your hard-boiled eggs. Although raw eggs that you've removed from the shell and put in a container work out just fine in the freezer, whole hard-boiled eggs in the freezer turn rubbery. That said, hard-boiled egg yolks can withstand the freezer but it must be the yolks only. They'll withstand your portable piece of Arctic tundra in your kitchen for up to three months.
At this juncture, you may wonder why you would save frozen hard-boiled egg yolks but not the whites. These work well in dishes that require extra egg yolks, like deviled eggs. The frozen hard-boiled yolks give you the option to add volume to your deviled egg recipes in just a hot minute. All you need to do is boil the eggs, remove the yolks, and put them in a plastic bag or container in the freezer. Keep the hard-boiled yolks frozen until the next time you need to make deviled eggs or egg salad.
