The Common Banana Bread Mistakes To Avoid And A Few Tips To Make It Right
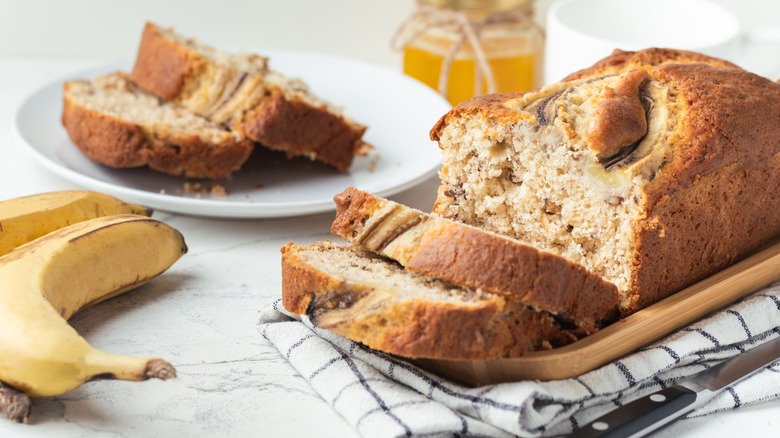
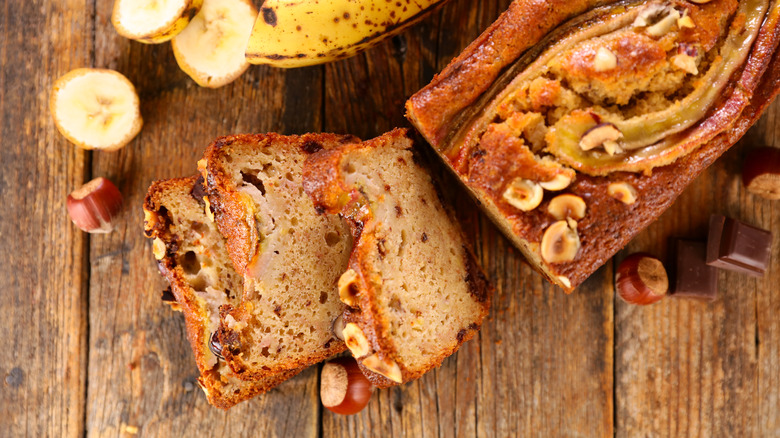
Banana bread has been a popular American breakfast, snack, and dessert since the 1930s when Depression-era scarcity made people loathe to waste any kind of food, including overripe bananas. At the same time, baking powder began to be mass-produced and readily available in stores. Creative recipe authors soon combined the two ingredients to create this banana-flavored bread. While it is sweet and is basically a kind of simple cake, banana bread is classified as a quick bread. Quick breads, which include cornbread, Irish soda bread, and other fruit-flavored breads like pomegranate bread, are loaves that use baking powder (or a combination of baking soda and other ingredients) to leaven the product rather than using yeast. As a result, they are simpler to make than traditional bread is.
But just because they are simple doesn't mean it always goes well. While cooking can be considered an art, baking is more like a science, and the processes that result in a properly risen bread (with a moist interior and the right density and crumb) usually don't happen by accident. That's why it's important to follow recipes — like this one for brown butter banana bread — very carefully. Measure exactly, and understand how ingredients work together before making substitutions. Knowing these common banana bread mistakes plus how to avoid them will help you make delicious and irresistible banana bread every time.
Tools and ingredients you need for banana bread
Banana bread is made with a pretty standard set of baking ingredients, which you'll likely already have most of at home. However, recipes for baking are written very carefully, so stick to the ingredients as listed and measure accurately. If you change things around, you may not end up with the result you expected.
The most obvious ingredient on your list will, of course, be bananas. Your recipe should call for overripe bananas, so make sure that's what you use. (We'll dive into why that's so important later.) Avoid substitutions with your other ingredients, too. Swapping out all-purpose for another type of flour won't work without additional adjustments. And things can turn out even more disastrous if you begin swapping out ingredients like buttermilk or baking soda because that affects how your bread rises. Make sure to measure well too; too much fat will create an unappealing texture, while too much flour can make the cake dry.
For your tools, standard mixing bowls, a whisk, a wooden spoon, and a spatula are fine. Don't grab your electric mixer in this case, as it can over-mix the batter and produce a tough cake. Your recipe should also indicate what kind of pan to use — usually a 9x5-inch metal loaf pan. Avoid subbing this for a different size or material. Your recipe will be formulated for the specific pan size listed, and changing it could cause the bread to overflow, collapse, or burn.
Don't use the wrong bananas
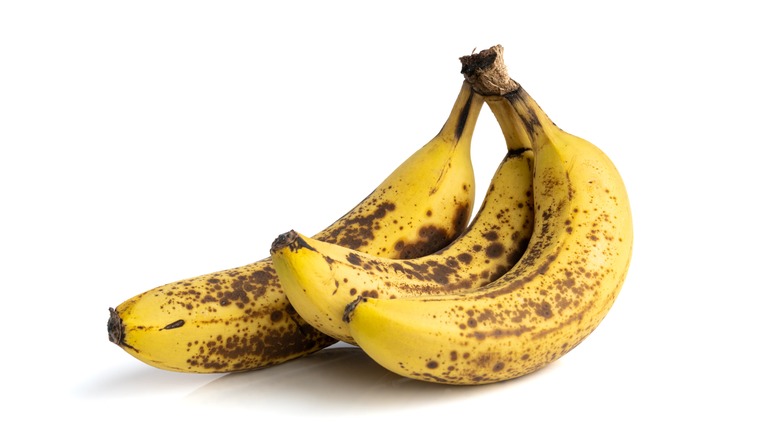
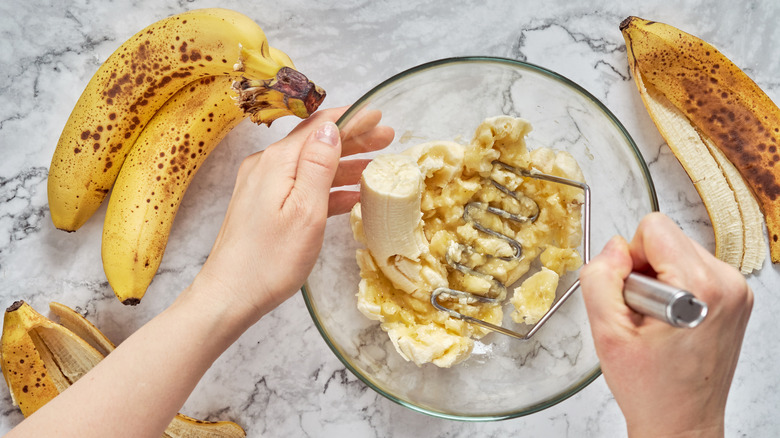
Bananas are the star of banana bread, but only if they're overripe. A common mistake is using just ripe yellow bananas, which will lead to a bland cake that's not very sweet. Even worse, underripe green bananas have more resistant starch, which makes them firm and even a little bitter. These just aren't sweet enough for a flavorful banana bread. However, as bananas ripen, the starch is converted to sugars, which completely changes their taste and texture. The best bananas to use will be soft and fairly brown, or they'll have a generous number of brown and black spots speckling their skin. These bananas are often too sweet or mushy to enjoy on their own; but for banana bread, they're perfect.
Bananas don't necessarily ripen according to our schedules. So, if you have your heart set on making banana bread soon and your bananas are stubbornly unripe — you can speed up the process by separating some from the bunch, putting them in a brown paper bag, and placing it in a warm spot in your kitchen for 1 to 3 days. On the other hand, if you've got bananas that are about to go from ripe to rotten, you can bind banana stems in plastic wrap to slow the ripening process for a few days.
If you've got more bananas than your recipe calls for, resist the urge to toss them into your batter — even if they're perfectly ripe or you're trying to avoid waste. Too many will cause your banana bread to become soggy and heavy. Instead, chop (or mash) them up and freeze them until a more convenient time for baking.
Don't disrupt the leavening process
A common outcome with banana bread is a compact, dense loaf that has failed to rise properly. This is likely the result of the baker accidentally disrupting the leavening process. Banana bread rises because it contains a leavening agent that — when combined with acid, liquid, and sometimes heat — produces carbon dioxide gas that elevates the bread. Your recipe could contain any number of leavening agents and acids, and you want to be sure to let them do their thing.
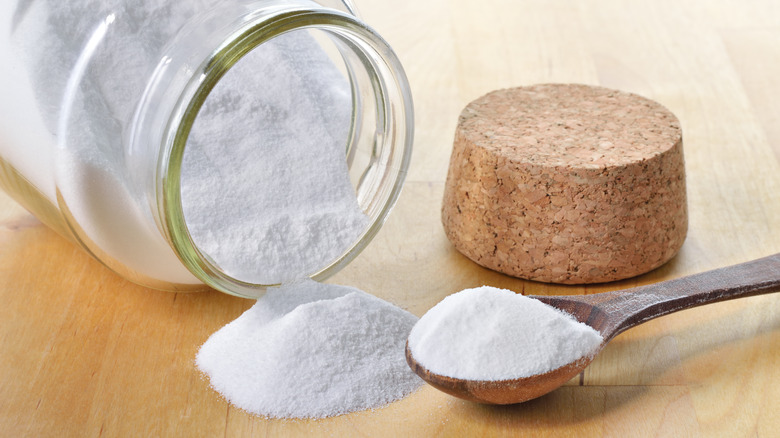
Many recipes call for baking powder, which already contains acid and works twice: once when it touches liquid and a second time in the heat of the oven. It should get the job done all on its own. If your recipe contains baking soda, however, be careful. It only reacts properly when it touches liquid and is combined with an acidic ingredient. If you see buttermilk, yogurt, sour cream (which Martha Stewart uses in her banana bread), or even chocolate, molasses, brown sugar, or applesauce in the ingredients list, don't leave them out. They all contain acid meant to help your banana bread rise. If you're really in a pinch, you can make a buttermilk replacement by mixing 1½ teaspoons of lemon juice into ½ cup of milk.
Expired baking soda or baking powder can also cause rising failure. To check, pour a little acidic vinegar or lemon juice onto a spoonful of baking soda, or some water onto baking powder. If it fizzes, it's good to go.
Prepping your oven and your pan
Unless you're making flavored banana bread — like this chai chocolate chip banana bread recipe, which requires prepping tea first — then the first step of the recipe will be to preheat the oven. Usually, you'll need to set it to 350 degrees Fahrenheit, but use the temperature that your recipe calls for. Be patient and let the oven fully preheat; if it's too cool, the bread could end up undercooked or sunken in the middle. Conversely, if your oven is too hot, then the top of your bread will bake faster than the interior, forming a crust. When the batter inside continues to rise as it cooks, it will push through the top, creating cracks. Many ovens run hot or cold, and the best way to avoid this is to use an oven thermometer. Also, make sure you have an oven rack in the middle position of the oven to guarantee even baking.
The last thing to do before making your batter will be to prepare your baking pan. Grease the bottom and sides of the pan with butter, or line it with baking parchment paper to prevent your banana bread from sticking to the pan (and to make the bread easier to remove at the end).
Preparing your batter
The next step is to mash your bananas with a fork. Then, you'll prepare two separate mixing bowls: one for the wet ingredients and one for the dry ones. Doing this separately will allow you to mix each one well enough without running the risk of over-mixing and making a tough or rubbery cake. It will also prevent the leavening agents from touching the liquid and activating prematurely.
Add sugar, butter, eggs, vanilla — and whatever other wet ingredients that your recipe calls for — to your mashed bananas and beat by hand until smooth. In a second bowl, whisk together flour, salt, baking powder or baking soda, and any other dry ingredients. Pour the dry ingredients into the bowl of wet ingredients and gently mix with a wooden spoon. Fifteen seconds — or just until the flour moistens and the batter comes together — is plenty, and it's normal for it to be lumpy.
The magic starts to happen when you combine the wet and dry ingredients because this is when the baking powder or baking soda comes in contact with the liquid and starts to activate. Unless you're using double-acting baking powder, work quickly. Pour the batter into the pan, smooth out the top with a spatula, and place the pan in the preheated oven without delay. If you wait too long, the production of gasses could fizzle out and the bread won't rise properly.
Some additional baking tips
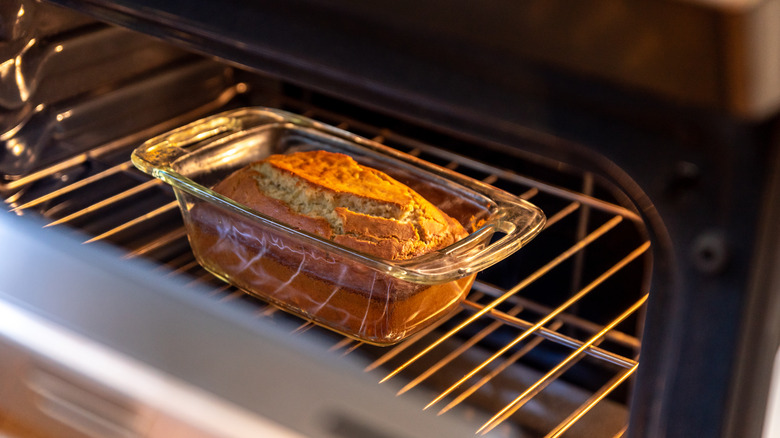
Because it's so dense, your banana bread will need to cook for a long time — usually around 60 to 70 minutes. This step involves waiting, but you should resist opening the oven door to check on its progress. Opening the door lets heat escape and lowers the cooking temperature, so use the oven light to take a peek instead.
Then, halfway through the recipe's cooking time, quickly reach in and rotate the pan on the oven rack (using oven mitts, of course). Some ovens have hot spots that you want to adjust for, but even if yours doesn't, rotating the pan will help ensure that all the parts of the bread cook evenly.
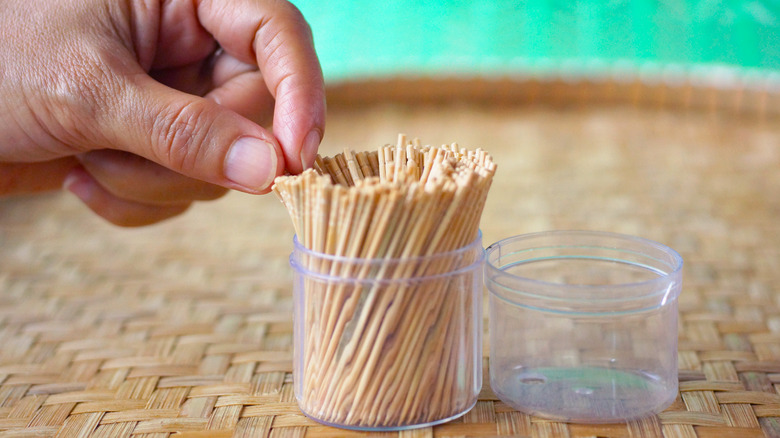
If — during the early end of the cooking range given in the recipe, and after inspection with the oven light through the closed oven door — it seems like the bread may be done, then you can use the toothpick test to check. The top should be a nice golden brown color at this point. Insert a toothpick straight down into the bread's highest point. If it comes out with wet batter stuck to it, the bread needs more time; so cook it for another 2 to 3 minutes and then check it again. It will be done when the toothpick comes out clean, but it doesn't need to be bone dry. A few crumbs clinging to the toothpick is fine and even preferable.
Cooling banana bread is part of the recipe
Once the bread passes the toothpick test, take it out of the oven. It's tempting to taste it now, but be patient because the cooling instructions are an important part of the recipe. First, you'll let the bread cool in the pan, usually for about 10 minutes, but check what your recipe says and don't go over that. If you leave it in the pan for too long, condensation will build up along the areas of the bread that are in contact with the pan, and that's a mistake that causes soggy banana bread.
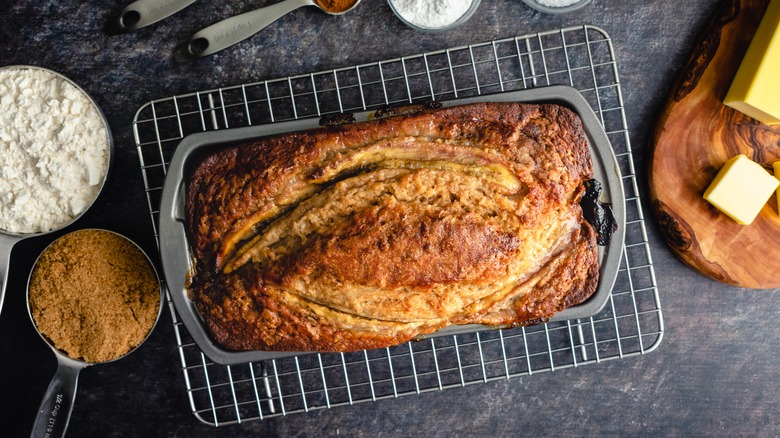
Then, carefully remove the bread from the pan with a spatula or knife and place it on a cooling rack. Bread cools faster on the rack because all sides are exposed to air. Let it cool for 1 to 2 hours on the rack for the best results. This is because the chemical process isn't finished when the bread comes out of the oven. Both the interior of the banana bread and the crust will continue to get firmer as it cools, due to the changes to its starches and molecular structure. Wait and slice it when it's cool to preserve the crispy crust and keep it from crumbling and falling apart.
Banana bread is a simple recipe, but it's not always easy. If you've followed these tips, you'll now have a beautiful baking method you can turn to, time and time again.
