This Is The Best Place To Proof Bread In Your Kitchen
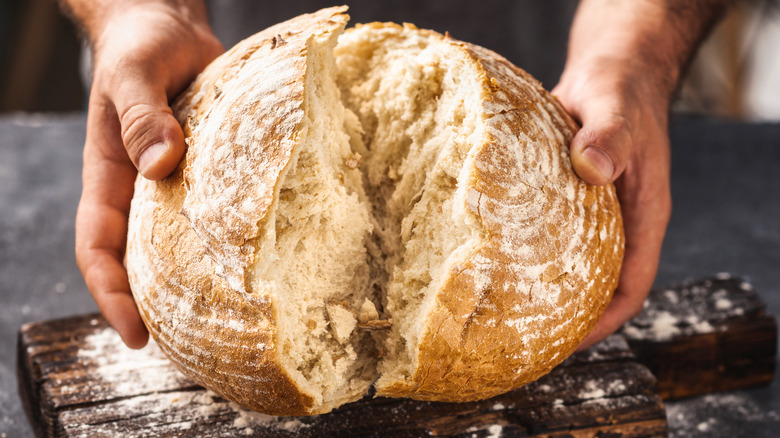
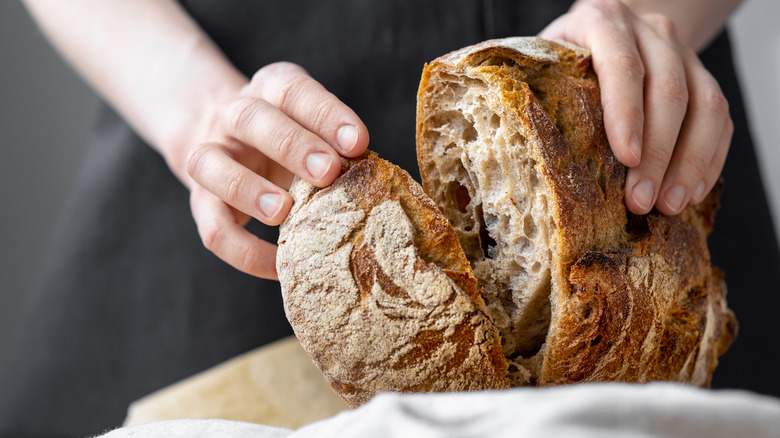
Proofing is arguably the most important stage of the bread baking process. It's the step that sets bread baking apart from other forms of baking, the stage in which yeast works its beautiful magic and makes the dough rise. Unless you're making quick breads, the quality of your bake will be dependent on successfully proofing your dough. Otherwise, you'll end up with a dense stodgy loaf. For many, the most intimidating aspect of proofing is the time — it typically takes a few hours for bread to properly rise — but this is actually the easy part. It's preparing for the proof that really tests a baker's skill.
The biggest issues that prevent bread from rising are making mistakes when kneading and not proofing the dough in the right environment. Yeast activity is highest when the dough is kept between 72 and 78 degrees Fahrenheit, according to baker and author Martin Philip (via the King Arthur Baking Company). If room temperature in your kitchen hovers within that range, you can probably just proof the bread in a covered bowl on the counter. However, if your kitchen isn't in that Goldilocks zone, your best bet is to proof in your oven. (Just be sure not to turn the oven on.)
Achieving the perfect proofing temperature
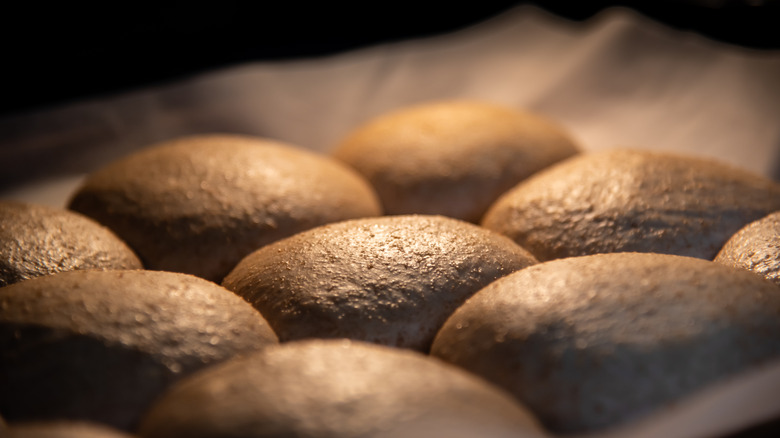
It might seem strange to proof bread in the oven at first. If the oven is off, it won't be much warmer than the rest of your kitchen, right? But if you turn the oven on, even at the lowest possible setting (which for most ovens is 170 degrees Fahrenheit) it will be far too hot, and the dough will start to cook. The secret lies in your oven's lightbulb. Believe it or not, those little bulbs can get your oven as hot as 75 to 100 degrees Fahrenheit. To test whether your oven will be good for proofing bread, put an oven thermometer in it and turn the light on. Check the temperature after half an hour, and if it's in the optimal range, you know it's good for proofing.
If your oven light does not get hot enough, there's another option. Put a baking dish on the bottom rack of your oven and place your bread on the middle or top rack. Then, fill the baking dish with boiling water and close the oven. The boiling water will generate steam, gently warming the oven. For either of these processes, it is best to keep the bread in a bowl covered by an airtight lid or plastic wrap. Many recipes call for covering the bowl with a towel, but this can let air in, causing the dough to lose moisture and form a skin.
For a cold twist on proofing, turn to your fridge
Proofing dough in the 72 to 78-degree Fahrenheit range is the most efficient way to go, getting the best rise in the quickest time frame. Proofing in a warm room, oven with the light on, or oven with a steam pan should take between one and three hours for most breads. However, there is another method that defies this conventional wisdom, using a dramatically different temperature and time range: cold proofing. In cold proofing, the dough rises at a lower temperature over a longer period of time, typically eight to 16 hours. For this method, your refrigerator actually makes the perfect proofing environment.
Cold fermenting takes longer, but this can actually work better for some people's schedules. In the warm environment of a conventional proof, you have to keep a close eye on the dough so that it doesn't overproof, but because the refrigerator slows down yeast activity, you have a lot more leeway. You can just pop the dough in the fridge overnight and have it ready to go at any time the next day. Just take it out of the fridge about an hour before baking to let it come to room temperature. As a final perk, cold proofing allows more time for the dough to ferment and develop flavor. This makes it a particularly popular method for sourdough bread because it helps intensify the flavor of a ripe sourdough starter.