What To Do If You Don't Have A Vacuum Seal For Your Sous Vide
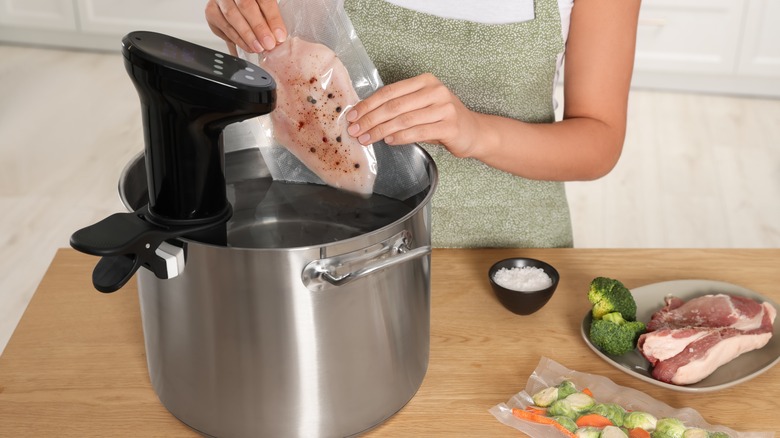
Sous vide cooking has gained popularity in recent years with most cooks being drawn by the hands-off cooking process that is so precise that you're guaranteed a delicious finished dish over and over again. But before you can whip up a sous vide steak cut or chicken breasts, you need the right tools for this non-traditional cooking method. Some of the paraphernalia are non-negotiable like the immersion circulator, a large tub to hold the water bath, binder clips to keep the sous vide pouch submerged, and the pouch that carries the food. A vacuum sealer machine is, however, not a must-have. You can instead vacuum seal using the water displacement technique.
The only items you need for this sealing method you probably already have hanging around in your kitchen. Start with a large tub or pot filled about halfway with water, then instead of a vacuum bag, grab your zip-lock plastic freezer bag, and put the ingredients you want to cook inside in an even layer. Press the zipper to close, leaving only about an inch open at the end. Now, slowly submerge the bag inside the water and you'll notice it deflating as the water squeezes out the air. Seal the open corner right before it's submerged underwater. And that's it — your vacuum-sealed food is ready for cooking.
Why vacuum seal the food?
You're probably already familiar with vacuum sealing as a food storage fix to save your food from freezer burn. This also extends the shelf life of food in the fridge or at room temperature by keeping it fresh longer. But what role does this type of packaging play in sous vide cooking?
The mechanism of sous vide cooking is pegged on one main concept: maintaining the water bath at a specific (low) temperature throughout the cooking process which, in turn, allows the food to cook at that exact controlled temperature. To achieve this precise cooking environment, the immersion circulator was invented to heat the water to a set temperature and keep it circulating around the pouched food. Additionally, the bagged food is kept in contact with the heated water to ensure it cooks at the same temperature. This is where the vacuum seal comes in.
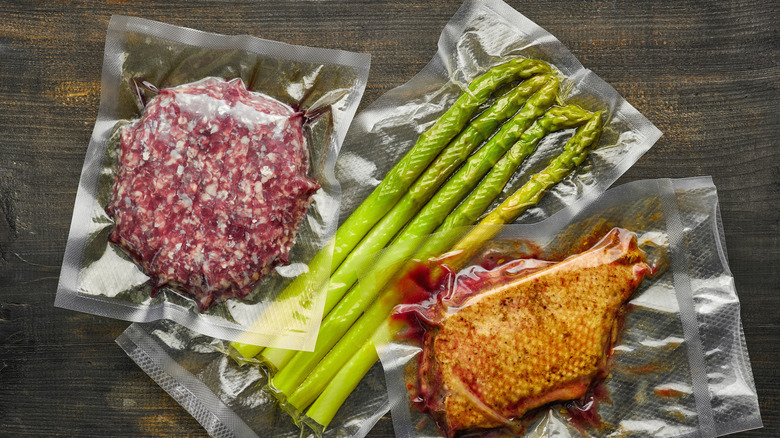
Thanks to this tight, airless bagging method, heat in the water bath is effectively transmitted through conduction from the water, through the plastic bag, and to the food. This wouldn't work as expected if the pouch contained air because air is a poor conductor of heat and would therefore insulate the ingredients in the bag.
Tips for optimal vacuum sealing
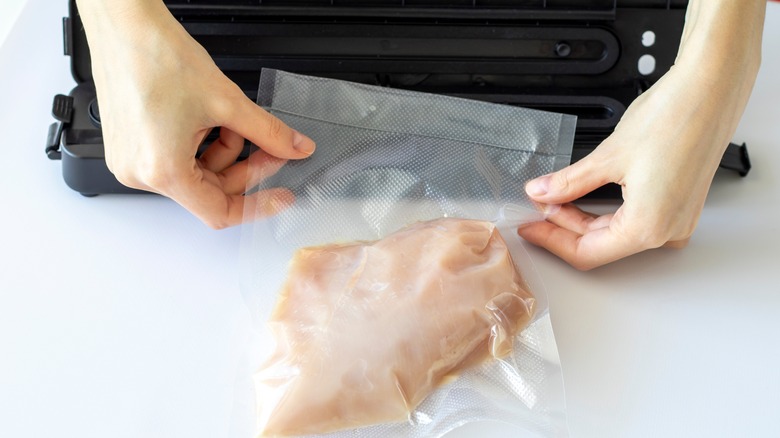
As you gather the items for vacuum sealing, consider the amount of food you plan to cook, especially when selecting the zip-lock freezer bag. This bag should have enough room to hold the food and still leave some space at the top to help ease the sealing process. Under no circumstance should you fill the bag to the very top. If that happens, you'll have to get a bigger one and switch bags.
Additionally, before putting food into the bag, we recommend you roll the top part of the bag (where the zipper is located) outwards and turn it back in place once the food is inside. You want to prevent food debris from landing on the zipper and potentially interfering with the zipping mechanism while making it a challenge to get a proper seal. To make this process even easier, use a zip-top bag holder — a nifty kitchen gadget fix that'll fill even the most infuriating zip-top bag.
Lastly, although we've presented the water displacement method as an alternative for when you lack a vacuum sealer machine, there's one instance in which this technique should be taken as the primary option even if you happen to have the vacuum sealer: when you're sealing food containing a liquid. If you use the machine, there's a high chance the liquid will get sucked into the machine. However, the water displacement technique will seal the bag perfectly, displacing only the air and leaving the liquid inside.