12 Super Easy Tricks For Cooking Poached Eggs
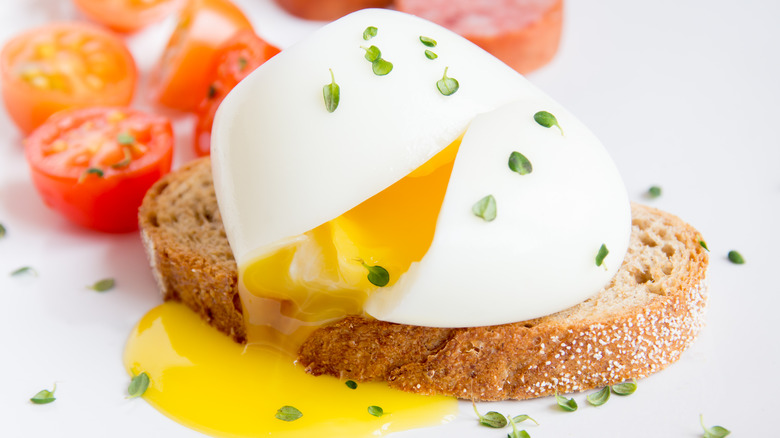
The poached egg's reputation as one of the more difficult eggs to master is well-deserved. Achieving a spherical egg with a set white and runny yolk is a lot more difficult than it may as first seem.
Unburdened by the need to remove the shell before eating like a hard boiled egg, unadulterated via the presence of oil or butter like the perfect fried egg, poached eggs are dropped into hot water naked and at the mercy of a number of hard-to-control variables. Yolks can detach and the white can take on a rubbery texture, or worse, disperse into a cloud of filaments. And that's just for starters. Finding sections of albumen that have yet to set is not uncommon, and even when cooked, the egg often takes on a shapeless mass that is less than appealing to the eye. The good news is that all of these pitfalls are easily avoided with a little patience, timing, and good old-fashioned know-how. These tricks should help.
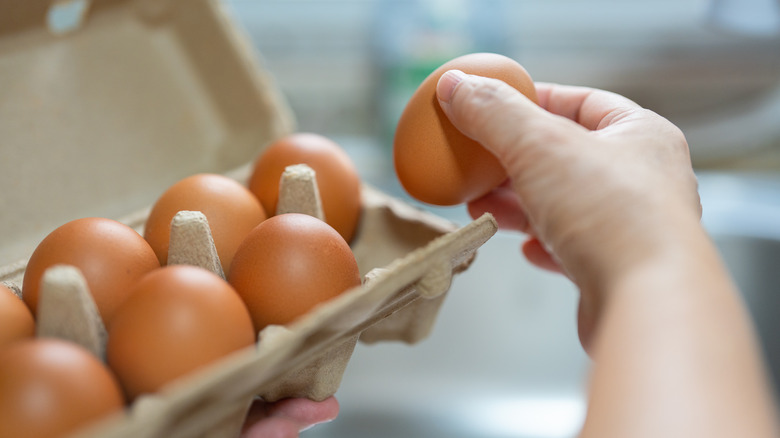
Use only the freshest of eggs
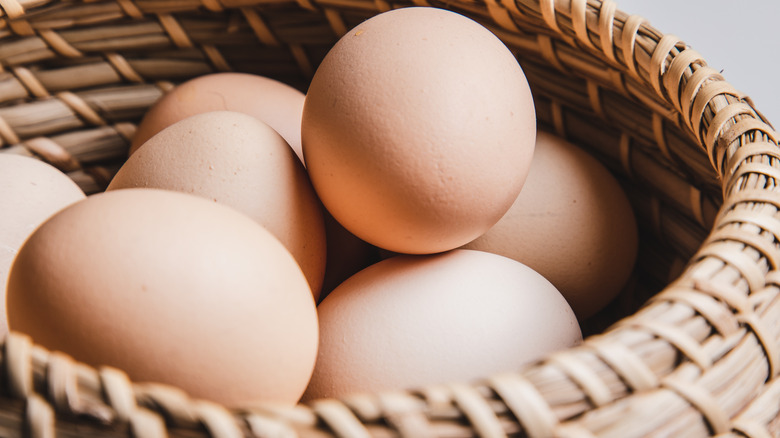
Eggs have a relatively long shelf life. When refrigerated, they can last four to five weeks beyond the pack date. Still, when it comes to poaching, the need for high-quality, recently laid eggs goes well beyond anything that a simple float test might reveal.
This is because as eggs age, the proteins within the albumen break down becoming more watery and less gelatinous. This process works wonders for those looking to whip egg whites into stiff peaks, but it spells disaster for your poaching experience.
As a not-so-fresh egg hits the almost-boiling water, the white disperses, sending tendrils of albumen in all directions and exposing the yolk to direct heat. The result is a fragmented egg white paired with an overcooked and potentially detached yolk.
As something of a worst-case scenario when it comes to a poached egg, this is obviously something best avoided. Thankfully, you can easily sidestep the issue by using the freshest eggs possible. When fresh eggs are not available, there are ways to mitigate the issue — more on that later — but in many cases, it's often better to forego poaching altogether and select another cooking method.
Select the right pan
When poaching an egg, the need for space takes on a whole new dimension. As a rule of thumb, for a single poached egg, a medium sized pan will do, with a minimum of four inches of water.
If the pan is too shallow, the egg tends to sink to the bottom and flatten out. This has a two-fold effect; firstly, the shape tends to be less than appealing, with the result more closely resembling a fried egg. Secondly, you'll miss the opportunity to create the ever-elusive jammy or runny yolk that makes the best poached eggs so appealing. In order to achieve this, the white needs to form a protective sphere around the center.
If you want to cook multiple eggs at once you'll need a bigger pan. Even if the pan is deep enough to prevent the fried egg effect, you will need to make sure they have enough room to bob around without jostling each other.
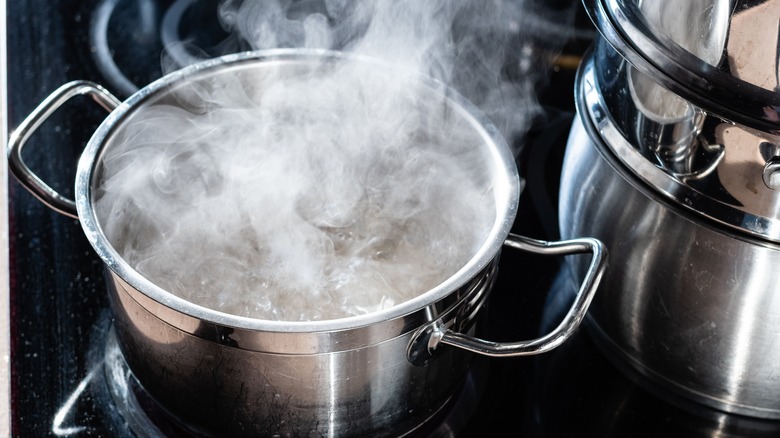
Get the temperature right
When it comes to poaching an egg, boiling water is an accident waiting to happen. The problem stems from the delicate nature of the eggs themselves. Dropping an egg that is still in its shell into hot water is no problem at all. However, when poaching, the vigorous nature of boiling water is liable to rip your egg apart, leaving you with a cloud of white and a detached yolk.
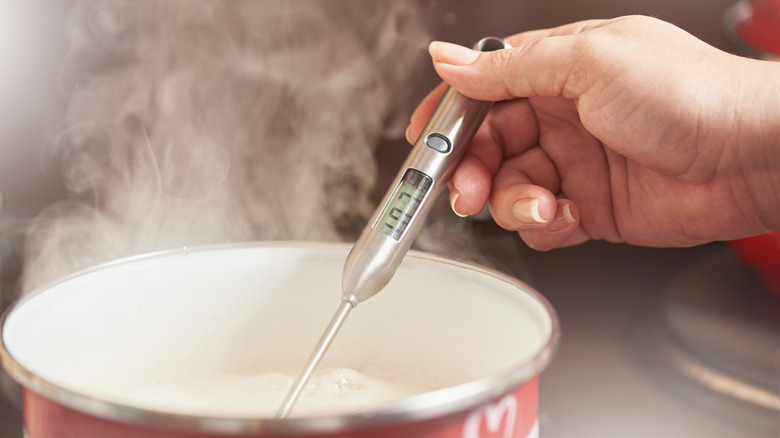
Instead, you need to take things a little more slowly. Raising the temperature to a gentle simmer — around 180 F — provides enough heat to cook the egg without over-exciting the water. Thankfully, there's no need to use a thermometer for this; eyeballing water at this temperature is a relatively easy task. Look for whisps of steam and the formation of bubbles rising to the surface and coating the sides of the pan. These bubbles bring the added benefit of lift, preventing the egg from drifting to the bottom as long as the pan isn't too shallow.
Add some vinegar
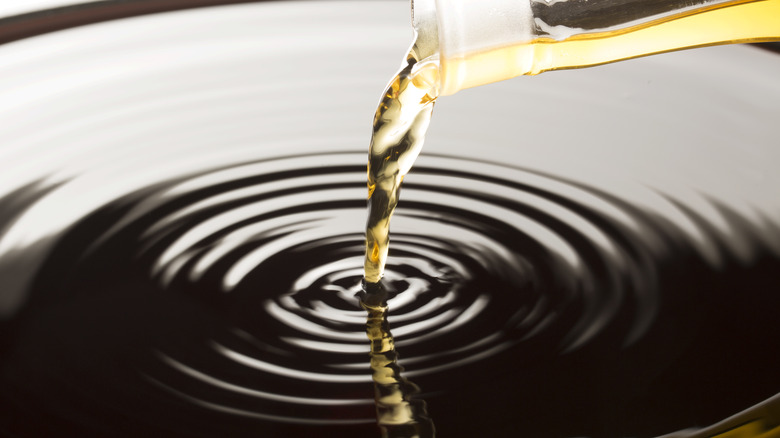
There are two schools of thought as to whether you should add vinegar to water before poaching eggs. As an egg cooks, the protein within the egg white begins to break down and solidify. This process — known as denaturing — relies on significant heat — an egg dropped into cool water simple dissipates. However, there are other ways to kick-start the denaturation of an egg. According to Dr Robert Keyzers, from the School of Chemical and Physical Sciences at the Victoria University of Wellington, increasing acidity levels has a similar effect, noting that, "Vinegar is an inherently acidic material, so if we add a few drops of vinegar into that boiling water that is going to increase the rate of denaturing and it's going to make that happen faster and help the poached egg hold its shape better."
Whilst the science itself is sound, others are less convinced about egg's need for an acidic primer. The ratio of water to vinegar also raises some concerns; you have to add 1tbs per gallon to bring down the pH of water down by 2 points; the addition of even this much vinegar may cause the whites to cook too quickly leaving you with a tough, somewhat opaque finish.
Regardless of the merits, the slight tang the addition of vinegar brings to the egg, means that using it comes down to personal preference. If you like a hint of sour with your poached egg or are looking to make a deluxe version of the recipe, then a splash of vinegar goes a long way.
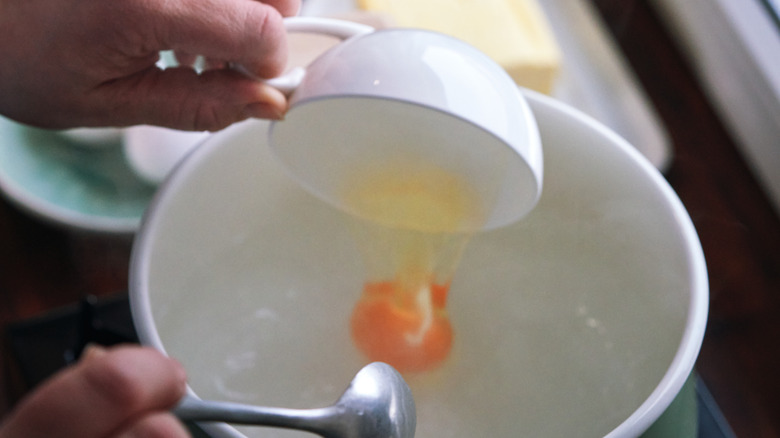
Crack your eggs into a bowl
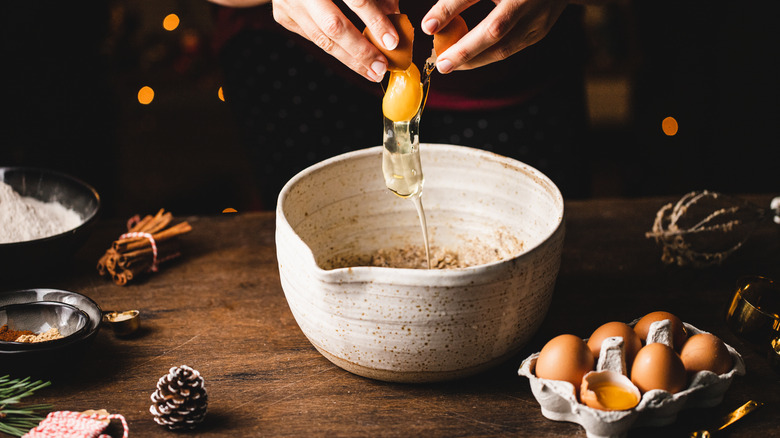
A running theme within the age-old saga of trying to create the ultimate poached egg is the delicate nature of the egg white. Dropping an egg into a pan of hot oil in order to fry it allows the albumen to set quickly; to make the best scrambled eggs you need beat them in a separate bowl, and boiled eggs are protected by the shell. The poached egg, however, lacks such an advantage; it is exposed to the elements and dropped raw into the swirling water below. For those committed to excellence, this is something of a rubber-hitting-the-road moment.
Since there's near-boiling water below, you don't want the egg to hit the water at velocity, nor do you want to get your fingers too close to the surface. Breaking the egg into a bowl gives us the control we need. By lowering the bowl towards the water's surface we can slide in the egg without fear it will break. This helps keep the albumen together and mitigates the risk that the yolk might detach.
Selecting a suitable bowl can help here. You'll want to choose something small enough to encourage the egg to keep its shape – you can even use something like a ramekin.
Strain your egg
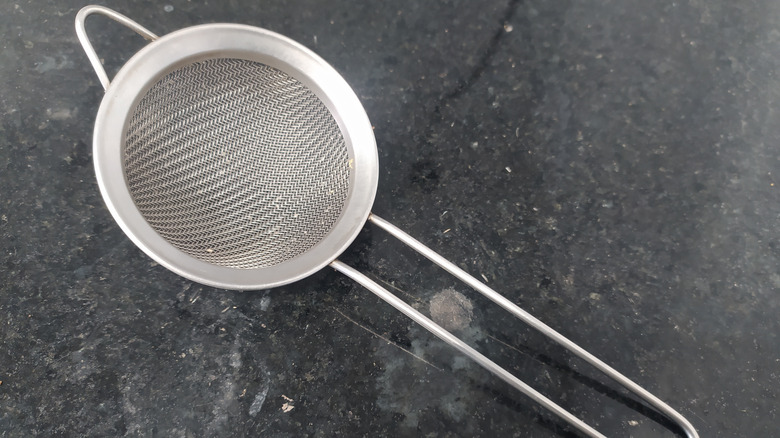
If you're in the mood for a poached egg but don't have access to the farm-fresh variety, place the raw egg in a strainer before decanting it into a bowl. The watery portion of the white will trickle through the strainer while the more robust, gelatinous elements of the albumen are left behind. Consequently, when the egg hits the water, it is better able to hold its shape.
Of course, this trick has some downsides. Firstly, you're losing some of your egg, so the finished product will be smaller than it otherwise would be. It's also time-consuming, especially if you poach more than one egg.
Still, it beats watching the egg white become a cloud of dissociated filaments. Straining fresh eggs is also an option and can help produce perfectly formed poached eggs, but it's not necessary in most cases.
Create a vortex
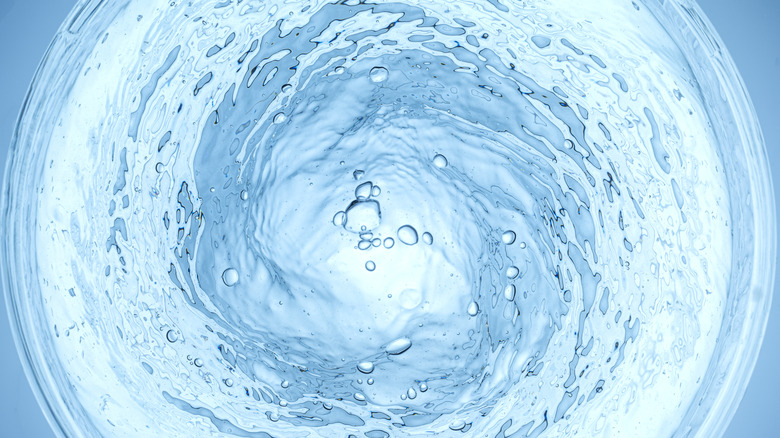
We've sourced eggs, strained them, and raised the pH and temperature, and our eggs are sitting in a bowl, ready to go. The only thing left to do is to drop them into the water — well, that, and create a whirlpool.
The idea here is that the circular motion encourages the egg white to wrap around the yolk. The shape this produces — a rough sphere — is crucial to the poaching process. A poached egg should have a solid white with a runny or jammy center. To achieve this, the yolk needs to poach slower than the white, hence the need for a protective cocoon.
Of course, dropping the egg into a rapidly moving maelstrom would simply tear it apart. Instead, we want a gentle rotation, a visible swirl without water sloshing over the sides of the pan. The trick is to create a vigorous motion by placing a utensil into the water and rotating it until a funnel forms, then wait until it slows down and lower in the egg. Creating a vortex is all about trial and error, but with a little practice — and perhaps the odd mishap along the way — you should get a sense of the speed at which the water needs to spin to create the perfect poached egg shape
Do not overcrowd your pan
Of course, all that swirling around means the last thing you want is for your poached eggs to slam into another egg and fuse. As a rule of thumb, each egg should be surrounded by a space of about twice its size to avoid touching other eggs. Exceptionally large pans, such as those used for soups or preparing pasta, can easily accommodate multiple eggs in this fashion. It's best to restrict yourself to one or two eggs at a time if using a smaller pan.
In professional kitchens, chefs often poach eggs in batches to the point of al dente and then refrigerate them in a bowl of ice water. When the eggs are needed, all that is required is to blanch them in hot water for around 30 seconds. There's no need for a swirl or vinegar at this point, and there is no real restriction on how many you can blanch at a time. This hack can be useful prep as it allows you to serve all the eggs you poached at once instead of relaying them one at a time.
Don't drop them all in at the same time
As is the case when frying multiple eggs, you'll need to stagger the rate at which your eggs come into contact with heat. Around 30 seconds is enough time for the white to set to the point where you can safely lower your next egg into the pan.
Of course, this means you will also have to remove the eggs in a staggered order. Keeping an eye on which egg is which can be tricky. If you lose track, you might want to check each egg individually to see if they are done. One tried and tested way of doing this is to gently raise the egg from the water using a slotted spoon and then pay close attention to the egg white. It needs to be set — for safety reasons, but also because undercooked white is an unpalatable thing to experience. The yolk should still be malleable to the touch, and you can test for this by gently pressing down on it with the back of a spoon. If done, it's ready to take out, and it's time to retrieve another.
Cover the pan
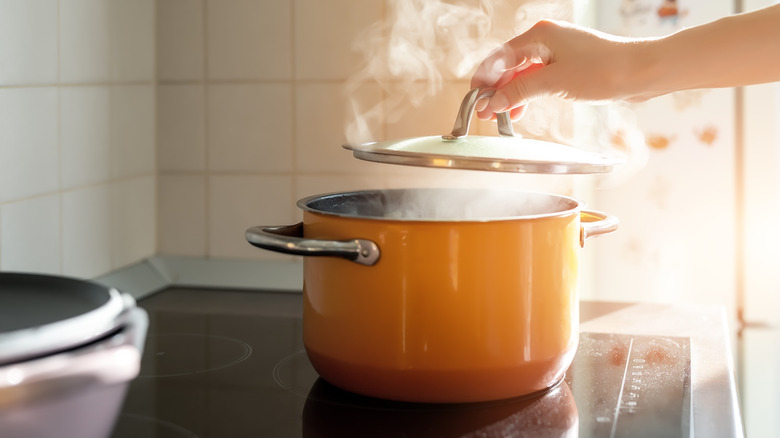
Even though every pan most likely comes with a lid, the need to place it on or leave it off changes depending on what you are cooking. When reducing a sauce, for example, you'll want to leave the pan open to allow some of the water content to evaporate.
However, it's best to opt for a lid-on approach when it comes to poaching an egg. The presence of the lid is all about temperature control. While — as we have seen — there are clues as to whether a poached egg is good to go, it's an imperfect science, and it's good practice to supplement your assessment with a little hard and fast science. The lid keeps the heat in the pan rather than allowing it to dissipate into the air. This is more energy efficient and reduces the need to turn the heat up to keep things at the right temperature. Remember, we are looking for a gentle simmer, not a vigorous boil; with the lid on, we can turn the pan down to low while still maintaining the correct temperature.
Keep an eye on the time
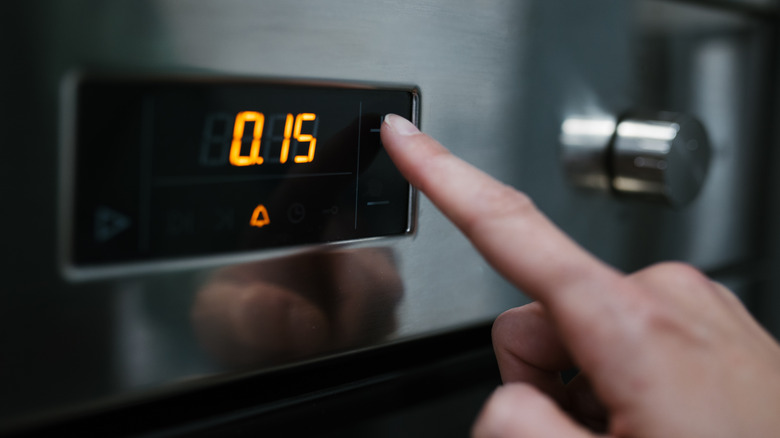
The time needed to poach an egg varies depending on size, but a good rule of thumb is to poach a medium egg for 3 minutes and then check to see how it's doing. Consuming raw egg isn't safe and a partially cooked albumen is genuinely unpleasant anyway; if any white remains translucent, you'll need to drop the egg back in the water for another 30 seconds. Regardless, the 3-minute egg should have a soft, runny yolk reminiscent of a sunny-side-up fried egg.
A hard-poached egg kicks in around the 6-minute mark — although most chefs would consider this a waste since its taste won't differ from its hard-boiled cousin. Meanwhile, a medium egg poached for 5 minutes results in a much-coveted jammy yolk.
Of course, larger eggs need a little longer — so again, bolt on an extra 30 seconds or so for each size increase. How the eggs have been stored also makes a difference; those taken straight from the fridge take slightly longer to cook than ones that have been left at room temperature.
Use an air fryer
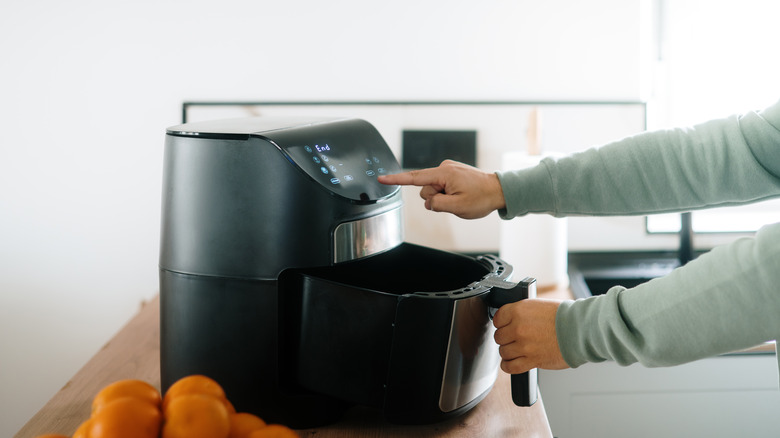
If, after all this trial and error, you achieved little more than a graveyard of wasted eggs stretched out before you in testament to your failure, then worry not. You could always just poach your eggs in an air fryer, since the process is relatively straightforward.
You'll need to start by greasing a ramekin or small bowl with a little oil and then crack your egg into it. Next, set your air fryer to around 360 F. Season the egg with a little salt and pepper, then place them in the air fryer for around five minutes.
The usual caveats apply; make sure the white is set before removing it from the oven and you can test the consistency of the yolk with some gentle pressure from the back of a spoon. Once done, remove it from the oven and use it as you would any other poached egg.