Why You Need Tin Foil For The Most Flavorful Grilled Corn On The Cob
Grilled corn on the cob ranks high on the list of quick and easy meals that are super delicious. Not to mention how well it plays the role of side dish for almost any entrée. It's hard to imagine any way to improve it, but there is one. Wrapping the corn ears in tin foil before cooking is the trick to making the most flavorful grilled corn on the cob.
The foil casing acts like a steamer, which traps moisture. This keeps the tiny kernels succulent, leaving you with no worries about dried-out corn and no need to take extra time and effort to pre-soak your corn. And since the moisture is from the corn's own natural juices, unlike a water bath, the flavor ends up being more concentrated. But the deliciousness doesn't end there. Wrapping the corn also allows you to stash butter, spices, and herbs inside the foil. This will infuse the corn as it cooks, so with every bite you take, the kernels burst in your mouth with your favorite flavors.
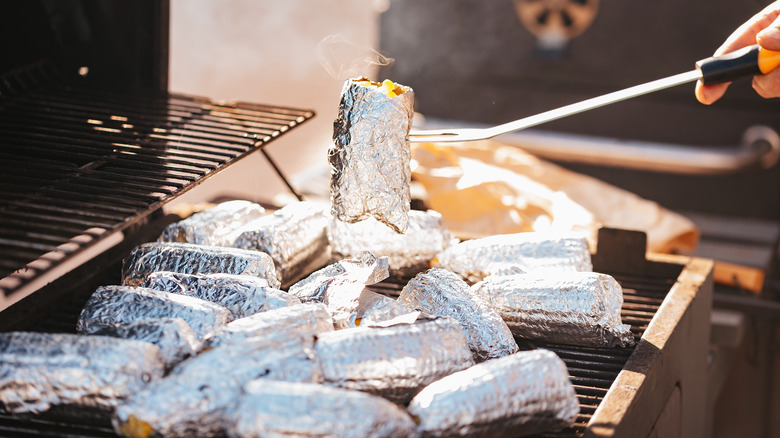
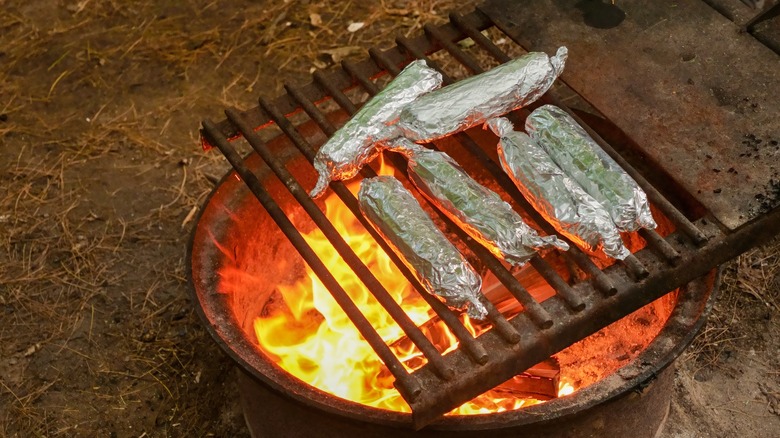
Plus, if you're planning to host a crowd for dinner, wrapping the corn is a simple aluminum foil hack that makes prep work easier. Simply pre-wrap the corn, and all that is left to do on D-day is fire up the grill and cook. This is a great tip if you're going camping or to a different location for a cookout. The convenience of arriving onsite with pre-wrapped corn ready for grilling cannot be overstated.
How to grill corn on the cob in foil
Grilling corn in foil starts with preheating the grill to 350 to 375 degrees Fahrenheit. While it's heating up, get your corn ready by first shucking each ear and removing the corn silk. Speaking of which, please don't succumb to the temptation of buying pre-shucked corn. The absence of the corn silk and husks leaves you no way of knowing how fresh those ears are. It's better to take the time to buy the freshest corn available (judging from the wet and smooth silk threads and green husks) and undress them yourself at home. Once shucked, clean the corn under running water, and pat them dry with paper towels.
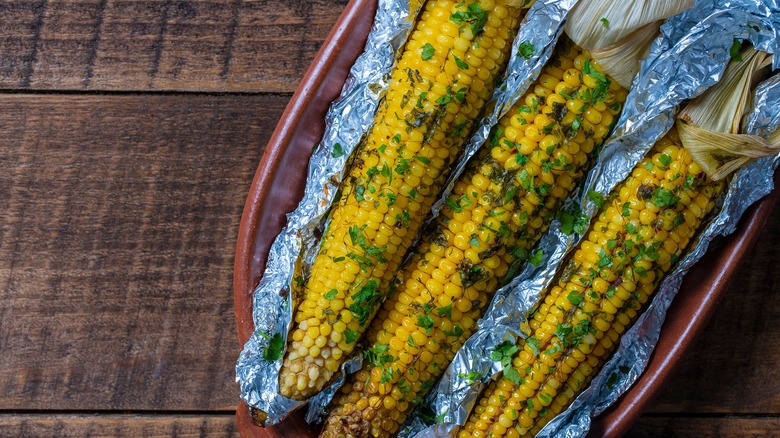
Next, place the corn on a sizeable piece of foil with a slather of butter, a sprinkle of salt and pepper, and any additional spices or herbs you desire before wrapping it closed. Place the wrapped corn ears on the grill and cook them for 15 to 20 minutes. Remember to flip them over halfway through for even cooking. A few minutes before the cooking time is up, check if your corn is ready. Remove one ear from the fire using tongs, carefully open a corner of the foil, and take out a couple of kernels for a taste test. If you get a juicy and tender consistency, you're good to go. Remove the corn from the grill, let it rest and cool slightly for a few minutes, then serve.
Corn-quer the grill with these tips
Corn in its natural state comes with its own covering — husks — which can be kept on or removed when grilling. So if you're going to go the extra step of wrapping corn in aluminum foil after removing its natural husk, the least you can do is wrap it properly to experience the benefits of this cooking technique. For example, don't wrap the foil tightly around the corn. A little space is necessary to create a chamber-like effect where the steam can collect and cook the kernels.
Another simple trick is to double-wrap the corn. This is especially important if you're using regular aluminum foil. Because this variety is not as thick or as strong as heavy-duty foil, it's easier to get punctured or torn. If this happens, the butter you stashed inside will leak out into the grill, risking fiery flare-ups. Double-wrapping will also prevent the corn from getting burnt.
Lastly, wrap the corn one piece at a time instead of putting several ears in one foil packet. This method makes handling the corn easier throughout the process, from flipping on the grill to serving each diner once ready.