The Air Fryer Shortcut To Proof Bread Way Faster
The sweet aroma of freshly made bread wafting through the kitchen is one of the simple joys of baking. Couple that with biting into a deliciously soft airy loaf and you have a glimpse of baking nirvana. To achieve this culinary feat, however, you'll need to master the process of proofing bread dough. Usually, proofing takes hours, especially if you let the dough rise at room temperature. Luckily, there's a faster method: The air fryer hack.
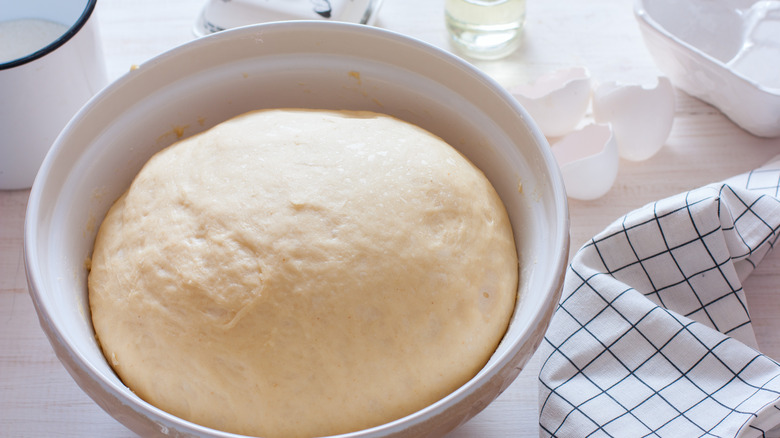
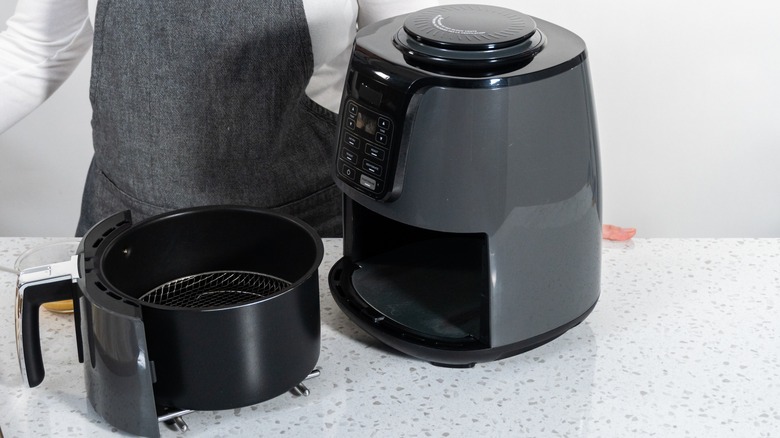
Yes, the air fryer designed to cook quick, healthy meals can also be used to house your bread for proofing. Begin by making your bread dough as usual, then shape it and place it in a bowl that'll fit inside the air fryer. Ensure the bowl is greased first to prevent sticking, and cover the dough with plastic wrap so it doesn't dry out in the warm air fryer. Next, preheat the air fryer at the lowest temperature, usually around 90 to 100 degrees Fahrenheit, and put in the dough to proof.
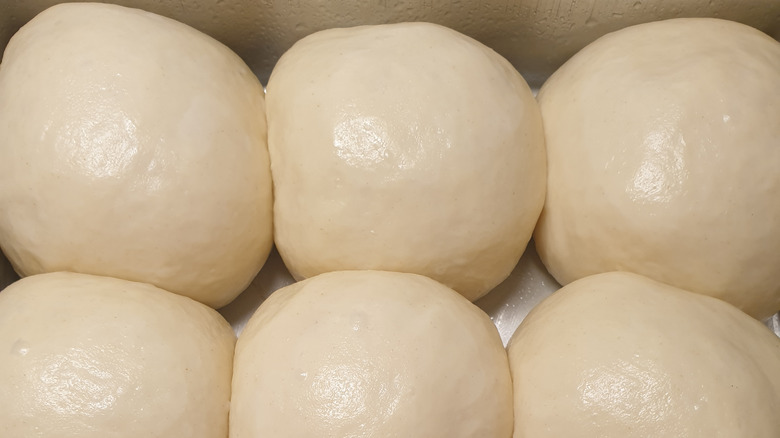
The dough will take about 30 minutes to one hour to proof. The exact time depends on the type of dough and the heat level in the air fryer which varies from model to model. So, to ensure you don't accidentally overproof your bread, begin checking for doneness once you reach the 30-minute mark. If the dough has increased in size press it with your finger and if it slowly bounces back up but still leaves an indentation, then it's ready.
Proofing bread dough in the air fryer is a great idea
If you're like most home cooks, anything that saves you time in the kitchen is a big win, and proofing bread dough in the air fryer is one of them. As mentioned, it takes about 30 minutes to one hour to proof the dough in this killer kitchen gadget, while at room temperature you'd need to set aside a few hours for the same process. The simple science behind this time difference is the temperature level. Generally, yeast (the microorganism responsible for making the dough rise through fermentation) is most active at a temperature range of 75 to 85 degrees Fahrenheit. In an environment cooler than that, proofing takes much longer, while a warmer setting makes it go faster (this is what happens in the air fryer).
Additionally, the controlled environment inside an air fryer is an advantage in proofing dough. The ability to maintain the temperature within a specific range ensures an even rise of the dough and predictable results. Moreover, the enclosure inside the machine means your dough isn't exposed to drafts and fluctuating temperature and humidity in the atmosphere that can interfere with proper proofing.
An alternative way to proof bread dough in the air fryer
First, for the unfamiliar, there are air fryer models that have a "proof" setting, so you can just press that when you're ready to proof your dough. But that's not the alternative way being referring to here. What if you could also save money on bread by using the air fryer to proof your dough? If you're thinking the traditional way of proofing bread in a warm corner of your kitchen is better because you don't have to switch on any gadget (and incur electricity costs), this is for you.
Instead of heating the air fryer for the sole reason of proofing, you can organize your cooking routine in such a way that you proof the dough right after using the air fryer to cook something else, e.g., your dinner. This way, all you have to do is switch off the gadget and let the dough proof in the residual heat. Granted, this method doesn't offer the same controlled environment as a switched-on air fryer, however, it is still warmer than room temperature so the proofing will take a slightly shorter time, approximately 1 hour.


