How To Make Perfect Risotto Every Time
Risotto is one of those dishes that people regularly order when dining at a nice restaurant, but would never dream of making at home. This luxurious dish may seem complicated and impressive, but it isn't as difficult to make as you might expect. While there are some basics you have to know to properly execute risotto, once you master these, you too can produce professional quality results right from the comfort of your own kitchen.
That's where I come in. As a professional chef with nearly 18 years of experience, I have made my fair share of risotto recipes of every kind. Regardless of the precise ingredients you use, the fundamentals remain the same for every recipe. I am here to share those basics with you, along with some tips and tricks along the way, to help you produce the most creamy, fluffy, rich risotto possible. But first, let's take a look at what exactly risotto is.
What is risotto?
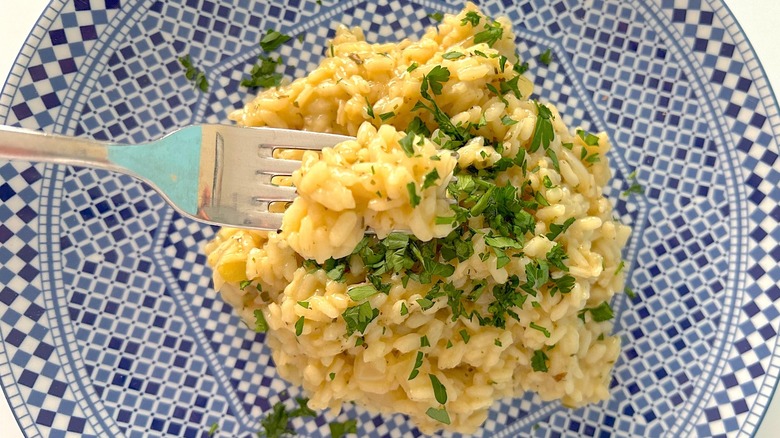
A classic Italian dish, risotto is, at its heart, comfort food. This combination of aromatics, short-grain rice, and stock gets cooked on the stove top until the rice releases its starches, yielding a creamy dish you can eat as-is with a spoon, or jazz up with everything from seafood or fresh vegetables to pesto and more.
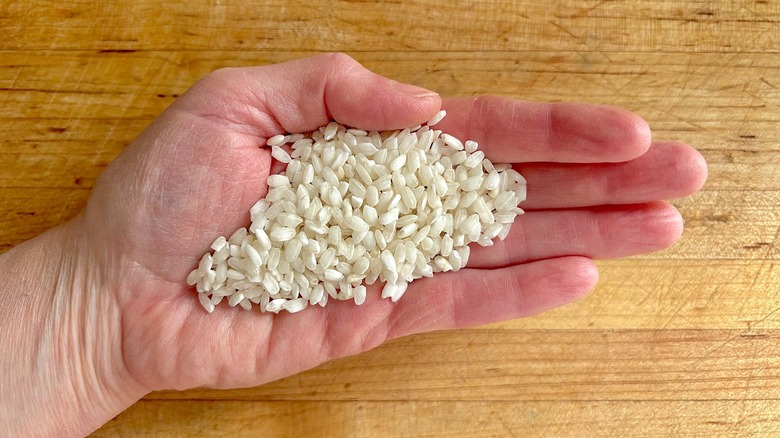
At the heart of risotto is the rice. The most commonly used rice variety for making this dish is Arborio. This rice is a staple of the pantries of celebrity chefs and Italian grandmothers alike. Hailing from Northwestern Italy, this rice is among the most petite, often coming in at just one quarter inch in length. It is redolent in a particular type of starch, known as amylopectin, which is slowly coaxed out of the rice kernel as the risotto is cooked.
Risotto can also be made using Carnaroli, Vialone Nano, or sushi rice varieties. Other mock-risotto recipes can be fashioned from steel-cut oats, pearled barley, farro, or Israeli couscous, though these are not quite as authentic in flavor or texture. Ultimately the success of any risotto recipe rests in the patience of the chef making it, as the most important ingredient is time.
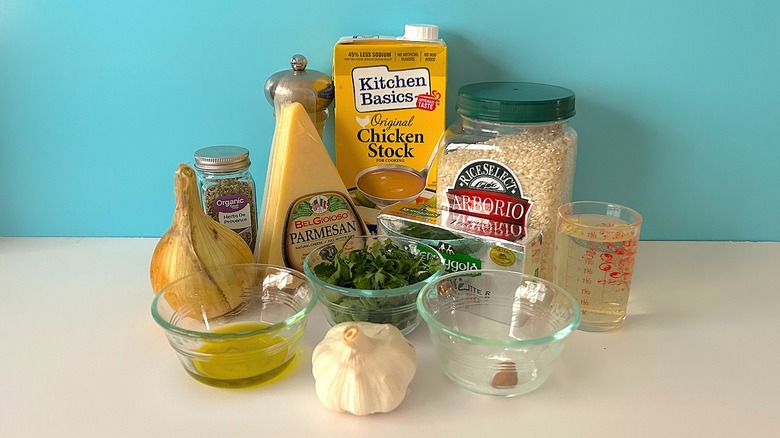
What ingredients you'll need for risotto
-
4 cups chicken or vegetable stock, plus more as needed
-
1 tablespoon extra virgin olive oil
-
3 tablespoons unsalted butter, cut into 1 tablespoon cubes
-
1 onion, finely chopped
-
3 garlic cloves, minced
-
1 ½ cups arborio rice
-
½ cup dry white wine (like Pinot Grigio or Sauvignon Blanc)
-
1 teaspoon kosher salt, or to taste
-
½ teaspoon freshly ground pepper, or to taste
-
Pinch of freshly grated nutmeg
-
1 tablespoon Italian seasoning or herbes de Provence
-
¼ cup freshly grated Parmesan cheese or Pecorino Romano
-
1 tablespoon parsley, finely minced to garnish (optional)
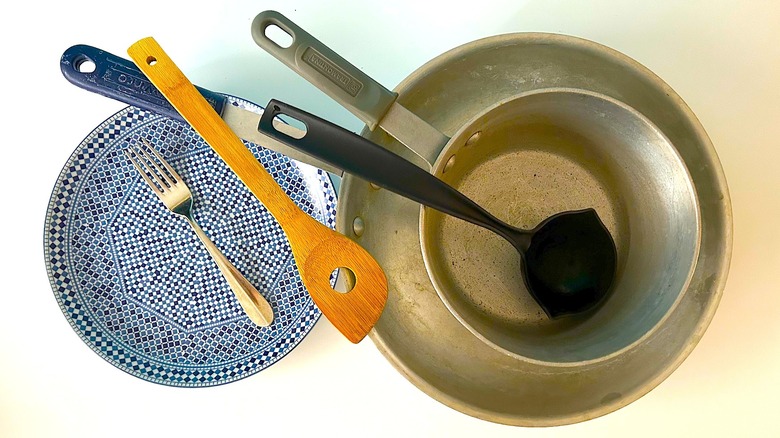
What tools you'll need for risotto
-
1 medium saucepan
-
1 medium skillet
-
Wooden spoon
-
Ladle
-
Serving bowl
-
Fork
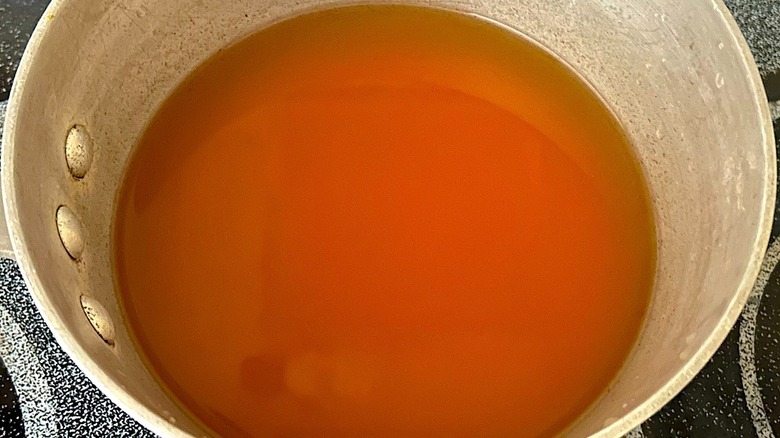
Heat the stock in a medium saucepan
The key to helping those amylopectin starches release from the Arborio rice is to slowly add heated stock to the dish as it cooks. This starch cannot be coerced out of the rice kernels using cold stock. Whether you use store-bought stock or make it yourself, you will want to heat it properly before using it to make risotto, and keep it warm on a burner set to low, as you cook this dish. The stock should be heated to a simmer, not a rolling boil. You don't want too much of the liquid to evaporate before you have a chance to add it to the rice.
Though you can use broth, there is a distinct difference in its flavor versus stock. Broth is usually made by slow-cooking meat with aromatics in water, while stock is produced using the bones of an animal. The latter tends to be richer, owing to the gelatin released by the bones during the simmering process. This will result in a more complex, sophisticated-flavored risotto.
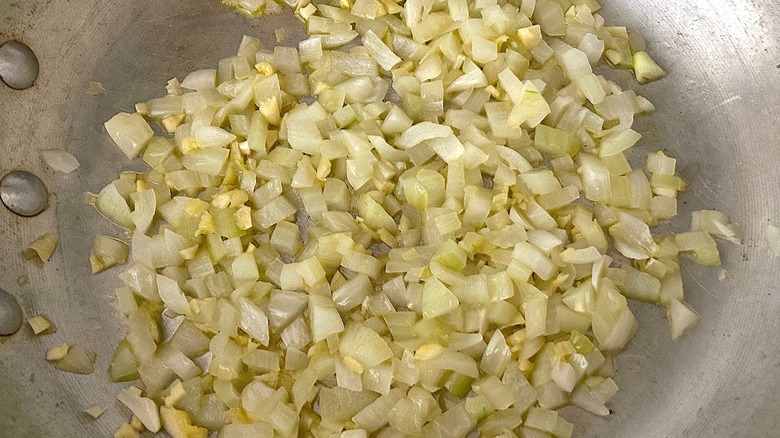
Sauté the onion and garlic
Once the stock is heated, it is time to sauté the onions and garlic in one tablespoon each of unsalted butter and extra virgin olive oil. Using both will prevent the butter from burning, while still lending the dish the luxurious mouthfeel of this dairy product. If you prefer, you can make risotto using coconut oil, canola oil, or whatever fat you prefer, just remember that the final flavor and texture will be slightly different.
To properly sauté onions, set the burner to a medium-high heat. Allow the butter to melt before adding the onions. Reduce the temperature of the burner to a medium setting while the onions cook. This should take approximately five to eight minutes, depending on your burner. The onions are ready when they are translucent and aromatic.
Once the onions have finished cooking, add the minced garlic to the pan. Sauté the garlic for one minute, or until fragrant. Do not overcook the garlic, as it can easily burn, which will leave a lingering bitter flavor that will permeate the final dish.
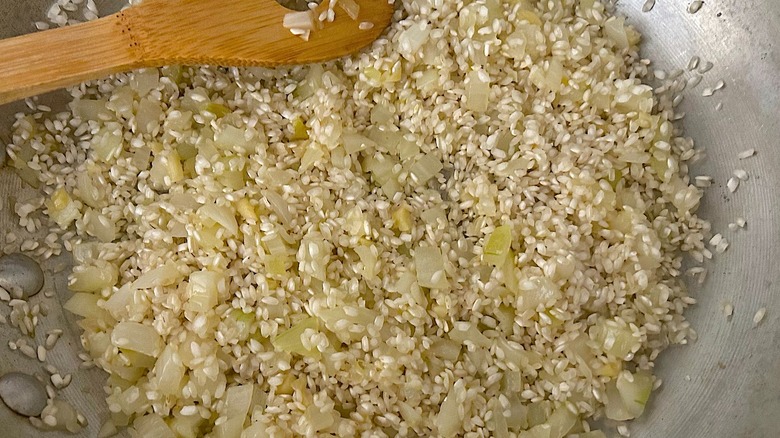
Toast the rice
Though it is common for a recipe to call for the rice to be rinsed before cooking it to help eliminate any contaminants and excess starch, this step is unnecessary when using most short-grain rice varieties, like Arborio. This is especially true when making risotto, as the key to this dish is to preserve that starch and allow it to release into the liquid, creating a luxurious texture.
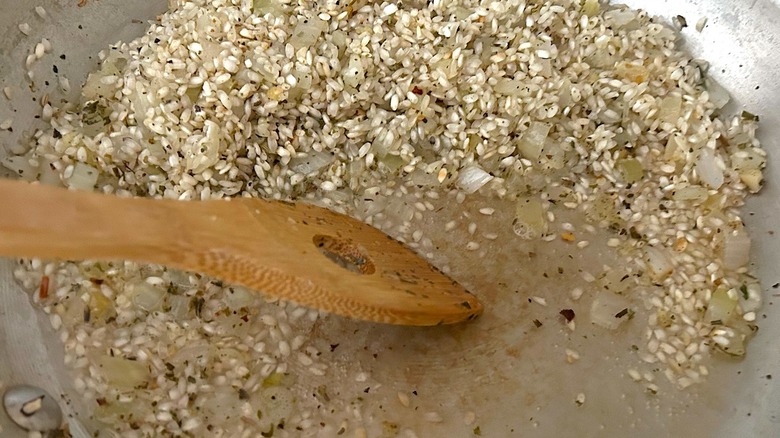
The next step in making risotto is to add the unwashed Arborio rice to the pan, toasting it to help give it a nutty flavor. This process should take no more than three to five minutes, just until you begin to smell a toasty aroma emanating from the rice.
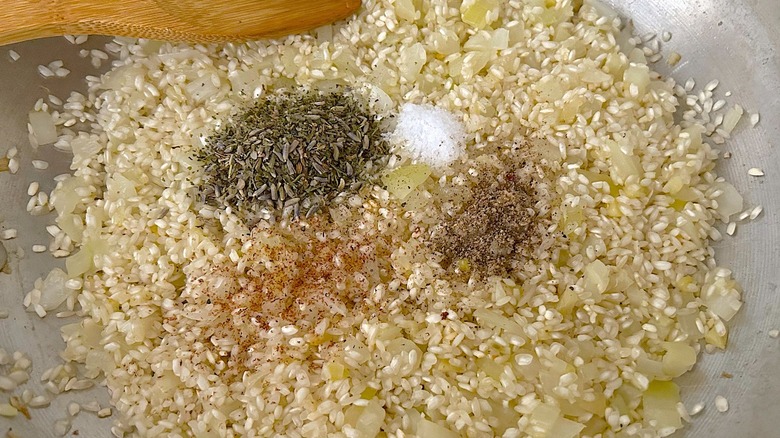
Add the seasonings
At its most basic, risotto requires salt and pepper to flavor the rice. I always use kosher salt when I cook, as its large flake size makes it less unruly to handle, easier to control, and this type of salt does not have any additives in it. I add it toward the beginning of the cooking process to ensure it permeates the rice kernels, seasoning them throughout.
Though this is not necessary, I advise using other seasonings to help give your risotto intense flavor. Dried Italian seasoning or herbes de Provence are my go-to blends for this dish.
I also enjoy using a pinch of freshly grated nutmeg for a hint of brightness and sweet undertone that can completely transform this dish. Though you can use pre-ground nutmeg, it doesn't have the intensity of flavor that freshly grated nutmeg does. For this reason I recommend keeping whole nutmeg on hand and using a microplane to grate it.
Deglaze the pan with wine
Before the long marathon of adding stock to your rice begins, you need to deglaze the pan with wine. Deglazing a pan involves adding a liquid to the pan to scrape up what is known as the fond. The fond is the browned remains that have formed on the bottom of the pan from sautéing the onions and garlic and toasting the rice. This fond is loaded with rich flavor, which, when scraped off the bottom of the pan, will get reincorporated into the risotto, infusing it.
Though you can use water or stock for deglazing, wine adds an extra layer of flavor. The key is to use the right kind. In this case, you will want to select a dry white wine that is not oaky and is relatively high in acidity. I generally opt for a pinot grigio or a sauvignon blanc, though an unoaked, buttery chardonnay would also suffice. Never use cooking wine to deglaze the fond from the bottom of the pan. These are loaded with salt and preservatives, which will adversely impact the taste of your risotto.
Start adding stock to the rice
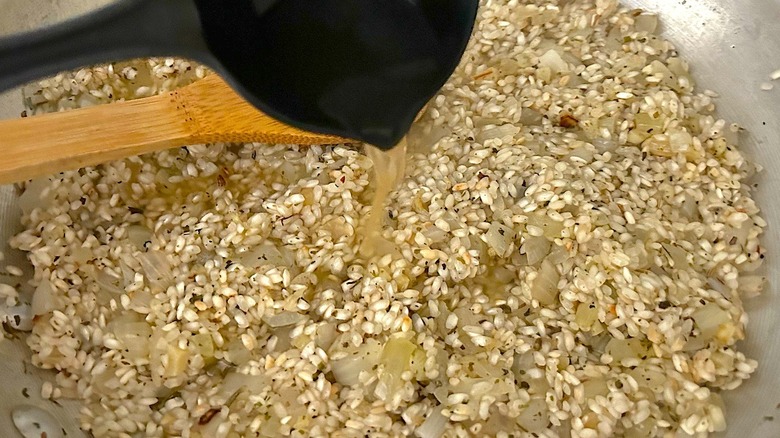
Once those browned bits of fond have been scraped up and the wine has been absorbed by the Arborio rice, the slow slog of incorporating the hot stock into the risotto begins. Reduce the heat on the burner to a medium-low temperature and start pouring the stock into the pan, one ladle at a time. Slowly stir the risotto, occasionally, until the stock is fully absorbed by the rice.
Do not add more stock to the pan until the liquid has fully absorbed, otherwise you run the risk of over- or undercooking your risotto. This is a delicate dance of timing that requires a little elbow grease and self-restraint. You cannot rush risotto. It takes as long as it takes.
Continue adding stock until the rice is cooked
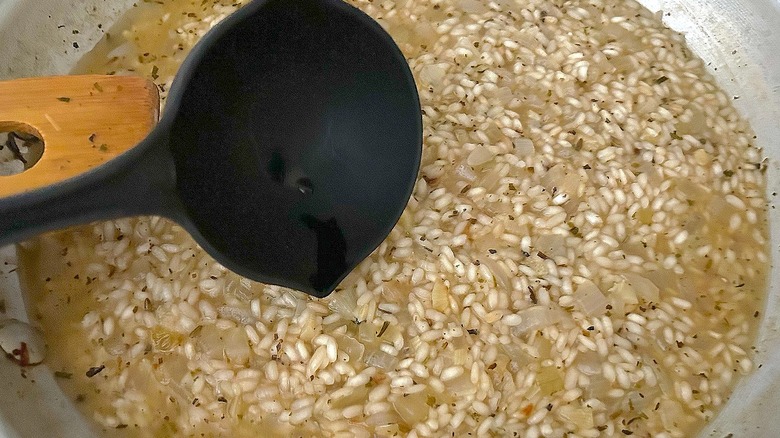
Continue adding the stock, one ladle at a time until the rice is cooked to a toothsome al dente, but not to the point of disintegrating. This should take approximately 20-30 minutes. The dish should look naturally creamy, but not soupy.
If you notice that the rice is still too hard in the center after incorporating four cups of stock, you may need to add a little more to the pan and heat it, continuing to incorporate it into the risotto until the rice has cooked to a perfect al dente. This may occur if the rice is on the older side or if you live at a higher altitude. Additionally, if you add the stock too quickly or cook the rice at too high a temperature, it has a tendency to absorb more liquid than it needs, which can result in overcooked risotto.
Stir in remaining butter and Parmesan cheese
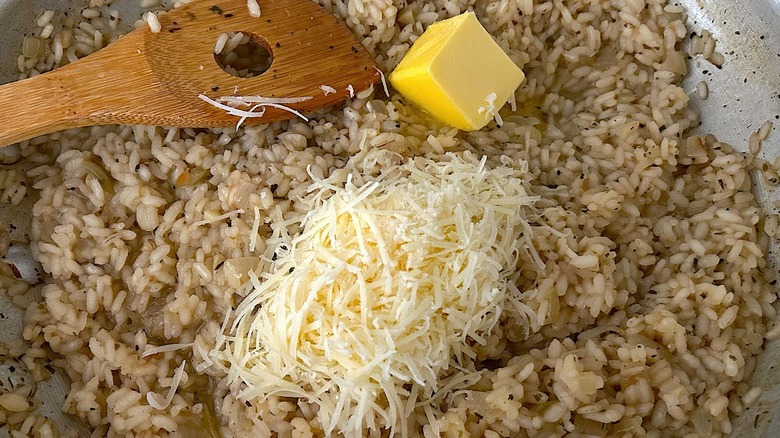
Once the risotto is cooked, finish the dish by gently stirring in the remaining two tablespoons of unsalted butter and the freshly grated Parmesan cheese. Stir until the butter and cheese are melted.
Serve hot with garnish
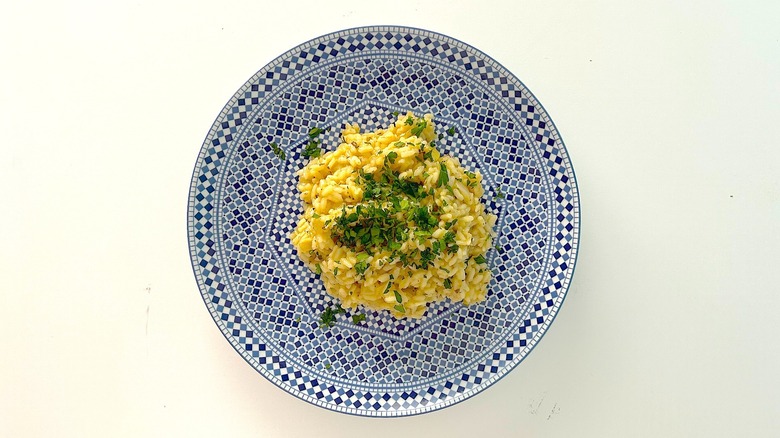
Risotto is meant to be served immediately, hot off the press. If you plan on serving it as part of a meal with other dishes, make sure the other items are ready to go or you run the risk of overcooking the risotto. Garnish with freshly chopped Italian parsley for a little splash of verdant color and bright, herbaceous flavor.
How long does risotto last and how to store it
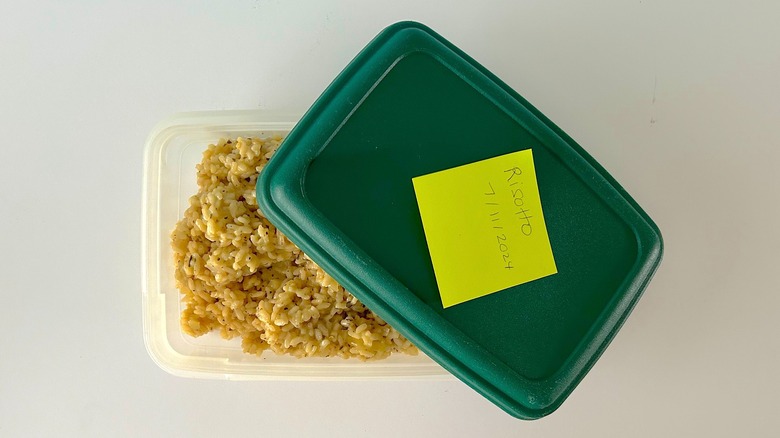
Like many other cooked foods, risotto will never taste as good when reheated as it does when it is freshly cooked. That said, it can be stored in an airtight container in the refrigerator for three to five days maximum. The key to storing risotto is to cool it down quickly to prevent it from cooking any further. This is achievable by removing it from the pan and spreading it onto a baking sheet in a single, thin layer. Always mark the container with the date so that you know when to toss uneaten leftovers.
If you cannot eat risotto within the three to five day window, you can freeze it, though it is not recommended. The starches within the rice will suffer adversely from the freezing process, causing them to have a gritty texture when thawed and reheated. If you freeze risotto, transfer it into freezer bags and label them with the date. Do not store frozen risotto for longer than a month. Always thaw risotto in the refrigerator overnight before reheating it. A great way to use up frozen risotto is to turn it into arancini, which are fried risotto balls, where the texture of the frozen rice will be less noticeable.
How to reheat risotto
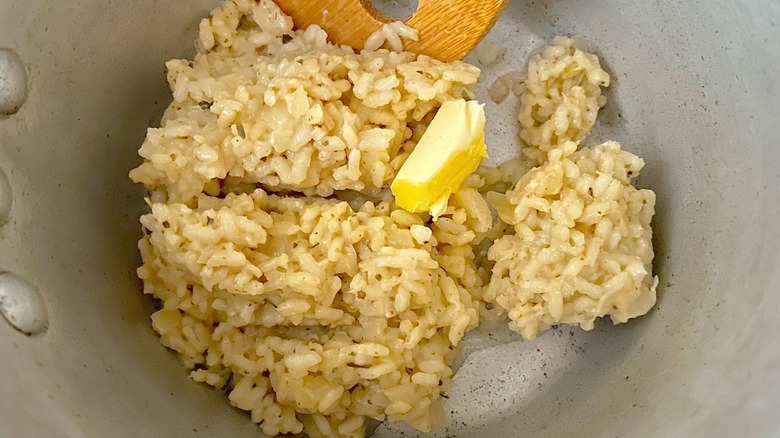
Though you can reheat risotto in the microwave, its texture will suffer somewhat, becoming sticky rather than creamy. A much better alternative is to transfer the cold risotto to a saucepan and add a couple of tablespoons of chicken stock or water and a pat of butter.
Slowly reheat the risotto over a low heat, stirring occasionally, until the butter has melted and the dish returns to its former creamy self. While you may need to adjust the seasoning somewhat to accommodate the additional liquid, the final result will be closer to the freshly cooked risotto than using any other method to reheat it.
Additional risotto recipes, subs, and swaps
There are as many permutations of a risotto recipe as there are chefs. Some of my favorites include a risotto loaded with various types of mushrooms and a creamy seafood iteration, featuring calamari, mussels, scallops, and shrimp. And, if you happen to have leftover canned pumpkin after baking a pie, try this autumn harvest risotto recipe, rife with umami-rich bacon, parmesan cheese, and toasted hazelnuts.
I also recommend taking a hint from risotto and using different types of liquid beyond water to cook rice dishes of any kind. Water is boring no matter how bougie the packaging on that bottle of fancy spring water may be. Stock, broth, wine, coconut water, tomato water, dashi, tea, and even beet juice are all ideal ways to jazz up this humble grain.
Lastly, if you think Arborio rice is only good for risotto, think again. This rice variety is great in many recipes ranging from paella to soup to a twist on jambalaya. But perhaps the best use for this short-grain rice variety is in a sweet or savory rice pudding recipe, like this comforting ginger chicken jook. The starchiness of this rice makes this dish particularly creamy, delicately enrobing the chicken and infusing it with the heat of the chili oil.
