Why You Need A Banneton To Bake Perfect Bread
Baking is both an art and a science. The more you practice, the better you become at it. And just like artists and scientists need the right tools for their trade, every bread baker also requires some tools in their baking arsenal to create wow-inspiring loaves. One item that often gets overlooked by home bakers, though, is the banneton. This tool is essential if you're bent on making consistently perfect bread.
Also known as a proofing basket, the banneton's main task is to maintain the shape of the bread dough during the final proofing just before the actual baking. The wall of the basket offers support ensuring the dough rises upwards instead of outwards to create a beautiful loaf. Use the banneton when preparing any type of dough, from the sourdough dough to the yeasted kind. However, this basket is most critical for high-hydration types of dough since they are more slack and likely to flatten while proofing if they lack support.
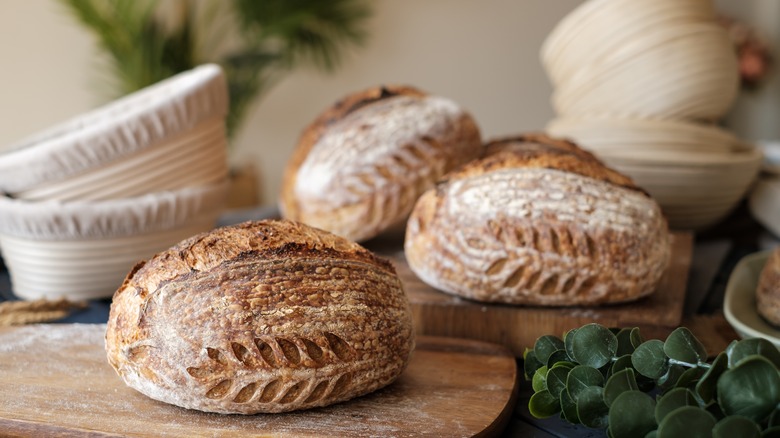
Using a banneton also contributes to the aesthetics of the bread. The outer surface of the dough dries up slightly setting the stage for a nice crispy crust on the loaf. Additionally, the ridges in the basket will imprint on the dough's surface creating a beautiful artisan look. If you prefer a completely smooth finish so your scored designs can stand out, simply place the linen liner in the banneton before loading the dough and you'll end up with a perfectly smooth surface ready for slashing.
How a banneton actually works
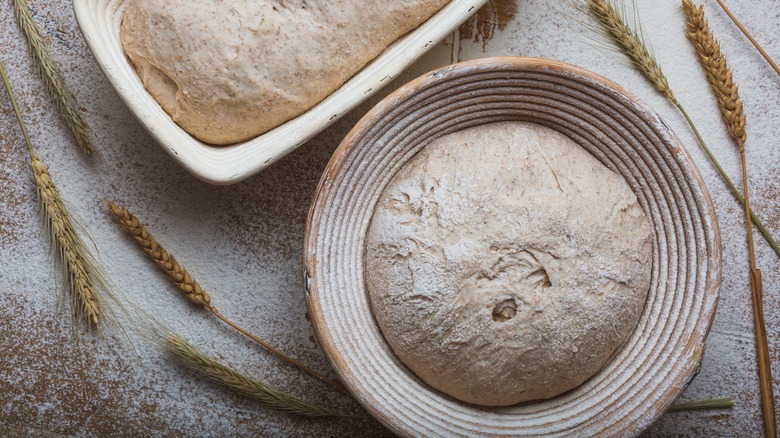
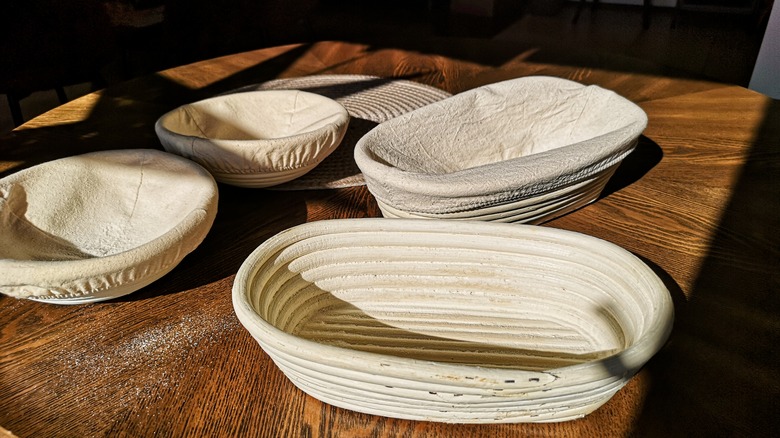
Bannetons come in different shapes (mostly round and oval) and sizes. When you look at this proofing tool, it's easy to assume that the only way it's able to carry out its function is because of its shape and the support from the side walls of the basket. But that's only part of the story. There's a bit of scientific explanation as well which stems from the material that makes the baskets and the liners.
Most bannetons are made of either rattan (or cane), wicker, or wood fiber and are used with or without a linen liner. These materials are naturally breathable. So, once you've dusted the basket with flour and placed the dough on top, as the flour layer absorbs a bit of moisture from the outer surface of the dough, the moisture wicks off through the liner and/or the basket, leaving the surface of the dough relatively dry. Basically, the basket allows the dough to breathe as it proofs.
This drying effect has two benefits: First, it prevents the dough from completely sticking to the banneton hence it can rise without hindrance and easily detach from the basket when it's time to transfer it to the baking tray. Second, the dry surface creates a skin around the dough which enhances crisping once transferred into the oven and forms that signature crunchy crust we know and love. That said, a banneton also demands proper care for it to continue functioning optimally.
How to care for and use your banneton
The first step to caring for your banneton is preparing it for proofing. A brand-new banneton will work better after a few uses because the regular flouring makes the surface more nonstick — a process is known as seasoning or conditioning. However, you don't have to wait that long for the natural seasoning, there's a shortcut.
First, spray the basket with some water and then generously sprinkle dusting flour inside ensuring it gets into every groove. Let it sit for a few minutes in the open until dry and then flip the basket and bang it on the countertop to remove the loose flour. With that, your proofing basket is ready to use. Now all you have to do is prevent sticking by dusting the basket with flour, or rub the flour onto the liner (if using) before placing the dough inside.
After every use, clean the banneton by banging out the loose flour and, if necessary, gently brush out any excesses using a firm bristled brush. You don't need to wash the basket every time unless there's excess sticky dough. But every once in a while, say after a couple of weeks, it's important to sterilize the basket by heating it in a low oven (about 200 degrees Fahrenheit) for 30 minutes to one hour. Lastly, always store your banneton in a dry, well-aerated, and, preferably, warm place to avoid mold formation.
Don't have a banneton? Try these alternatives
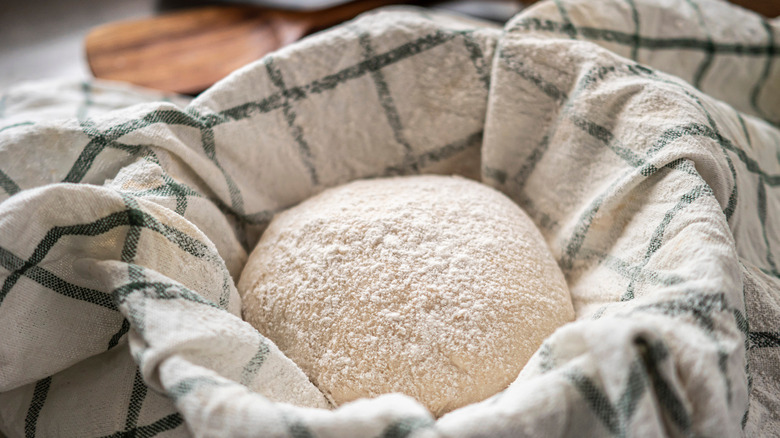
While a banneton is the most ideal tool for holding your dough during final proofing, if you don't have one, there are a few regular kitchen items you can repurpose for this role. Keeping in mind how a proofing basket works, a near-perfect banneton alternative should comprise of a breathable bowl-shaped container and a fabric liner (this is a must for a makeshift banneton).
For the container, since most kitchen utensils aren't made of breathable material, look for a container whose wall is perforated. Some easy options are a colander, a Thermomix basket, or a ricotta basket. In case you don't have such perforated containers in your kitchen, then feel free to use any regular bowl (plastic, stainless steel, ceramic, or glass).
For the fabric liner, get a thin cotton or linen cloth. You can use napkins, tea towels, or cotton pillowcases. With your container and cloth ready, rub the cloth with dusting flour thoroughly before placing it inside the container and seating the dough on top. Another banneton alternative is using only a linen towel. Dust, fold, and tie a heavy linen towel into a boat-like shape and place it on top of a flat surface then place your dough inside. Whichever alternative you use, be warned that your dough may not turn out as smooth or as perfectly shaped as when using a banneton.