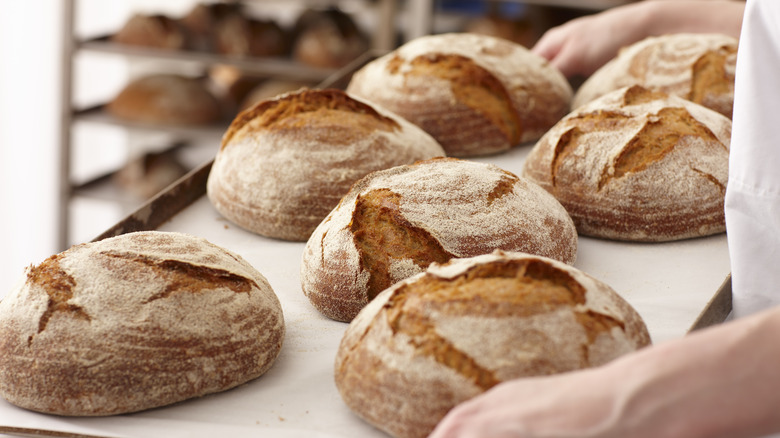
The Hardest Bread Baking Step And How To Get It Right
If you're trying to master the art of baking bread, there's likely one step of the process that's tripping you up: Proofing your bread correctly. Even experts agree, like Nathan Myhrvold, the author of the Modernist Cuisine cookbook series. "Calling proof is a part of the bread-making craft that's hard to teach — even experienced bakers find it can be one of their most difficult tasks," he says. It's not a hard concept to wrap your head around, but getting it right takes practice.
"The idea is to call proof when there is an optimal relationship between the amount of gas in the dough and the ideal gas-retention properties of the gluten network," says Myhrvold. This means that the dough needs to have enough gas to rise, but not so much that it breaks through the dough. Myhrvold says there isn't a scientific way to determine perfectly proofed bread, because every recipe is different.
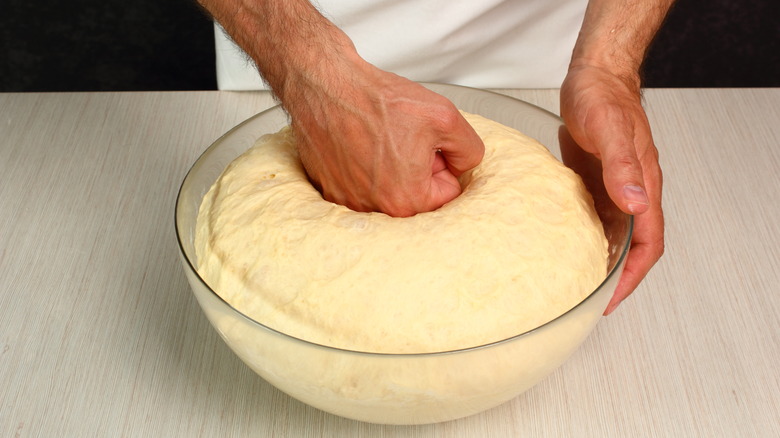
However, he has one simple way to do it: Poke the proofed dough with your finger. "The fingertip test is not a scientific method, and you'll have to practice to become proficient, he says. "But, it's good enough for an educated assessment."
Myhrvold gives detail to what you should look for: "The pressure should leave a small dent in the dough. It will slowly spring back, but the indentation should remain clearly visible," he says. If it springs back fast and the dent vanishes, it's under-proofed; if it doesn't spring back at all, you've over-proofed it.
What happens when you over- or under-proof bread
If you haven't proofed your bread dough for long enough, you'll see it once the bread gets in the oven, says Nathan Myhrvold. "An overproofed dough won't expand much during baking, and neither will an underproofed one," per Myhrvold. "Overproofed doughs collapse due to a weakened gluten structure and excessive gas production, while underproofed doughs do not yet have quite enough carbon dioxide production to expand the dough sufficiently."
Under-proofed bread has an obvious fix: Provided you haven't already put it in the oven, simply proof it longer, until the finger test gives you the right result. Perhaps surprisingly, though, you can also save overproofed bread, according Myhrvold. "Using a technique we call 'Dough CPR,' we were able to resuscitate the same batch of dough up to 10 times before it suffered any serious loss in quality."
Don't fret: This rescue technique is particularly easy to implement. Overproofed dough has excess gas inside of it, so you just need to flatten it or punch it down to get some of that gas out. Then you can re-shape the dough, put it back into the proofing dish, and let it rise again, hopefully without overdoing it this time. This process is sometimes called "knocking back" the dough.
Ways to make sure you're proofing bread right
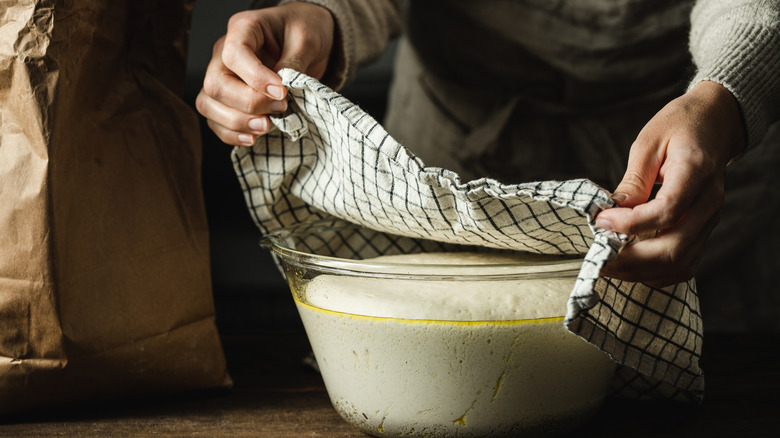
To make sure you're getting your bread perfectly proofed, you'll also want to make sure you're attentive to the space where you're proofing it. A temperature between 75 and 80 degrees Fahrenheit is considered ideal: It's warm enough to get that yeast fermenting quickly, but not so warm that it kills it off (that happens around 90 degrees Fahrenheit). That said, some bakers proof in a cold environment, both for convenience (you can leave it overnight) and because it can help deeper flavors develop. It's also a good idea to cover your bread dough while it proofs, to keep the temperature in. A non-porous cover like plastic wrap — not a towel — is good for this.
A relatively humid environment (over 80% relative humidity) also helps with the proofing process, preventing your dough from drying out. If your kitchen is dry, some bakers like to heat up their oven, place a pan of hot water in there, turn it off, and proof the bread in the warm, closed oven.
As for how long to proof your bread, unfortunately, there's no magic number. A general rule — if you're proofing in a warm space — is one to four hours (longer four hour proofing is better for sourdough). In the refrigerator, the proofing time could be from eight to over 12 hours. But a lot of factors play in here, from the kitchen temperature to flour types to the moisture in the dough.