Protect Your Beans From Cracking With Help From Your Oven

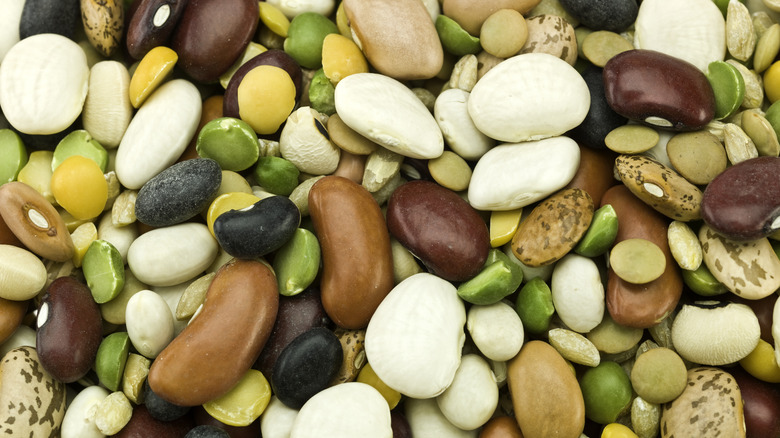
Cooking dried beans from scratch produces a much better legume dish than the canned variety. Sure, canned beans are more convenient since you just crack open the tin and have ready-to-eat beans. However, the texture and flavor of home-cooked beans are far superior no matter how much you try to make canned beans taste homemade. One thing you have to be mindful of when preparing dried beans is protecting them from cracking and creating a mushy disappointment. That's why we recommend enlisting the services of your oven.
There are a couple of reasons why cooking dried beans in the oven prevents the bursting and splitting of the legumes. First, beans require a gentle simmer to avoid continuously bumping into each other (one of the causes of cracking). The oven is ideal for this because its ambient heat allows for a low simmer. Moreover, you don't need to keep checking the heat to regulate it as you do on the stovetop. Secondly, the heat in an oven is more or less equally distributed, and because of that, there's no need to keep stirring the beans every few minutes. Too much stirring can physically damage your beans and lead to splitting or cracking, so your oven will save you from that. All in all, oven cooking is basically hands-off once you've popped the beans inside.
How to cook dried beans in an oven
To cook dried beans in an oven, start by preparing the beans as usual: Pick out debris, stones, and spoiled seeds from the mix, then wash and drain. After this, you can either soak the beans overnight or go straight to cooking. To cook, first, preheat the oven to 325 or 350 degrees Fahrenheit. Put the beans in a large pot with water reaching a few inches above the beans, place the pot on the stovetop, and bring it to a boil. Note that dried beans swell a lot when cooked (almost 2-3 times their original size), so make sure your pot is big enough. Additionally, since you'll be transferring the beans in the pot to the oven, use one that's ovenproof, such as a Dutch oven.
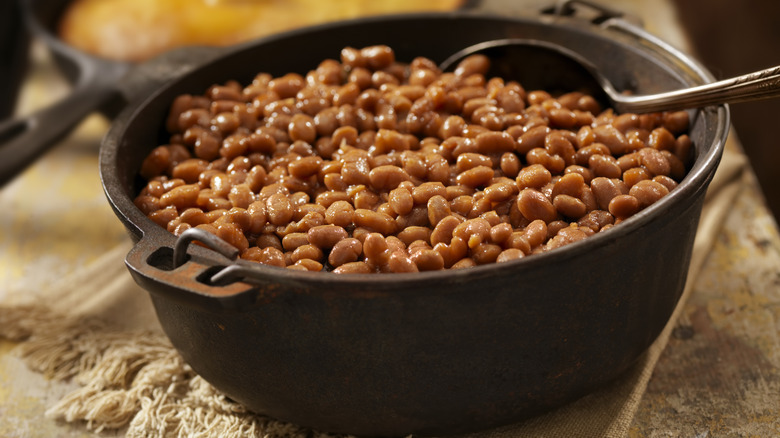
Once the water is boiling vigorously, transfer the pot to the preheated oven and cover it with a fitting lid. Let the beans bake for about 70 minutes, then open the oven and do a taste test to see if it's cooked through. If it's crunchy or feels firm at the center, it's not ready yet. Return to the oven and cook at about 10-minute intervals until it's cooked through. Once the beans are soft, they're ready. Notice the beans are all complete with none cracked or split — that's the benefit of the oven.
More reasons to cook beans in your oven
Beyond protecting your beans from cracking, the oven method offers a few other advantages. One of them is a quick cooking time. We all know that one of the biggest drawbacks of preparing these legumes from scratch is the dreadful amount of time it takes to cook. You can try pre-soaking them to at least shorten it, but still. Thankfully, cooking in the oven takes the least amount of time after the pressure cooker. For example, even without pre-soaking, your beans can be ready in under two hours. Additionally, beans cooked in the oven often have a richer flavor. The gentle simmering allows the spices and seasonings added to seep into the legumes in a way that other cooking techniques cannot compare while the flavor of the beans shines through. You'll end up with the most flavorsome legume serving you've ever tasted.
Lastly, we cannot over-emphasize how great it is to have a hands-off cooking technique that allows you to go about other businesses or even relax as your beans cook. No need to top up the water in the pot now and then. No worries about the beans abruptly boiling over and causing a mess. No regular stirring to ensure even cooking. Just place the beans in the oven, set your timer, and relax.