One Cheap And One Expensive Way To Proof Bread Faster
According to Nathan Myhrvold, founder of Modernist Cuisine, "The ultimate goal of proofing is to increase the volume of a shaped piece of dough through the production of carbon dioxide and ethanol." And it's these shaped pieces of dough that eventually morph into the rolls and loaves of homemade bread that you crave. This is often a slow process, but you can make the proofing step go faster if you embrace one of two proofing hacks — though one bread-proofing cheat is spendier than the other.
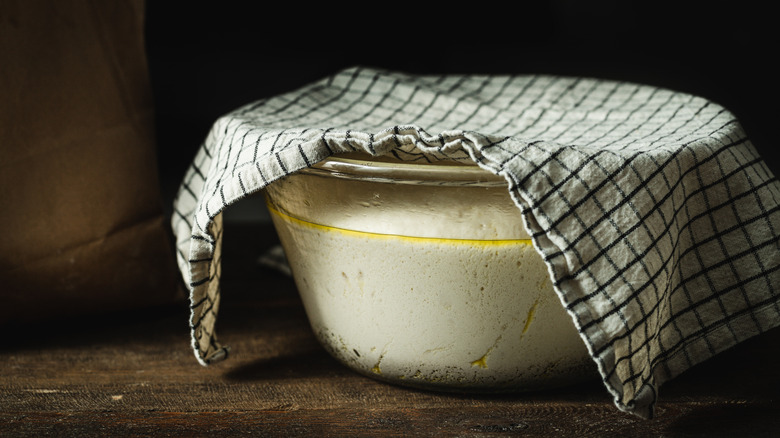
The inexpensive way to speed up the proofing process when you're baking your own bread is also pretty old-fashioned. Do what your grandma's cookbook suggests: Cover your bread – usually with a kitchen towel – and position it outside a warm oven with an open door. This is one of the best places to proof bread. As Myhrvold told Chowhound.com's editors, "Generally, the higher the ambient temperature (up to a certain point), the faster the fermentation."
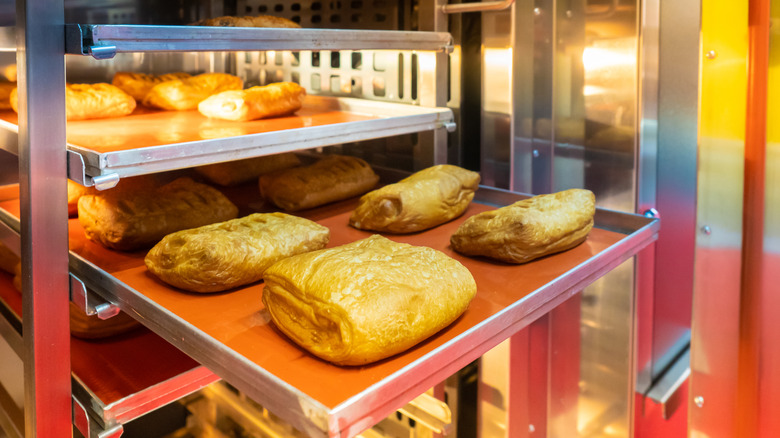
Modern bakers have some proofing tools that your grandma didn't have, however. There's now a machine that does what your warm oven, a towel, and a little time used to do, and unsurprisingly, it's called a proofer. The advantage of this is that by speeding up the proofing process, a commercial bakery puts out more bread loaves per day than it would without the proofing machine. Naturally, baking is more democratic these days, so there are proofers that are made for the home baker, too.
A spendier, high-tech option
For your low-budget option, proofing the bread outside of a warm oven with the door open might sound simple, but it's efficient. The oven warms the dough, accelerating the fermentation, though it won't heat it so much that the bread bakes. One thing to note about the towel: Using one does help during the proofing process, but it comes with a potential drawback. According to Nathan Myhrvold, the bread might form a crusty skin if you don't watch it like a hawk while it's napping under its linen towel. To sidestep this, Myhrvold and his team put the dough in a plastic bag. They leave a bit of air in the bag to put the kibosh on the dough snuggling up to the interior walls of the bag. Transparent plastic is the way to go here because it gives you a peek at the dough the whole time. Proof the dough this way until it's ready to bake.
If you're ready to invest in a tool for consistent rises, a bread proofer might be the right fit for you. You'll find them on Amazon in a variety of prices, ranging from as little as $30 on up to several hundred dollars. However, Nathan Myhrvold offered up an idea for an inexpensive hack that allows you to MacGyver your own proofing box. Basically, you just need to use a souped-up Styrofoam cooler to replace the store-bought box. There are a number of ways to make this contraption, though this method is one of these easiest: Place a heating mat inside the cooler. And then top the heating mat with a wire rack. Place the bread in a covered bowl on top of that.
There is one extra step you can take. Connect the heating mat to a temperature controller that you'd place on the outside of the box. This allows you to watch the temperature without opening the box. You can experiment with the heater's settings to fit your needs. By employing these accelerated proofing hacks, you could be eating home-baked bread in a few hours.
Some final bread proofing tips
These speeding-up methods can take between one to four hours, depending on a number of elements, according to Nathan Myhrvold. The list of elements can include the type of yeast, the ambient temperature in the room, and the hydration levels in the bread dough.
Regardless of what method you use, you should keep the signs of doneness in mind if you decide to speed up the proofing process. This is important because by picking up the pace of the proofing, you're no longer following the recipe exactly. You'll need to have other doneness markers besides what the recipe card says in this case.
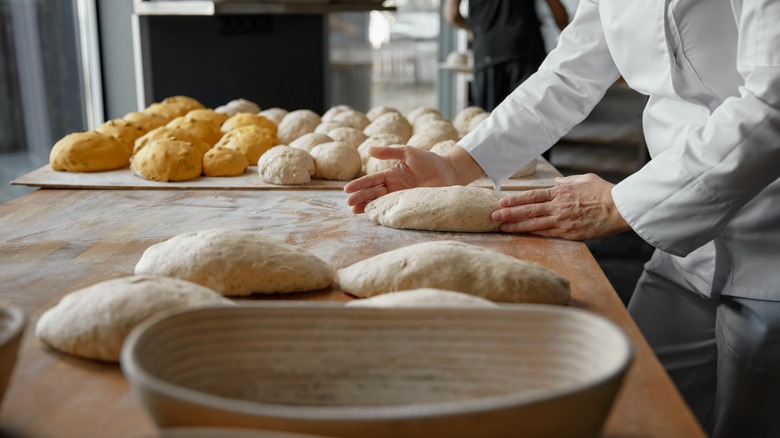
The first indication is size. Did your bread dough get bigger? Double its original size is ideal. The second indication you have is how quickly the bread springs back to its original shape if you poke it like the Pillsbury Doughboy's tummy. If it returns to its previous shape in nothing flat — with or without the cute Doughboy giggle — it needs more time to proof before you bake it. If it holds the indentation from your fingerprint for a moment but fills in within 10 seconds, your bread is proofed.