How To Grill Shrimp Perfectly Every Time
Plump, perfectly seasoned shrimp fresh off the barbie is one of life's greatest simple pleasures. When done right, grilled shrimp are juicy, flavorful, and have a perfect char. Yet this pleasure can be elusive, because grilled shrimp is also one of the easiest things to overcook, leaving them rubbery, dry, and generally reminiscent of unappetizing gummy worms.
But what if we told you that you could grill shrimp perfectly every time by sticking to a few simple rules? Using the right cooking instruments, temperature, and technique, grilling shrimp no longer has to be a guessing game. Instead, after a few minutes of work, you could use them in your favorite sweet and spicy shrimp tacos, atop a honey-flavored shrimp bowl, or in Vientamese-inspired summer rolls. Or simply serve them with a drizzle of spicy lemon garlic butter for a decadent, but easy to make combination.
First, it helps to choose the right shrimp (or prawns, though those are different and will require longer cooking). Don't be tempted to buy so-called fresh shrimp from the grocery store, because those are likely to have just been frozen and thawed to fool unsuspecting consumers. Regular, properly labelled frozen shrimp are usually frozen shortly after being caught, preserving freshness. Instead, for grilling, opt for properly frozen, properly-labelled deveined shrimp with the shells and tails on, as this helps protect the delicate meat from the heat. However, you can also use shelled shrimp for grilling — we'll explain what to do in that case, too.
Defrost the shrimp
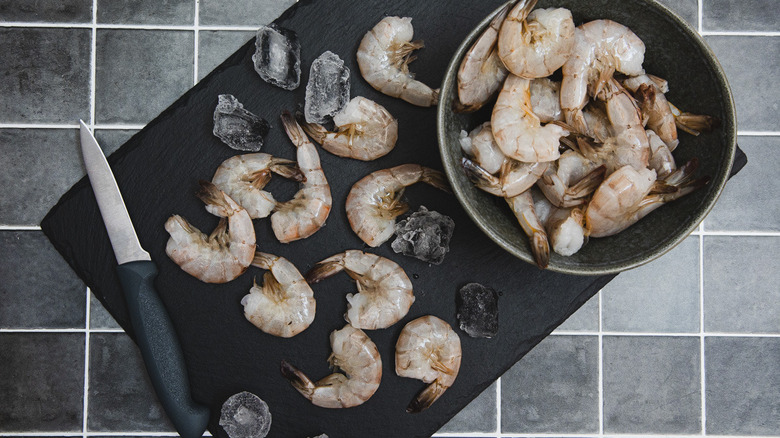
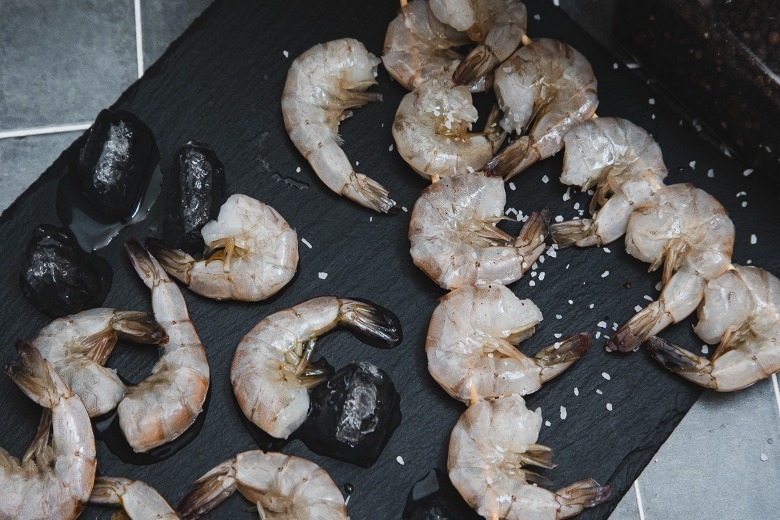
Defrosting your shrimp properly is crucial for ensuring the best texture and flavor when grilling. The safest and most effective method is to thaw shrimp in the refrigerator. Simply transfer the frozen shrimp in a Ziploc bag from the freezer to the fridge. Keep the bag in a bowl to avoid runoff and allow them to defrost slowly overnight or for about 24 hours. This gradual thawing process helps maintain the shrimp's texture and prevents bacterial growth.
If you're short on time, you can use a quick-thaw method. Place the bag of frozen shrimp in a large bowl filled with cold water and ice. Let them sit in this cold bath for 5-10 minutes, gently moving them around to ensure even thawing. Never let the shrimp come in contact directly with water or use hot water, as this can start to cook the shrimp and lead to an uneven texture.
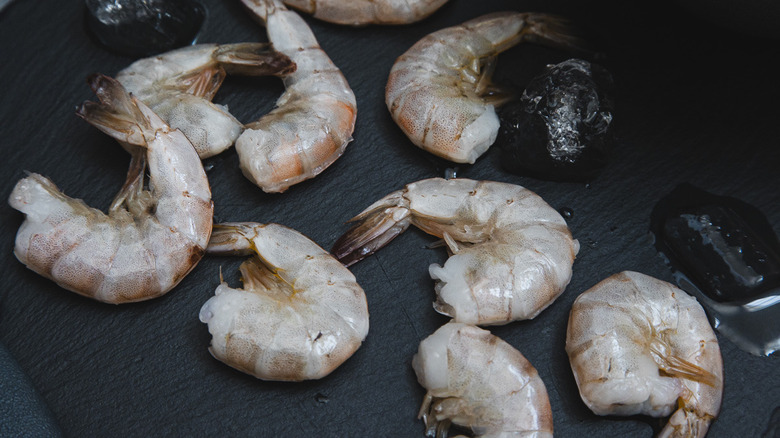
Once thawed, pat the shrimp dry with paper towels to remove excess moisture. This step is important for achieving a good sear on the grill. Always use thawed shrimp within 24 hours for the best quality and safety.
Leave shells on to prevent drying
If you took our advice and bought shrimp with shells on, it's best to leave them on for grilling. The shells act as a natural barrier, protecting the delicate shrimp meat from the intense heat of the grill. This helps prevent the shrimp from drying out or becoming overcooked, resulting in a juicier, more flavorful final product. Additionally, the shells contain compounds that contribute to a richer taste when exposed to heat.
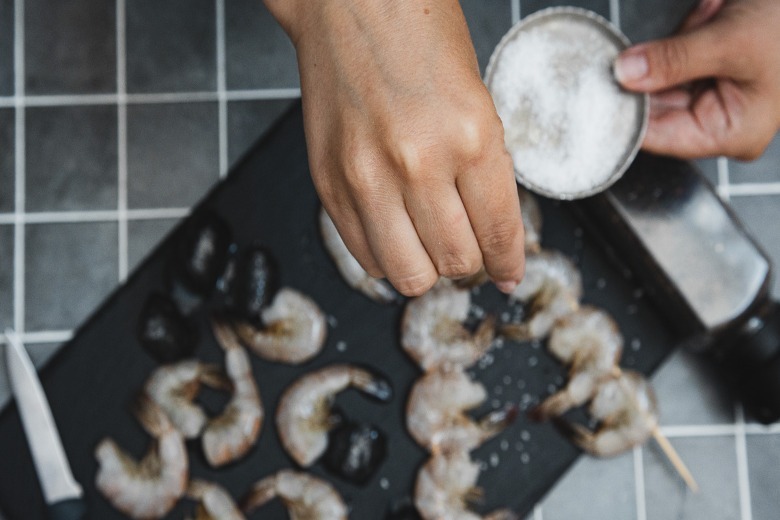
When grilling shrimp with the shells on, simply season them with salt and pepper. However, shells on or off ultimately depends on personal preference, the specific dish you're preparing, and the setting in which you'll be serving the shrimp. Shells-on shrimp can be more challenging to eat, especially in casual settings, as diners will need to peel them at the table. On the other hand, peeled shrimp are easier to eat but will need a marinade or a sauce and more careful monitoring during grilling to prevent overcooking.
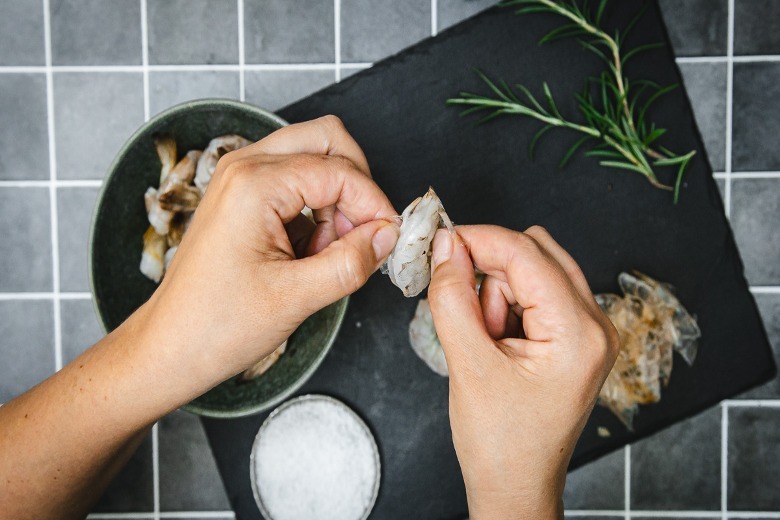
If you choose to leave the shells on but want to use a marinade, you can make a few small cuts along the back of the shrimp to allow marinades to penetrate and make peeling easier after cooking. If you're using larger shrimp, devein them even if you leave the shells on, as the vein can impart a gritty texture and slightly bitter taste. To devein, simply make a shallow cut along the back of the shrimp and remove the dark vein with the tip of a knife or a deveining tool. For smaller shrimp, deveining can be skipped to save time.
If using shelled shrimp, marinade
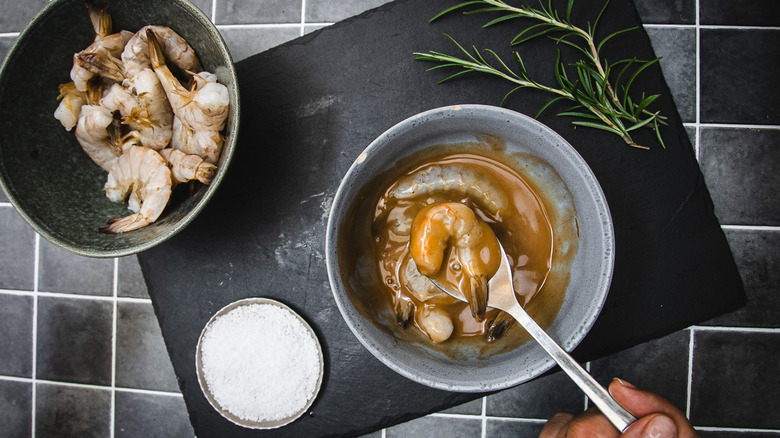
If you're using shelled shrimp, or shelling them yourself — keep those shells for stock — marinating is the best way to prevent them from drying out on the grill. Our favorite simple marinade is made with ¼ cup olive oil, 2 tablespoons lemon juice, 2 minced garlic cloves, and a few pinches of dried oregano, salt, and black pepper. But you're not limited to this combo. Whatever marinade you choose, add your shrimp to it and toss to coat evenly. Let the shrimp marinate in the refrigerator for 15-30 minutes, but no longer, as the acid in lemon juice or vinegar can start to "cook" the shrimp, affecting its texture.
Alternatively, you can brush the shrimp with mayonnaise before grilling. This might sound unusual, but it's a technique favored by many grill masters. The mayonnaise creates a protective coating that keeps the shrimp moist and promotes even browning.
If your shrimp have a strong fishy odor, you can soak them in milk before marinating or cooking. Simply place the shrimp in a bowl of milk for about 20 minutes, then rinse and pat dry before proceeding with your recipe.
Thread shrimp onto skewers
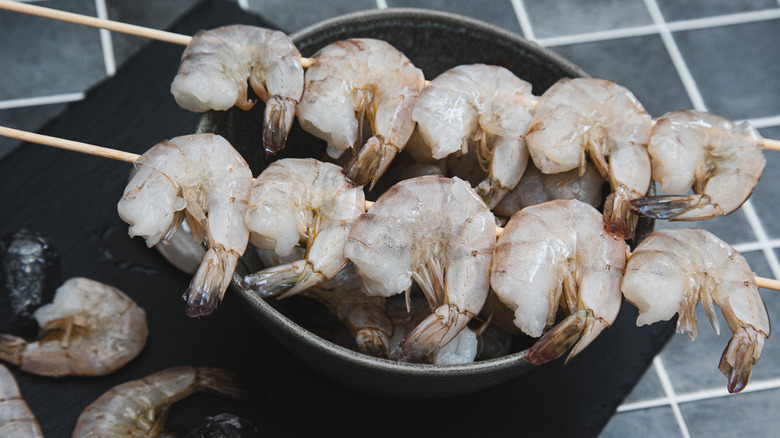
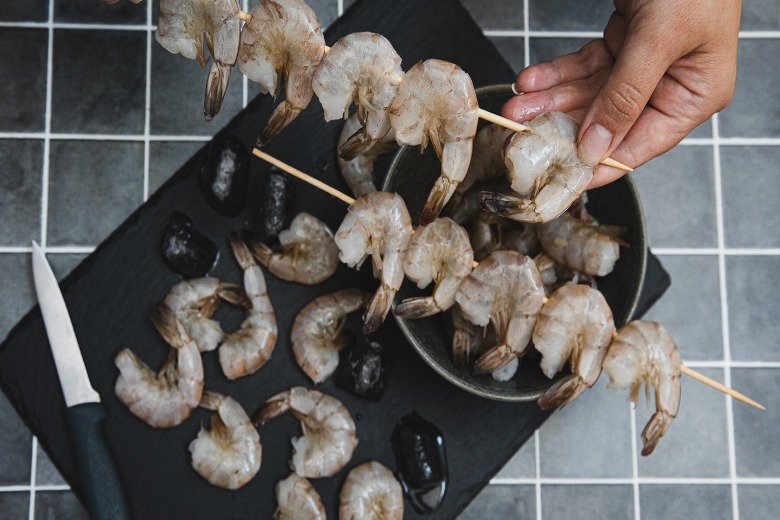
Once your shrimp has been properly defrosted and seasoned — with salt and pepper or a marinade of your choice — it's time to thread them onto skewers. This is probably one of the most important factors that makes grilling shrimp perfectly possible. Using skewers prevents the shrimp from falling through the grill grates and allows for easier flipping and removal.
You can use wooden skewers, metal skewers, or a special skewering technique if you're feeling fancy. If using wooden skewers, soak them in water for 30 minutes before use to prevent burning. Metal skewers are reusable and conduct heat, potentially cooking the shrimp from the inside as well. But for the best way to skewer large shrimp, use two skewers instead of one. This double-skewer method provides extra stability and prevents the shrimp from rotating when you try to flip them, ensuring even cooking on both sides.
Remember that the spacing between shrimp on the skewer affects cooking time – farther apart leads to more well-done shrimp. Whatever skewers you're using, before grilling, lightly brush the skewered shrimp with olive oil to prevent sticking.
Preheat your grill
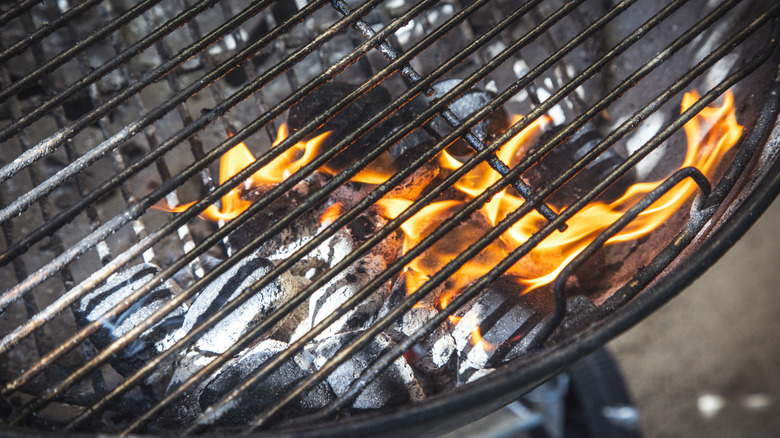
Before you oil your grill and cook the shrimp, start by preheating your grill to medium-high heat. This step helps open up the metal's pores, allowing it to better accept the oil. Aim for a medium-high heat range of 350-450 F. This temperature range is ideal because it allows the shrimp to cook quickly, developing a nice char on the outside while remaining juicy and tender on the inside.
If your grill has a built-in thermometer, use it to monitor the temperature. If not, you can use the hand test: hold your hand about 5 inches above the grill grate and count how long you can keep it there comfortably. For medium-high heat, you should be able to hold your hand there for 3-4 seconds before it becomes too hot.
Oil gril grates
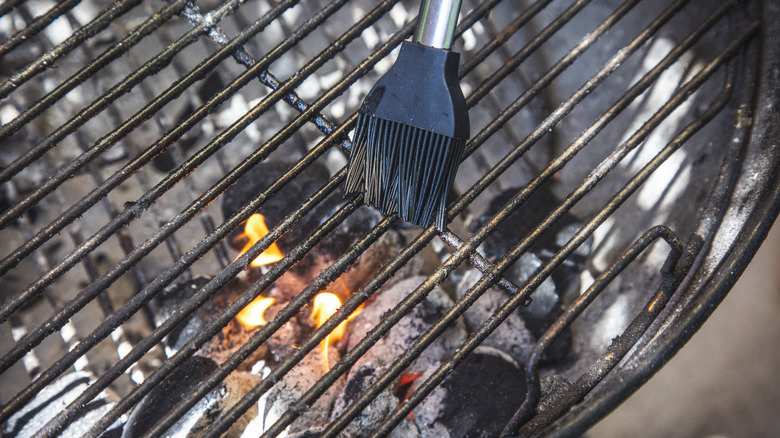
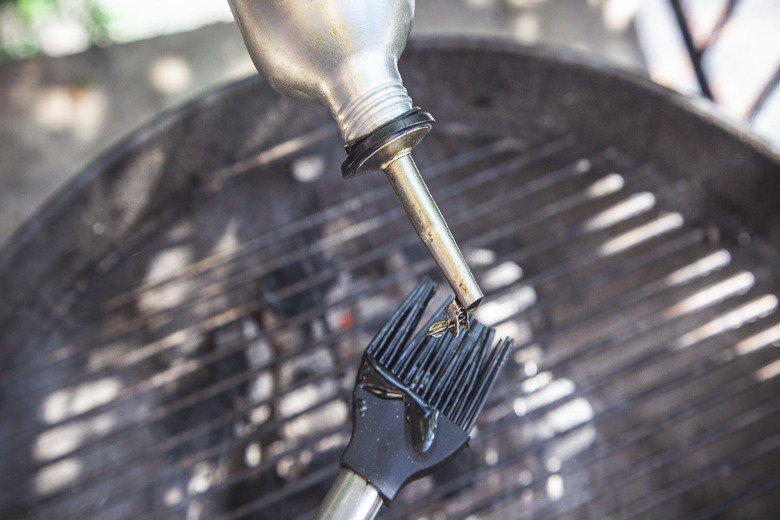
To prevent the shrimp from sticking onto the grill and making it hard to turn them over, we recommend gently oiling the grill grates. Use a high-heat cooking oil, such as canola or vegetable oil, rather than a low smoke-point oils like extra virgin olive oil, that although safe to use in high temperatures can nonetheless burn and impart an unpleasant flavor to your food.
Use a silicone brush or a specialized grill oiling tool for this task. Alternatively, you can use a pair of long-handled tongs to hold a folded paper towel that has been dipped in oil. Carefully rub the oiled paper towel across the grates, making sure to cover the entire surface. Be cautious, as the grill will be very hot at this point. Whatever you do, never spray cooking oil directly onto a hot grill, as this can cause dangerous flare-ups that would definitely ruin your barbecue plans.
Grill your shrimp
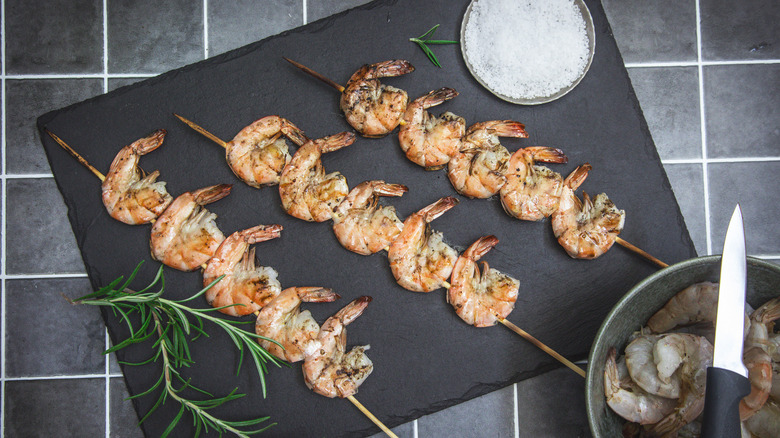
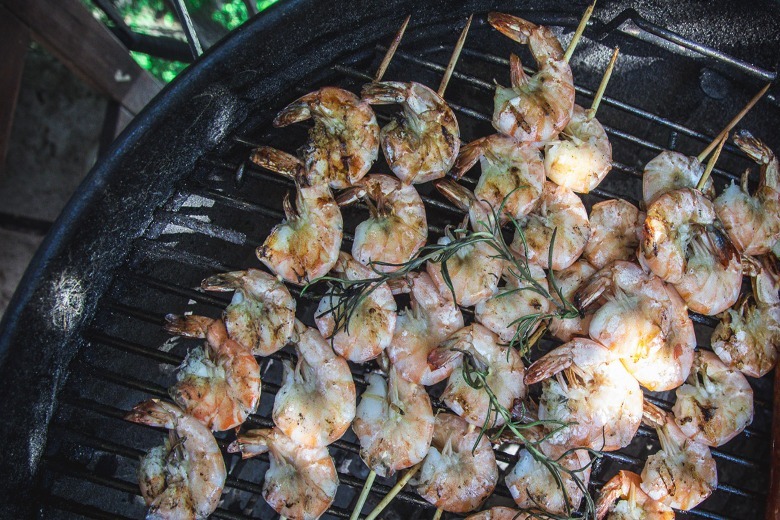
Once your grill is preheated to the right temperature and the grates are oiled, it's time to cook the shrimp. Place the skewered shrimp directly on the hot grill grates, ensuring they're not overcrowded. If you have some fresh woodsy herbs like rosemary or thyme, throw them on top of the shrimp to help impart a delicate aroma.
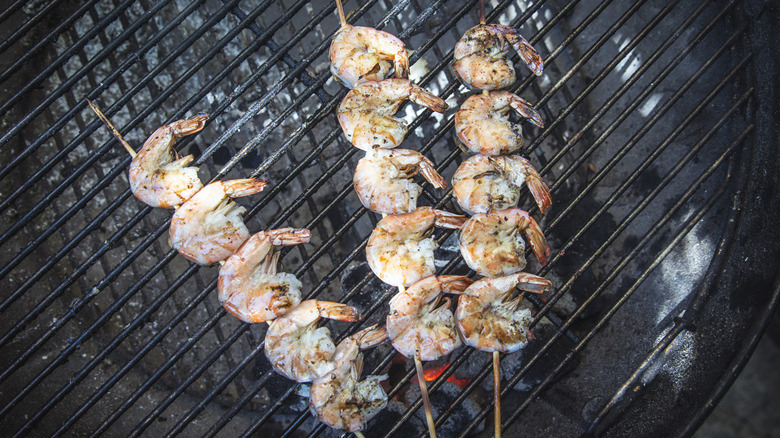
Grill the shrimp for approximately 3 minutes on the first side. You'll notice the shrimp starting to turn pink and become slightly opaque. Avoid the temptation to move or flip the shrimp too early, as this can prevent proper grill marks from forming and may cause the shrimp to stick to the grates.
After 3 minutes, use tongs to carefully flip the skewers over. Brush the shrimp with oil on the other side. The second side will cook slightly faster, so grill for about 2 minutes. The shrimp are done when they've turned fully pink and opaque throughout, with nice grill marks on both sides. Be cautious not to overcook, as shrimp can quickly become tough and rubbery. In fact, it's better to undercook shrimp, as they'll likely continue to cook from residual heat. The total cooking time should be around 5-6 minutes.
Remove shrimp from grill and serve
Congratulations! After about 5 minutes of cooking and maybe about as much time in prep, your perfectly grilled shrimp are ready to eat. Serve them as they are, accompanied with classic cocktail sauce, beurre blanc or warm garlic butter. With sticky fingers and a grin on your face, you'll start to feel like you are "sliding in on a shrimp sandwich," the Swedish way of saying you were born with a silver spoon in your mouth.
