Baking Soda Is The Key To Cleaning Your Coffee Maker
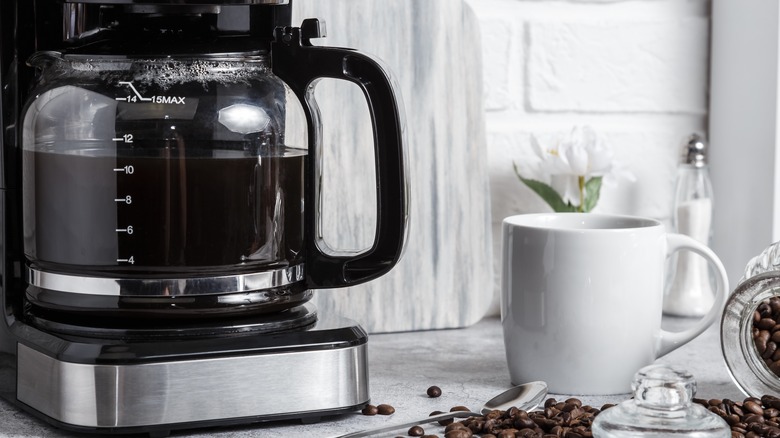
Your coffee maker, like any other kitchen equipment, requires regular cleaning. We're not just talking about wiping down the exterior parts to remove smudges and dust, you also need to clean the internal parts where there's often a buildup of coffee oil and mineral deposits, especially from hard water. Luckily, you don't have to pull apart your machine to get inside for a scrub. You just need baking soda.
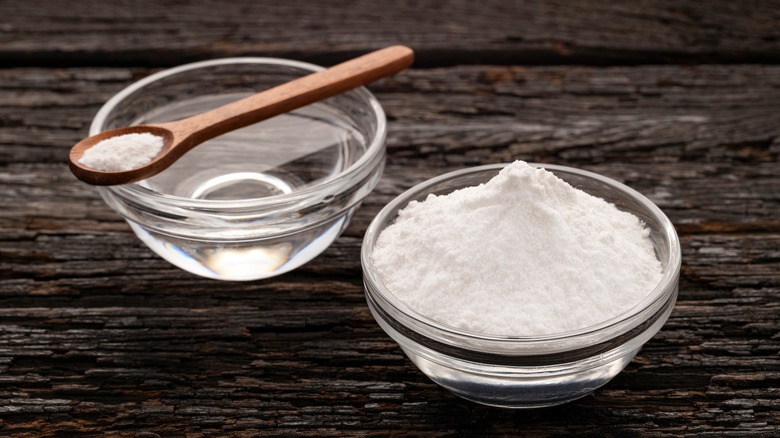
Baking soda is alkaline in nature, meaning it has a high pH level. This enables it to knock out greasy grime, especially from the buildup of coffee oil due to the frequent brewing cycles. This natural ingredient also has a somewhat coarse consistency, which gives it an abrasive property that can mechanically dislodge dirt within the coffee machine, especially those hard-to-reach places where a regular brush cannot clean. Additionally, baking soda is a great deodorizer, so after use, your kitchen gadget will smell as fresh as new. It is also generally preferred as a cleaner in the kitchen since it's natural and safe, so you can confidently use it on items that come into direct contact with food or drink like your coffee maker. The fact that the powder is a common pantry staple and very affordable also makes it easily accessible.
How to clean your coffee maker with baking soda
Cleaning with baking soda is part of deep cleaning for your coffee machine. You should do it at least once every two to four months depending on how regularly you brew with your gadget. However, if you notice there's lots of grime buildup in the appliance, limescale formation, or even mold growth, it's time to grab your baking soda and get cleaning. First, remove any coffee grounds left in the machine with the coffee filter and empty the water reservoir tank. Mix ¼ cup of fresh baking powder with about 1 cup of water and pour it into the tank. With the coffee pot in place on the warming plate, turn on the machine and let it brew. Stop halfway through and let the solution sit for about 30 minutes allowing it to soak inside the internal parts for a thorough clean.
Now, switch on the coffee machine again, complete the cycle, and discard the murky water you've collected in the pot. Your gadget is now stripped of all the gunk from coffee oil accumulation and any funky smells should be gone. The last step is to rinse the machine. Run at least two brewing cycles using fresh, clean water to rinse out any baking soda remnants. Then finish your cleaning session by wiping down the exterior of the machine and hand washing any removable parts.
Baking soda can't handle heavy limescale, so use vinegar
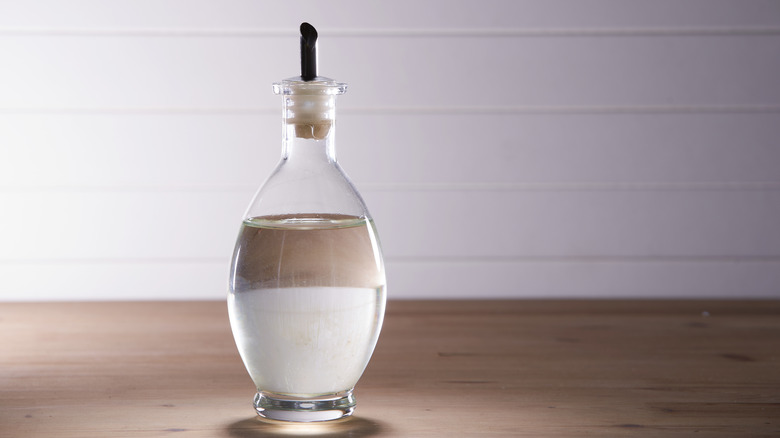
No matter how great a DIY home cleaning agent is, it's likely not able to carry out all types of cleaning on its own. That's the case even with baking soda — though it works well on greasy gunk and other grime, it can't properly remove heavy mineral deposits. This is where vinegar comes in. Vinegar is another popular natural, non-toxic cleaning agent. With its low pH this liquid ingredient does a great job of knocking out layers of limescale in gadgets like the coffee maker (it can also help clean your electric kettle). Therefore, if after deep cleaning with baking soda, there's still evidence of limescale in your coffee machine, prepare a 1:1 solution of vinegar and water. You can use distilled vinegar, white vinegar, or apple cider vinegar for this task.
Pour the mixture into the water reservoir tank and repeat the same process you took with the baking soda solution of running a brewing cycle split in two. Rinse with fresh water after you're done. You can also descale the carafe using a similar vinegar solution, let it sit for about 30 minutes then discard and rinse the pot. With that, your coffee maker should be all clean and ready to brew your next cup of joe — a great opportunity to try making one of the many types of Italian coffee and see which one you like best.


