Save Yourself Time And Energy And Let Your Blender Clean Itself
A blender is one of the most useful kitchen tools for making smoothies, purees, hollandaise sauce, and more, but cleaning it can be a pain. Unfortunately, this is why many people go above and beyond to avoid using the appliance. Nothing is worse than trying to scrub off stubborn food that's stuck in literally every crevice, especially on the blades. Cleaning the tool after blending sticky or thick ingredients like peanut butter, molasses, or honey can also be incredibly frustrating.
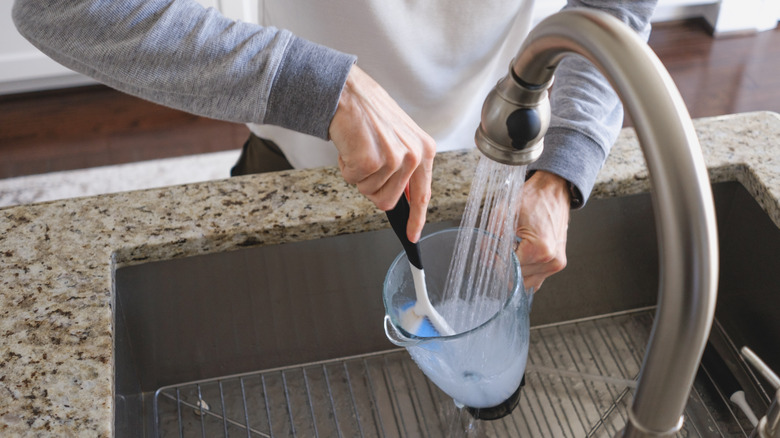
However, washing a blender doesn't have to take a ton of time or elbow grease. Instead, you can put it back to work and make it clean itself. To do this, fill the pitcher halfway with water and add a bit of dish soap, then turn the appliance on. After the soapy water has had enough time to get in all the crevices, about 30 seconds or so, you should have a spick-and-span blender that you can rinse out, dry, and put away.
Keep in mind that this method works best after you've just used your blender and any food remnants haven't had time to dry or harden inside. That said, if you've left a dirty blender sitting for a while, not all hope is lost. Let warm water soak in it for a bit to loosen any dried food, making it much easier to clean.
What about tough stains and built-up grime?
So, cleaning a just-used blender is easy enough, but what about one that is really grody? We're talking stained with years of built-up gunk around the blade base. Thankfully, it's possible to clean even the filthiest blenders using a few ingredients that you probably have lying around the house.
For stubborn stains, like those left behind by acidic tomatoes or vibrant turmeric, add about 2 tablespoons of baking soda, lemon juice, and hot water to your blender and let it run for about 30 seconds. If you don't have any lemon juice on hand, ¾ cup of vinegar can work in its place. After blending the DIY cleaning solution, use a sponge to gently scrub the inside of the pitcher before rinsing it. Note that using your blender to grind coffee, nuts, or seeds can create scratches in the plastic that make some stains almost impossible to remove. While this isn't a problem for glass blenders, if you have one with a plastic pitcher, you'll want to be cautious about blending abrasive foods.
Now, if there's built-up grime in the cracks and crevices between your blender and its base caused by leaks or accidental spills, these can also be cleaned relatively easily. An old toothbrush is perfect for removing dried-up food from hard-to-reach seams, particularly if you can soak the area first. However, if you can't or simply don't have time, hydrogen peroxide or rubbing alcohol can also help remove build-up.