How To Make Jell-O Shots - You're Doing It Wrong All Wrong
Whipping up some Jell-O shots is one of those party tricks that makes it feel as if you're pulling off some actual magic. Whether for a large group and special occasion, a holiday celebration, or simply a whimsical way to commemorate the weekend, these little pops of alcoholic sweetness are a memorable addition to your spread of beverage options. They can be a bit tricky to make, however, so tapping into some expert advice from craft bartender Kamaron Lockwood in this "You're Doing It All Wrong" video may make the difference between passing out a crowd-pleaser or showing up empty-handed to the party.
When getting started, you first want to be sure you have the proper tools — and that starts with your measuring device. Accuracy is critical when it comes to Jell-O since the amount of liquid is scientifically dialed into the water soluble hydrocolloid (also known as gelatin) formula. Since liquid and dry measuring cups are not the same, in this case you'll need the former.
Get the alcohol ratio just right
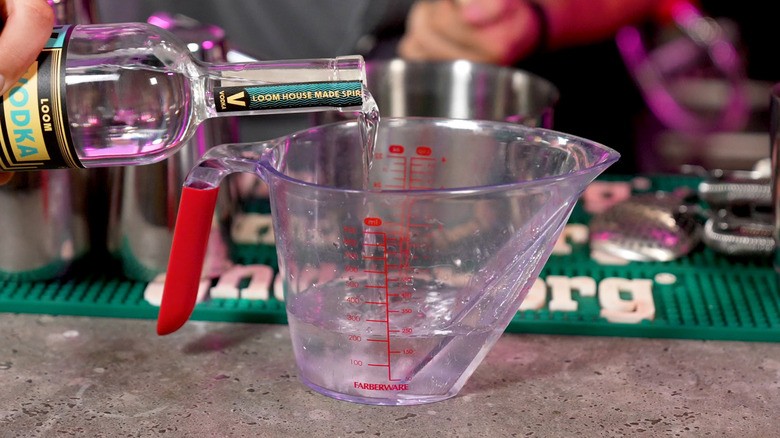
The next step is to assemble your ingredients. A standard Jell-O recipe calls only for water to be added to the packaged mix, but in this case, you'll be splitting half of the total amount with your chosen alcohol. The ratio Lockwood uses is ½ cup of cold water and ½ cup of alcohol. Lockwood opts for vodka, but you can use an alcohol of your choice; the most important consideration is quantity, because you don't want to overdo it.
While it may be tempting to make your shots more potent, if you add too much liquid, you won't have any luck getting your shots to set up — so practice some restraint. "It's very important to not put too much alcohol in it, because it will make the gelatin not set up right which is going to cause a whole other set of issues for you," Lockwood explains. "You're going to come back in four hours and your Jell-O shots are going to be still liquid-y and runny."
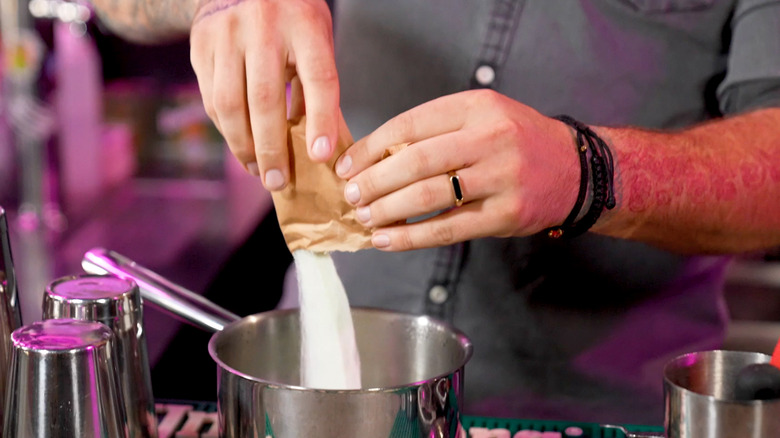
To carry out the process, simply bring 1 cup of water to a boil in a saucepan, then add your Jell-O mix and stir it in using a whisk or bar spoon until it's fully dissolved. The next step is to remove it from the heat and add that liquid combo of ½ cup of cold water and ½ cup of vodka. This will start the cooling process, which will promote the solidifying of your shots.
Customizing your shots
This straightforward process will give you some pretty tasty Jell-O shots exactly as is. But while you don't want to incorporate too much liquid into your Jell-O shots, you also shouldn't feel restricted when it comes to flavor profiles. Lockwood chose vodka and lime Jell-O, but you don't have to feel shackled to these selections.
"These kinds of things are kind of mix and match," Lockwood explains. "Once you get the ratios right, you can kind of experiment on your own." So choose your favorite spirit, and try mixing up various Jell-O flavors, adding fruit juices, or even making your own flavored simple syrups.
Whatever combinations you come up with just keep, Lockwood urges, "We just want to make sure this base recipe and this ratio is right because this is going to bring balance to your Jell-O shot, and make it palatable." So with that in mind, if you're using simple syrup, perhaps go with ½ cup of cold water, ¼ cup of simple syrup, and ¼ cup of alcohol, as an example.
It helps to taste a little splash before you package them up to make sure you're on the right track — don't wait until hours later to find out you don't like it. By then, your Jell-O will have set and you won't have a chance to course correct. Once you've confirmed that you're a fan of your flavor profile, you can get to work on portioning, packaging, and preparing them to chill.
Packaging, setting, and serving your shots
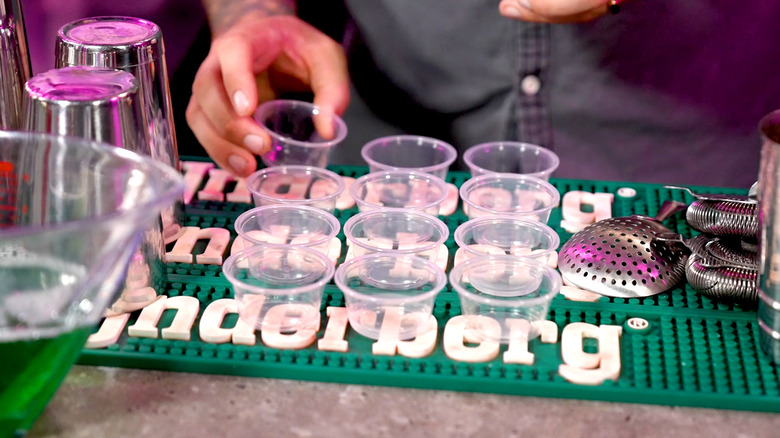
If you want to avoid a potential mess, don't try to distill your shots straight from a wide-mouthed pot into small containers. Lockwood suggests transferring the whole amount of liquid to a vessel with a spout (like a pitcher), so it's easier to pour from. This will help you prevent spillage as you're portioning them out.
Two-ounce disposable plastic portion cups with lids are a handy option, and convenient for carrying your shots with you if you are headed to a party (or just stacking them up in the fridge for later). That said, you don't want to immediately cover your shots, because this will trap the heat and slow down the shots from setting. The waiting step may be the hardest part, but don't give into your impatience. Your shots require about 4 hours to set up in the fridge before you can safely retrieve them and pop on those lids. At that point, don't wait any longer if you want to sample one for yourself.
Lockwood wraps things up with his most important advice, which you won't want to ignore: "Get your ratios right and the world is your oyster." And given how truly easy these are to pull off when you stick to these pro tips, you may find yourself making up reasons to make these tasty shots on a regular basis.