Why You Should Always Remove Your Keurig Pods After Brewing
We may receive a commission on purchases made from links.
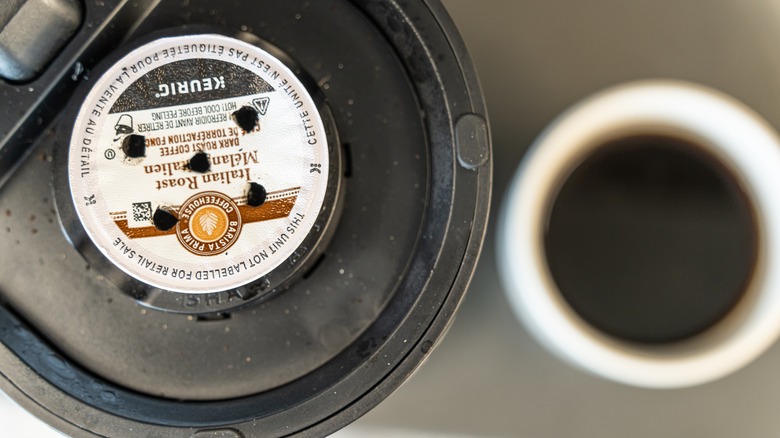
When you're in a hurry and want a cup of coffee fast, there's nothing better than a Keurig. They're quick, convenient, and have no shortage of great K-Cup pods for every taste. However, Keurigs require just as much care as a traditional coffee maker, and one way to keep them cleaner is by removing your pods after brewing.
On its website, Keurig recommends removing used pods as soon as they have cooled to prevent issues requiring deeper cleaning. This is part of the daily maintenance recommendations, alongside wiping down the brewer and washing the water reservoir, drip tray, and other removable parts. Not only is removing your used pod just good etiquette, especially if you're using a shared Keurig, but it also prevents the pod from leaking old coffee and gunking up the machine. Moreover, the pod holder is one of the best places for mold and harmful bacteria to grow, as it's damp and dark. Removing used pods as soon as possible helps mitigate bacterial growth and prevent it from spreading to your next cup of coffee.
Your best bet is to keep a small trash bin close to your Keurig so that it's easier to toss your used pods without trying to carry them a further distance. This will make removing them easier and help you get into the habit of discarding pods quickly. Also, if you ever have a pod explode, don't wait to clean it up, as the dried-on mess will be much tougher to remove.
Other tips for keeping your Keurig clean

While removing your Keurig pods after each brew will help keep your machine clean, it does not replace the regular maintenance needed to ensure your Keurig continues running safely. For instance, it's generally recommended that you clean your machine at least once a week to prevent mold growth. This includes washing out the K-cup holder and removing any coffee grounds that might have escaped from your pods. A toothbrush works great for this, as it can scrub away old coffee that you definitely don't want to drink. You can also use a paperclip to clean the Keurig needle and remove any debris that can build up.
Additionally, descaling your machine every three to six months is equally important. If you never descale your machine, calcium can build up inside, resulting in steaming, unusual noises, and bad-tasting coffee. If left long enough, the calcium can block the water intake and output completely, breaking the machine. Fortunately, Keurig has its own descaling solutions, like the Keurig three-month maintenance kit, that are specially designed to keep its single-serve coffee makers clean and sanitary.
In between descaling, you can use a vinegar and water solution to help keep the inside of your machine clean, as it will remove calcium and oil residue. For this, fill your reservoir with a 1:1 water and vinegar solution and run your machine until it's empty. Just make sure to run your machine a few times with plain water afterward to get all of the vinegar out before making a cup of coffee.