Yes, You Can Freeze Sourdough Starter. Here's How
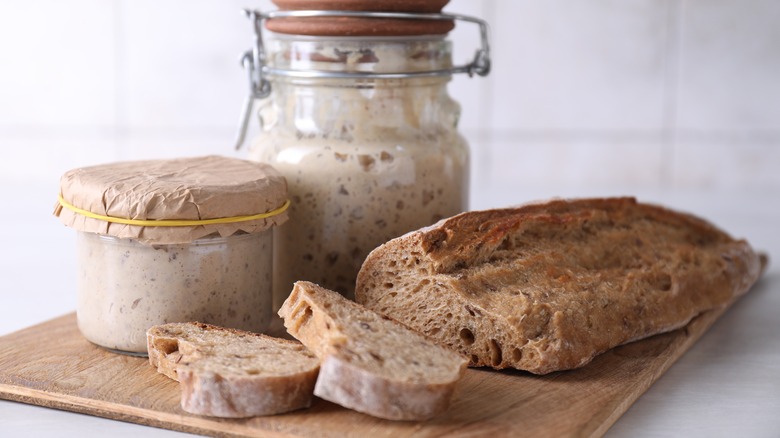
Homemade bread makes for a great sourdough sandwich, and more people than ever are hopping on the sourdough baking train. However, there are many useful tips and tricks that bakers should know, and one of the most important is how to store your sourdough starter so it lasts as long as possible.
Typically, people store their starters either on the counter, where they need to be fed daily, or in the fridge, where they can be fed once a week. Unfortunately, if you aren't making bread regularly, these constant feedings can be a bit wasteful and unnecessary. This is where freezing comes in, and it is one of the best ways to preserve your sourdough starter in a dormant state until you're ready to use it again.
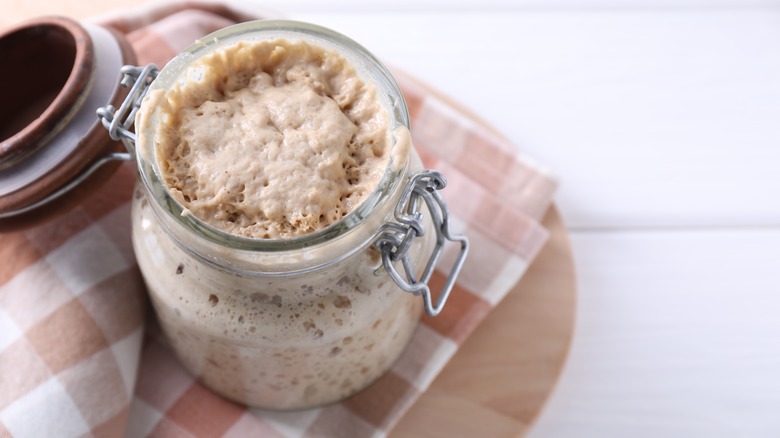
Unlike a ripe sourdough starter that is teeming with bubbles and ready to bake, a frozen starter is inactive. This slows the fermenting process, and in this state, the starter won't expand or need feeding until it is warmed up. However, if you freeze your sourdough starter, you must do it correctly to avoid contamination, mold, and freezer burn. These can happen if a starter isn't stored in an airtight container or isn't healthy before freezing.
How to properly freeze your sourdough starter
When it comes to properly storing a sourdough starter in the freezer, there are a few methods you can choose from. The first is to store a cup of starter in a plastic freezer bag with as much air removed as possible. Alternatively, you can pre-freeze the starter inside silicone molds, muffin tins lined with parchment paper, or ice cube trays. The starter will take about 12-24 hours to freeze, after which you can transfer the portions into a freezer bag.
The main problems people run into when freezing their starters like this are mold, freezer burn, and contamination. Fortunately, these can be avoided by using clean utensils when prepping your starter for storage and checking it for mold or bad smells. Likewise, freezer bags are essential for preventing freezer burn as they lock in moisture and keep out air, ensuring your starter doesn't dry out.
Another method is to dry out your sourdough starter before freezing it. You can do this by smearing a thin layer over a sheet of parchment paper and letting it dry in a turned-off, unheated oven. You can either use the oven light to generate heat to dry it in hours or leave it overnight to set. Once dry, the starter will flake off the parchment paper and can be stored indefinitely in your freezer. The main downside of this method is that it takes longer to bring your starter back to life, so you'll need to plan ahead.
Reviving your frozen sourdough starter the right way
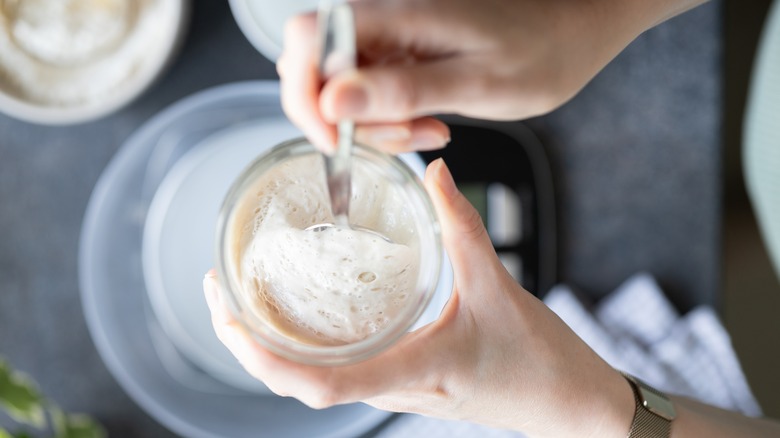
When you're ready to start baking, a starter that wasn't dried before freezing should be revived inside the fridge for at least 24 hours. This will gradually thaw it, and then you can continue the process at room temperature. Once the starter has reached room temperature, you should discard half to freshen it up and resume feeding it with equal parts warm water and flour.
Reviving a dry starter is a bit more time-consuming, and it will take roughly three days before you're ready to start feeding it normally. To start, mix half a tablespoon of the dry starter with a tablespoon of warm water and a tablespoon of bread flour. Cover it in plastic wrap and let it sit for 24 hours. Then, add another tablespoon of flour, two teaspoons of warm water, and re-cover. On the third day, add a tablespoon of flour and a teaspoon of water to create a thicker consistency. After this, it can be moved to a jar with 1/3 cup of flour and 1/4 cup of water. The starter should begin developing bubbles quickly as it ferments, and you can then begin feeding it as usual!


