How To Make Ghee At Home According To An Expert
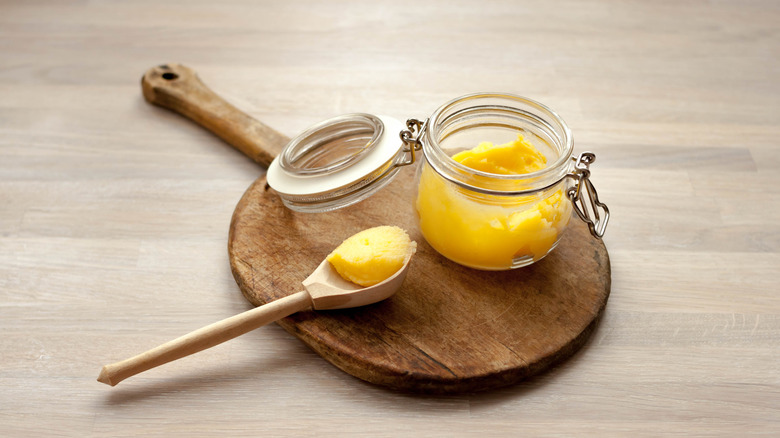
Ghee is so much more than just clarified butter. This golden liquid is one of the cornerstones of Indian cooking, not to mention a traditional component of Ayurvedic medicine with ritualistic significance. If you're unfamiliar with ghee, there's no need to be intimidated. It can be used as a cooking fat similar to butter or oil; lends a deep, nutty flavor to any dish; and has a high smoke point that makes it ideal for any recipe requiring high heat (it's Martha Stewart's go-to for scrambled eggs for this reason).
But what exactly is ghee, and how do you make it? Essentially, ghee is a type of butter from which water and milk solids have been removed, resulting in a concentrated fatty substance with an extra-rich flavor. You can purchase pre-made ghee directly from the supermarket, but it's also easy and rewarding to make at home. To help demystify the process, Chowhound spoke with celebrity chef and restaurateur Varun Inamdar.
Inamdar is the chef and owner of numerous acclaimed international restaurants, including 27 Degrees West in Singapore, Anokhi Bar & Grill in Shanghai, and New Light Sopore in Kashmir. Known as "The Bombay Chef," he specializes in sharing Indian cuisine with the world through his culinary work and content creation (his recipe videos can be found on the popular YouTube channel Rajshri Food). In an exclusive conversation with us, Inamdar shared his top tips for making the perfect ghee from scratch.
Start with high-quality, high-fat cream
There are a few different methods for preparing ghee, but they differ based on where in the butter-making process you begin. Many home chefs, especially outside of India, are likely to start with a regular stick of unsalted butter rather than churning it themselves, but that's not Varun Inamdar's recommendation. To correctly prepare ghee according to traditional standards, he suggests starting with high-quality cream. "Grass-fed cow's or buffalo's milk is often recommended for its flavor and nutritional benefits," he says.
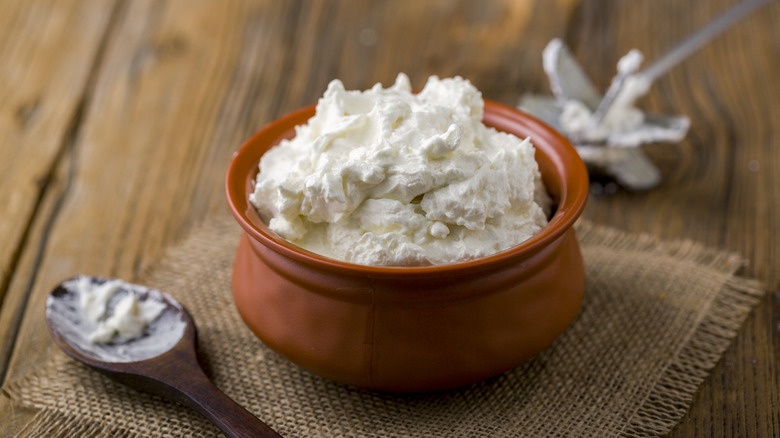
From there, you'll need to churn the cream to butter and wash it with ice water. Churning butter at home is surprisingly simple and can be done with a stand mixer, hand mixer, or blender — or even just a jar and a whole lot of elbow grease. The agitation separates the fat from the buttermilk, producing homemade butter, which you'll then go on to separate further to make ghee.
Cook low and slow to clarify
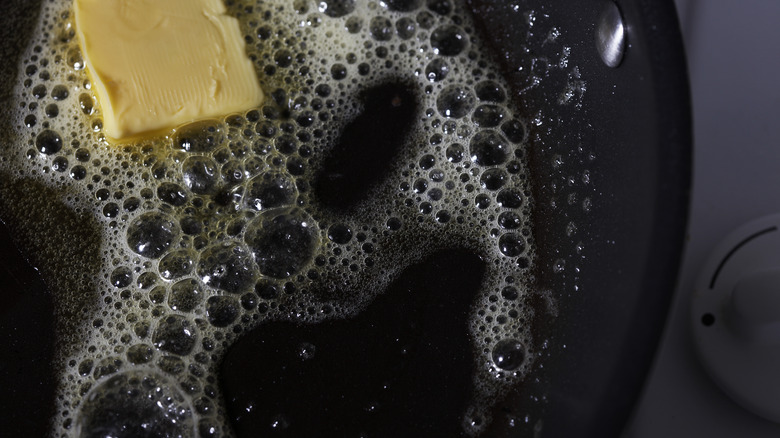
Begin the clarification process by melting butter in a saucepan over low to medium-low heat. According to Varun Inamdar, this is crucial to allow the water to evaporate slowly and prevent burning. "As the butter melts, it will begin to foam," he explains, noting, "This is the water content evaporating." Make sure to watch for this foam, as it's a crucial sign of separation.
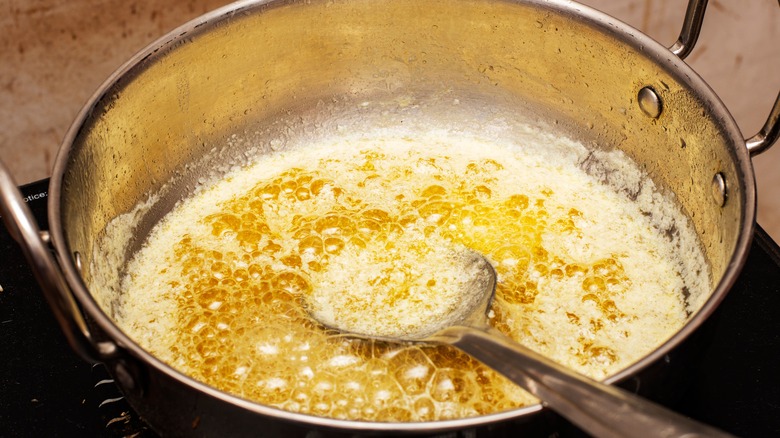
After about 10 to 15 minutes of cooking, the milk solids will sink to the bottom and the liquid in the middle will turn golden yellow and transparent. "Keep an eye on it, as it can quickly transition from done to burnt," Inamdar warns. To prevent this, he cautions against stirring. If the solids at the bottom do start to burn, don't fret too much. "The burnt bottom can be scrapped and made into cookies later" called Khajuri, he says.
Pay attention to aroma and color
Besides the use of high-quality, locally sourced cow's or buffalo's milk, one of the main factors that distinguishes ghee from other clarified butters is the longer cooking time, which results in the milk solids turning golden brown and imbuing the liquid with a rich, roasted flavor. According to Varun Inamdar, you'll know your ghee is ready when you smell a "nutty aroma" coming from the pan and you see that the milk solids have turned a light brown color, which usually occurs after about 20 to 25 minutes.
If you'd like, you can also season the ghee at this point. "My mother adds in a generous pinch of salt and a betel leaf for added flavor," he says. Similarly to bay leaves, betel leaves are often used in Indian cooking to impart a peppery taste, though unlike bay leaves, they are typically fresh, not dried.
Strain to complete the separation process
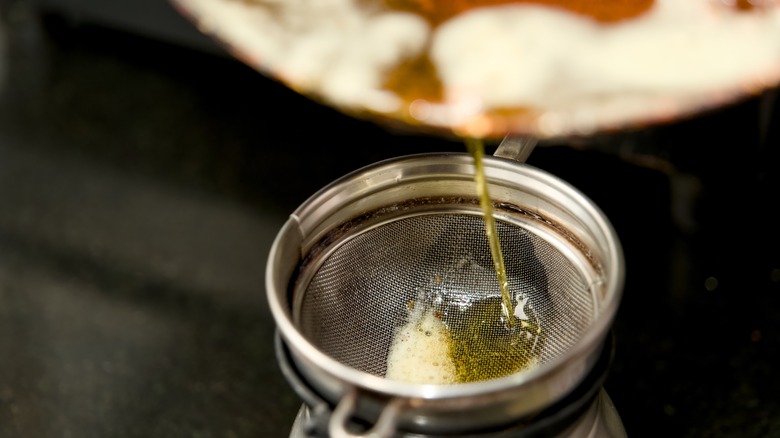
Once the ghee is ready, remove your saucepan from the heat and allow it to cool slightly. Skim off any remaining foam from the top layer with a spoon. Complete the separation process by straining the contents. Varun Inamdar recommends using a fine mesh strainer or cheesecloth and a clean, dry glass jar. You should be left with only the golden liquid, which will harden slightly after cooling due to its fat content.
Because all milk solids have been removed, ghee is usually a safe option for anyone with lactose-intolerance. Additionally, although its saturated fat content is somewhat higher than regular butter, it's associated with other health benefits due to its high amounts of vitamin A and omega-3 fatty acids.
Store and use for versatile needs
Varun Inamdar stresses the importance of storing your ghee in an airtight container. Because it doesn't contain milk solids, ghee can be stored at room temperature for several weeks with no spoilage, which is actually why it rose to such prominence in India's warm climate. If you want an even longer shelf life, Inamdar recommends storing in the refrigerator, though you do run the risk of the liquid solidifying too much in that cold environment.
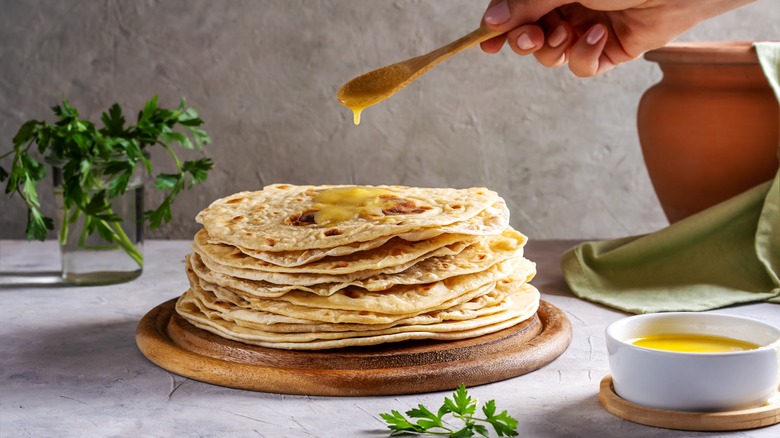
Once you've made your ghee, you're free to use it in so many versatile ways! Perhaps most obviously, it can be incorporated into classic recipes featured in Indian cookbooks that call for sautéing or baking. It can also be eaten as a spread with naan or roti, which can be made with atta flour. Ghee isn't limited to Indian cuisine, either; it can be a welcome substitute for butter or oil in many dishes when you want to add additional, aromatic flavor or avoid dairy.
