15 Mistakes To Avoid When Making Pumpkin Pie For The Holidays
We may receive a commission on purchases made from links.
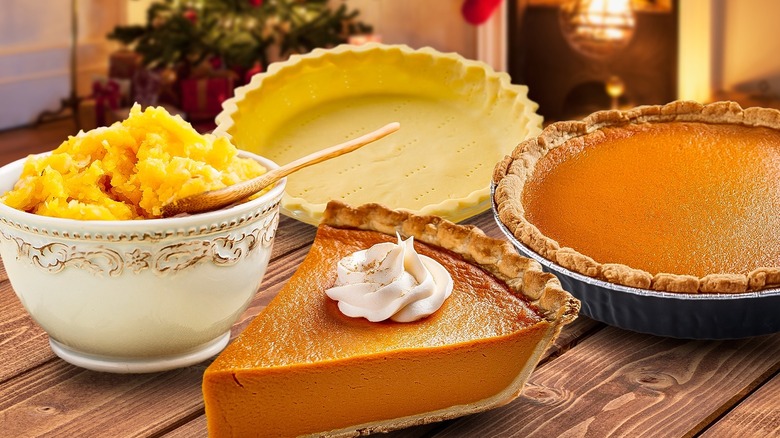
Pumpkin pie is a must at every fall harvest celebration, and it's a common denizen on the winter holiday table too. It's not particularly difficult to make a pumpkin pie using a frozen shell and a can of pumpkin pie filling, but you can still make plenty of mistakes. The danger only multiplies when you try to make your pie from scratch. It's not uncommon to have your pie burn, crack, dry out, or otherwise disappoint.
The good news is that these are all mistakes you can fix. With a pinch of chemistry knowledge, a dash of ingredient education, and a sprinkling of advice about preparation, your pumpkin pies will get much better fast. Next thing you know, you'll be making pies as good as the ones you find at Costco (which use a specific pumpkin variety) or better. Top that off with advice about serving and storing pie, and you'll become a pumpkin pro in no time.
Buying crummy pie shells
First things first: You can't have a good pumpkin pie without a good crust. Although the crust doesn't comprise the bulk of your dessert, it is a structurally important component as well as a flavor boost. If you're going to buy pie shells, take the time to seek out a nice brand that uses quality ingredients. You should be able to pronounce them all.
While a traditional pie crust needs no sweeteners, some people prefer a little added sugar. If that's you, you might be interested in trying a premade graham cracker crust or shortbread crust. You'll up the flavor factor and save time simultaneously. Be warned, though: Sweeter crusts might mean you need to tone down saccharine flavors elsewhere. One easy way to do this is with unsweetened whipped cream or a honey-tinged vanilla version instead of standard whipped cream or ice cream.
You can also try a nontraditional crust, says Pinch and Swirl founder Marissa Stevens. "I love pumpkin pie and most variations of it, but the one I make most often is a no-bake Pumpkin Chiffon Pie with a gingersnap crust using homemade spicy Gingersnap Cookies inspired by Stella Parks," she said. Parks, a pastry chef who reportedly "loves gingersnaps with the burning heat of a thousand suns," might take things a bit too far, Stevens said, adding, "I tone mine down a bit from her recipe so they don't take over. But I love that they are snappy enough to whirl into crumbs in the food processor."
Overmixing your dough
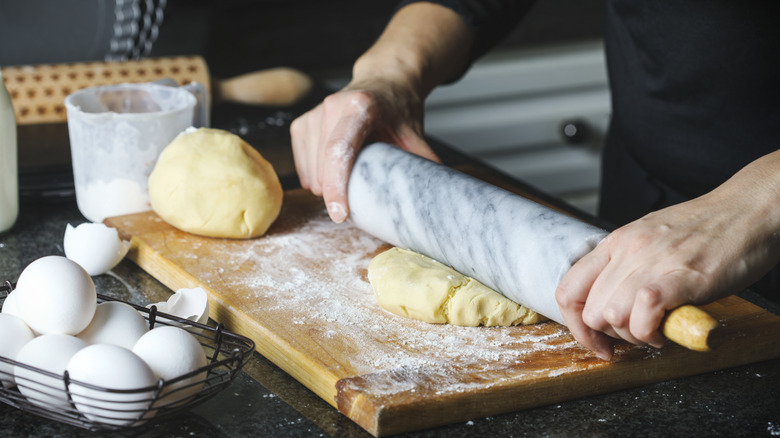
The key to good pumpkin pie is airy, flaky, crumbly crust. Although it's possible to enjoy pie with a dense crust, it's certainly not as easy. Happily, there's one surefire trick you can use to prevent disappointing results. "Use a light hand when mixing to prevent overworking the dough, which can make it tough," says Julia Chebotar, founder of Health Chef Julia and Food Network's "Chopped" champion. That's because mixing and kneading develops gluten, a desirable thing in, say, brioche, but far less so in pie crust. "It should just come together," she adds. Any longer, and you've gone too far.
You'll also want your dough cold. "Keep your butter (or alternative fat) and water chilled," she says. "Have ice water on hand." That keeps your butter cold, which can then heat up and expand in the oven, giving off steam that creates flakiness. As long as you can still see small pieces of butter in your dough, Marissa Stevens says, then you're okay.
Forgetting to rest your dough for homemade pie crust
It's tempting to just roll right along (no pun intended) after you've made your pie dough, but you should resist the urge. "Allowing the dough to rest in the refrigerator for at least an hour helps relax the gluten, making it easier to roll out," says Julia Chebotar. Remember, you're not going for a gluten-heavy result, but rather a light and flaky one.
Worth noting: While Saran wrap is a common go-to for resting dough to prevent it from drying out, you don't have to use a throwaway version. Instead, this writer uses beeswax food wraps for such purposes. They work just as well at keeping air out, and they clean up quickly afterward. Just make sure you wash them with hot water, which gets them clean and reactivates the wax factor so that they will stick nicely again next time.
Baking frozen shells directly from the freezer
Many premade products expressly prohibit defrosting before use: frozen pizzas, juice concentrates, microwave dinners ... the list goes on. One thing you should defrost before cooking? Pie shells. Many people are confused about this, assuming you should toss them right into the oven from the freezer. Not so. And when you're using frozen pie crusts that aren't already rolled into a pan, it's not just inadvisable, it's impossible because you have to unroll the dough and put it into a pie dish.
Here's the right way to do it. First, check that you have all your ingredients on hand. You don't want the pie crust to warm up all the way, and you've only got a short window until it does. You cannot refreeze pie crust, so get everything else out before you remove your shells from the freezer. Follow the instructions on the package for how long to defrost on the counter, or if you're a planner, defrost in the fridge (which gives you more wiggle room).
Forgetting to blind-bake the shell
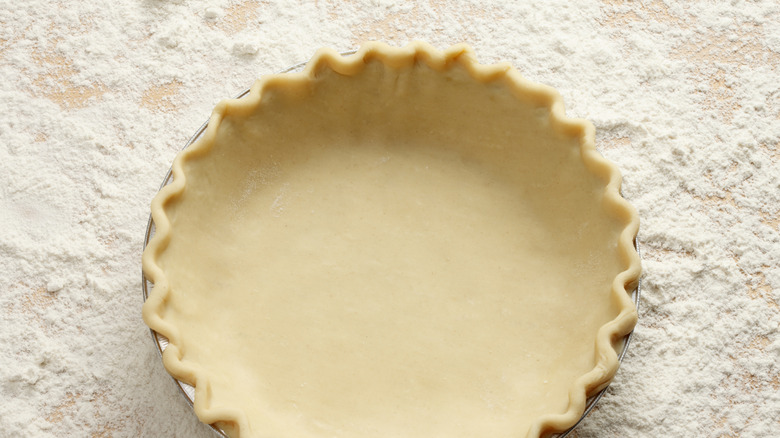
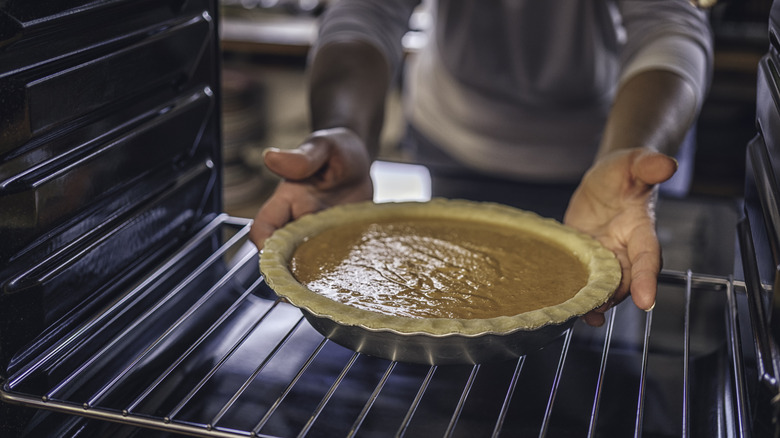
If you're reading that heading thinking ... "Huh? Blind who what now?" you're not alone. Blind-baking is not a particularly advanced concept, but neither is it intuitive. It is, however, critical. "For a custardy pie like pumpkin, you need to partially blind-bake the crust to avoid the dreaded soggy bottom," Marissa Stevens explains. "And please, please dock that crust (pierce the bottom with a fork) before blind-baking. Those little holes let steam escape and prevent the crust from puffing up."
If you've never blind-baked a pie shell before, this is definitely a skill worth learning. In addition to piercing the crust, you also need to hold it down with a piece of wax paper filled with weights. You can either buy a professional set of reusable ceramic pie weights, or you can just use dried beans. While both are equally effective, if you use beans, you will either need to segregate them from the ones you actually cook, or you can use them a few times and then cook them.
Substituting pumpkin puree for pie filling
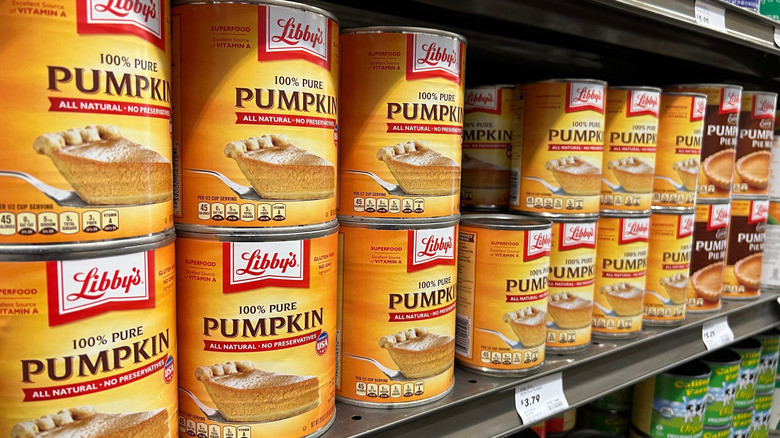
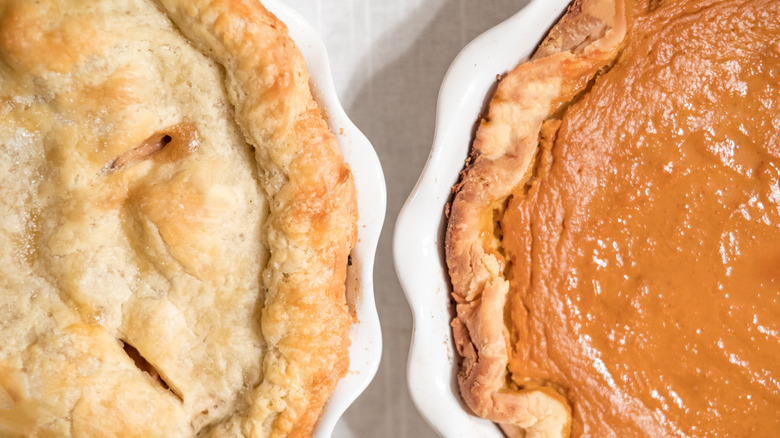
A common rookie mistake is throwing a can of pumpkin puree into a pie shell and calling it good. Unfortunately, canned pumpkin is not the same as pumpkin pie filling. The latter is already sweetened and spiced, so remember to check the ingredients. You will be very sad to fork up a mouthful of pie and discover the difference.
When it comes to pie filling, you do have options. To reduce the moisture in canned pumpkin and make the puree richer, try roasting your puree rather than using pumpkin straight from a can. If you make your own pumpkin filling from scratch, the ratio of pumpkins to make a pie is roughly one 3-pound pumpkin to 2 cups puree. And as it turns out, you can use white pumpkins as well as orange pumpkins for your pie. Do note that the insides of white pumpkins are white, so expect a lighter result rather than the rich orange-brown shade of a traditional pumpkin pie.
But, Marissa Stevens says, you might want to skip the whole homemade shebang when it comes to this part of the pie. "Baking and scraping flesh from sugar pumpkins is time-consuming and messy, and the texture and sweetness typically aren't as good as what you get from a can of high-quality pure pumpkin," she explains. There's a good reason for this. "Those Libby's cans are actually Dickinson squash, which has a denser, naturally sweeter texture. That's why it works so well." However, she cautions, be sure to get 100% pure pumpkin. You want to control the amount of sweetness and spices yourself.
Underspicing or overspicing
As Marissa Stevens points out, one of the best ways to avoid underspicing or overspicing is to control the amount that goes into your pies by mixing up the filling yourself. In some cases, it may be worth it to cede this power to Big Pumpkin, such as when you're whipping up a no-bake pumpkin pie in a hurry and just want to use Jell-O mix. (Yes, pumpkin spice Jell-O is indeed a thing.)
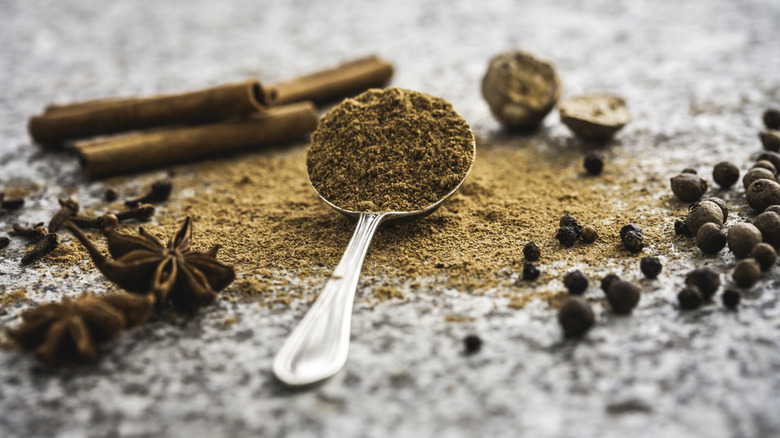
If you are taking the recommended route and mixing your own filling, you can use pumpkin pie spice, which is not only delicious in pie and custard, but in your coffee and tea drinks as well. If you don't have pumpkin pie spice on hand or don't want to buy it, rest easy: You can substitute for pumpkin spice by making your own. It's a very basic mixture of cinnamon, ginger, nutmeg, cloves, allspice, and a bit of black pepper. The last bit might sound odd, but don't skip it ... you need that heat! Stevens adds that you should be wary of underspicing, which is a common mistake. Although such spices pack a punch, you'll need them to balance out the squashy flavors and oodles of sugar.
Making substitutions willy-nilly
It's okay to make substitutions, but you should be careful. "Pumpkin pie is essentially a custard, so the ratio of liquid to dry ingredients is crucial for proper setting," Marissa Stevens says. "While you can swap half-and-half for heavy cream, avoid using liquid sweeteners like honey or maple syrup in place of granulated sugar. They'll throw off the moisture balance, and your pie might not set properly." If you must use alternatives, look up a recipe that offers correct ratios.
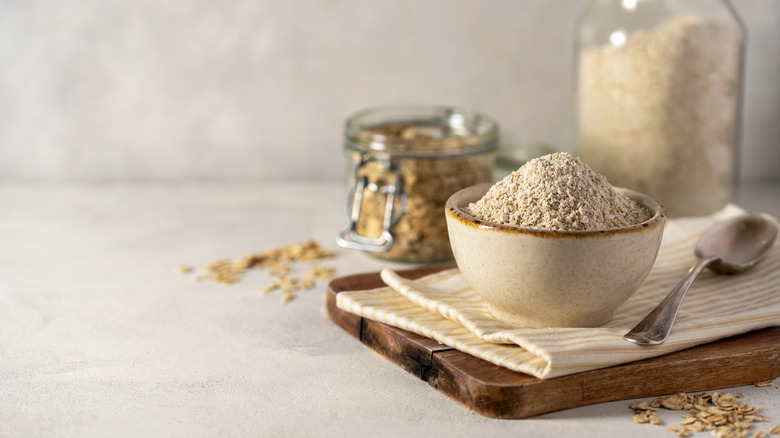
That's not to say substitutions are forbidden, though. Julia Chebotar is all for them, as long as you know what you're doing. "For example, swapping butter for coconut oil might slightly alter the texture. Almond flour works well, but coconut flour is not as easy to work with and will crumble." Again, research the substitutions instead of just going for it. And if you're going to use gluten-free flour, it's a good idea to let your dough rest for a bit. This gives the starches time to soak up liquids, which can prevent a gritty finished result.
Using cold filling in a room-temperature pie crust
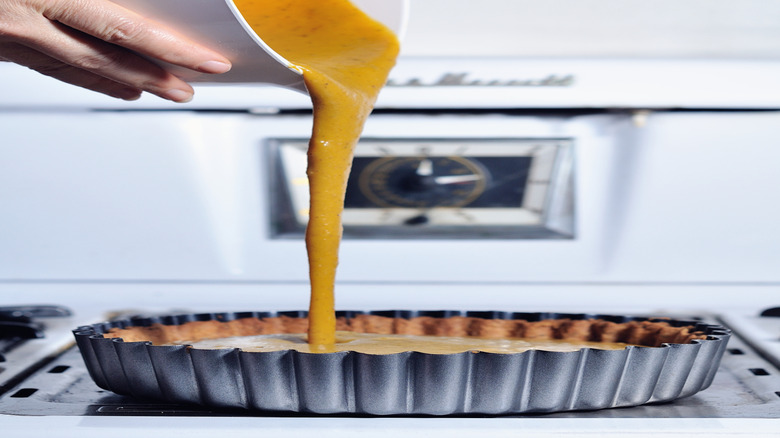
A little-known mistake that too many people make is to pour cold filling into a room-temperature pie crust. Yet this happens all the time, and Marissa Stevens says it's a true recipe for disaster. Cold filling won't spread evenly in your pie pan. And if you're the type to use a top crust (yes, that's a thing), the filling will prevent it from cooking evenly.
Speaking of filling your pie: Make sure that you don't pour too much custard into the shell. The filling will puff up while cooking, and if you put too much in the shell, it may overflow and ruin the crust or bake unevenly. Resist the temptation to use all of the filling from your recipe. Pour the custard to below the level of the crimping. Then reserve any leftovers, and cook them in a ramekin without the crust.
Letting the edges burn
Burnt pie edges are a tale as old as time, a sad truth you've doubtless already accepted if you've ever made a pie. The good news is, because we truly do live in the future, you can now buy silicon pie crust shields to ensure your pie stays a nice golden brown around the edges instead of turning into that unappetizing, shiny black. All you do is remove your pie from the oven when the crust looks the right color and pop the shield over the top. It will protect the crust without disturbing the cooking process of the custard.
You can also use the aluminum foil trick, wrapping thin strips of foil around the edge to protect the crust but leave the filling exposed. Although this is a tried-and-true method, it does involve a lot more burnt fingers. Either approach also means you'll need to keep a close eye on your pie, which you should be doing anyway. *gently wags finger*
Some creative types advise you to add the foil ring to the pie before you put it in the oven, then remove it toward the end of the baking process. That way, you can ensure that no burning occurs without being quite as paranoid. This is up to you.
Overbaking
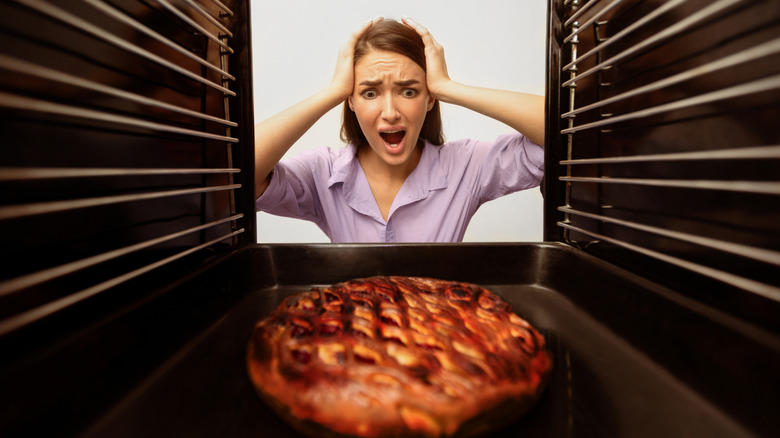
Because oven temperatures vary, overbaking is a common issue. There's a simple reason for that. You're just following directions, but since your oven is hotter than the recipe creator's oven, you end up leaving your pie in too long. Unfortunately, this is what leads to cracked pumpkin pie. It occurs when the filling dries out and pulls away from itself.
To avoid this, Marissa Stevens says, "Position your rack in the middle of the oven, away from the heating element. The center should still have a slight wobble when you take it out. It will continue cooking from residual heat." She advises you to keep your eye on your pie toward the end of the baking time, and remove it as soon as the consistency looks right. Moreover, says Julia Chebotar, "It's also helpful to let the pie cool slowly in the oven with the door slightly ajar after baking."
Forgetting to rotate the pie
While it's tempting to throw your pie in the oven, set the timer, and walk away, you should really shepherd it more closely. Set a timer for halfway through cooking, which will give you a chance to eyeball the crust as well as rotate the pie. Even calibrated ovens have hotter and cooler areas, so you can't rely on yours to cook evenly. Instead, turn your pies 180 degrees to finish them off evenly.
Note that you should also switch the position of pies if you're baking more than one. Either switch them front to back, or switch their position on the shelves if they're on more than one tier. Note that while you can definitely bake two pies at the same time, folks are sharply divided on whether you should bake more than two at once. The main consideration is the oven temperature. Baking more can lower the temperature and increase cooking time. If you're okay with that, it should be fine.
Make sure you've got a good pair of oven mitts to protect your hands. There's nothing like burning yourself, dropping a pie, and spending the weekend cleaning out the oven instead of eating turkey to teach you this lesson. (Speaking from experience here.) Silicon oven mitts are a good choice for those who like the full-glove approach, the better to avoid nasty wrist burns. (Again, experience.)
Not letting the pie cool completely before cutting
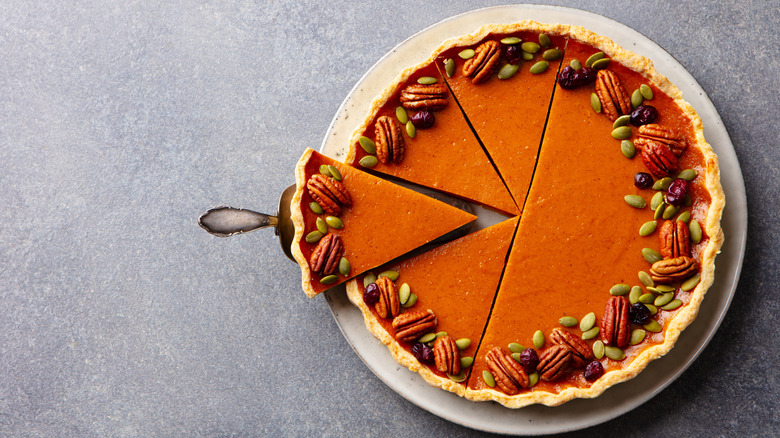
Make this your mantra: Pumpkin pie should never be served directly out of the oven. The point of a gorgeous pumpkin pie is that it holds that nice, crisp triangle shape when you cut it. Both the crust and the filling should slice neatly and cleanly so that they look beautiful on a plate. That simply won't happen if you don't cool the pie all the way. At a minimum, your pie should cool for a few hours.
Better yet, says Julia Chebotar, you should refrigerate your pumpkin pie after it cools to room temperature. The good news is that you don't need to worry about over-chilling your pie. "You can make pumpkin pie up to two days ahead," Marissa Stevens says. "It's actually even better the day after baking — gives the flavors time to develop and, of course, it's nice to have one less thing to do leading up to the big meal."
Serving it on its own
People have their opinions, but this writer feels confident in taking a stand: Pumpkin pie should never be served alone. It isn't boring, per se; it's just such a fabulous vehicle for dairy-based additions that it seems criminal to skip out on them.
The obvious (and as far as some of us are concerned, only) topping to consider is whipped cream. Note that while you can certainly make whipped cream using a whisk, it takes foreeeevvveeeerrrr and doesn't feel great on the elbow. In this writer's humble opinion, a handheld mixer is a totally worthwhile investment. You'll use it for other cooking projects too, and it stores easily, even if you live in a small space. If whipped cream isn't your thing, you can try any number of other toppings: whipped ricotta, caramel sauce, meringue, marshmallow, or good old vanilla ice cream.
Serving a store-bought pie? We all do it, but sometimes you'll find premade desserts to be cloyingly sweet. If that's your experience, there's a quick fix to cut the sweetness of a pie: add a sprinkling of salt. It will bring out the other flavors while toning down that pure sugar taste.
Storing it incorrectly
You'd think storing a pie would be a pretty basic process, but as it happens, there's a right and wrong way to do it. First up, says Marissa Stevens, you should "store in the refrigerator, but serve it at room temperature for the best texture and flavor. You can safely take it out of the fridge up to 2 hours before serving."
Next tip: When refrigerating your pie, don't simply stick it in there. Instead, "cover it with plastic wrap or foil to keep it fresh," Julia Chebotar advises. The best option is a glass container, she adds. Stored thusly, it can last in the fridge up to four days, though its flavor is best within three days or less, Stevens says. After that, the crust gets soggy and the filling degrades. "If you need to store it longer," says Chebotar, "consider freezing it."
