How To Properly Debone Chicken Thighs With No Hassle
Thanks to the plethora of options most grocery stores offer, we have to admit we hardly ever think about deboning our chicken thighs at home; often the closest we've gotten is breaking down a fryer chicken after roasting it in the oven. The truth is, having a few butchering skills in your back pocket not only makes you a better cook, but also helps make your grocery bill a little lighter. Sure, it might only be a few bucks less, but that money can be used for a few extra veggies (or, let's be real, a pint of ice cream).
There's value in using bone-in, skin-on chicken, whether it's for frying, roasting, or simmering into stock. However, using boneless, skinless thighs can make a lot of recipes easier, especially those that require shredding, pulling, or dicing. Because the boneless, skinless thighs require more time from the butcher, they come at a premium that can be avoided by simply doing the prep at home. Once you've mastered deboning them, you may find it's easier than carving around the bones after cooking. In fact, deboning takes just a few minutes, and this guide will show you exactly how.
The tools needed for deboning chicken thighs
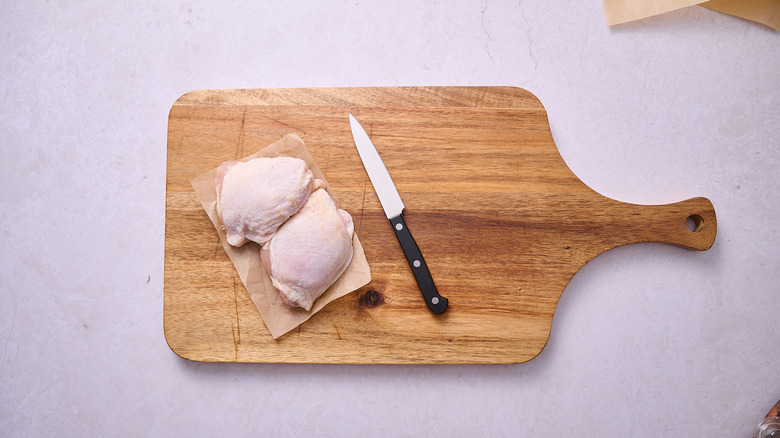
You don't have to have a fancy kitchen or expensive equipment to debone your chicken thighs. All you'll need is a sharp knife and a cutting board. We recommend using a paring knife, especially if you're deboning for the first time. The smaller blade is ideal for slicing close to the bone and underneath it, leading to a cleaner carve and a greater amount of usable meat. If you are confident with your knife skills, you can opt for a chef's knife instead. Some optional, though helpful, tools you can use include kitchen shears (for removing stubborn skin and cartilage) and gloves, which are helpful in avoiding cross-contamination.
Trim the fat
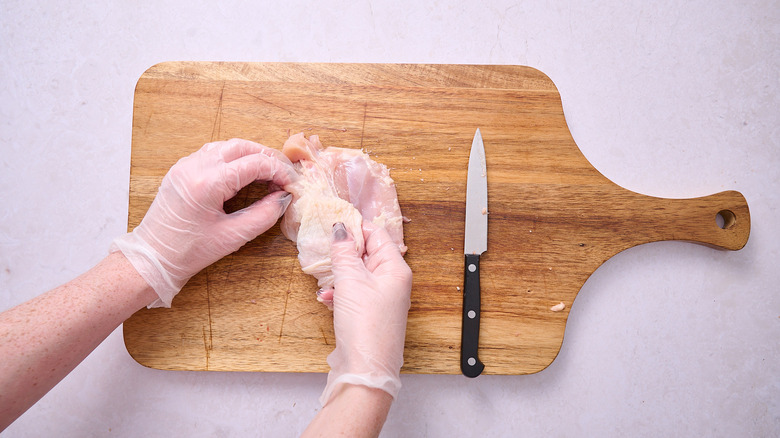
Clean up the chicken thigh by trimming excess fat. The excess fat, while different from the skin, will be a similar pale white-yellow color and can be sliced away easily with a knife or with kitchen shears.
You don't have to trim all of the fat yet; you can clean up the rest of the thigh after deboning.
Score along the length of the bone
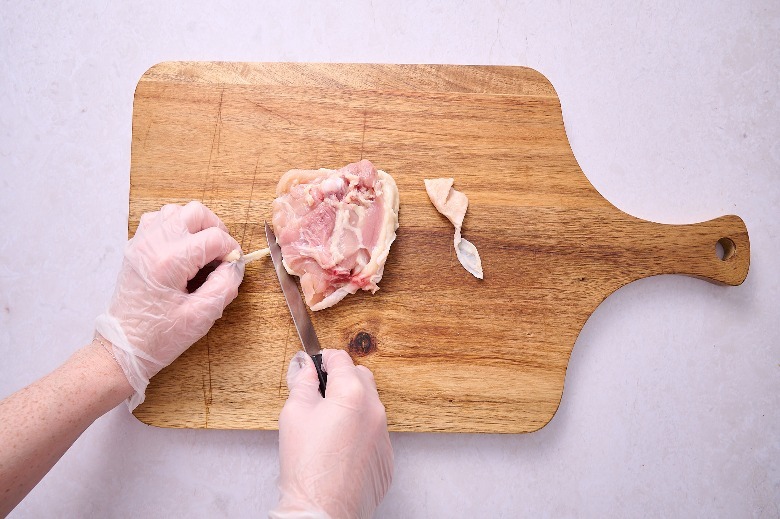
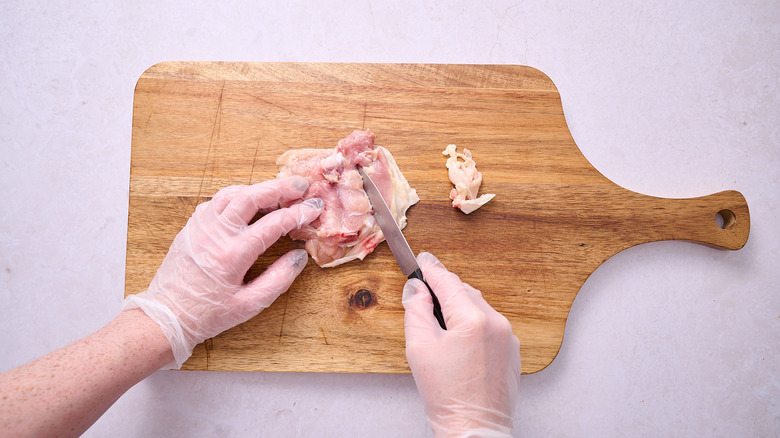
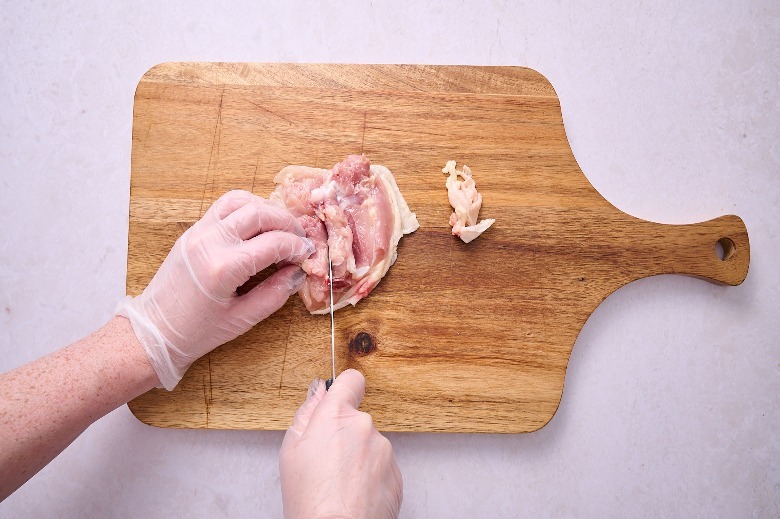
Flip the chicken over to expose the bone. Starting with one side, use your knife to slice along the bone as closely as possible, gradually separating the bone from the meat.
Repeat this on the other side of the bone, scoring the meat until the bone is exposed. Do not slice all the way through the meat –- stop slicing once the bottom of the bone is visible.
Slice the bone away from the meat
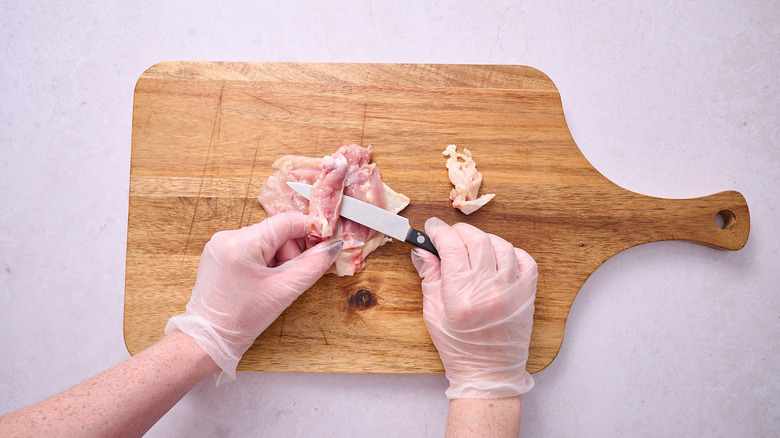
Use the knife or your fingers to reach under the bone, pulling it away from the meat.
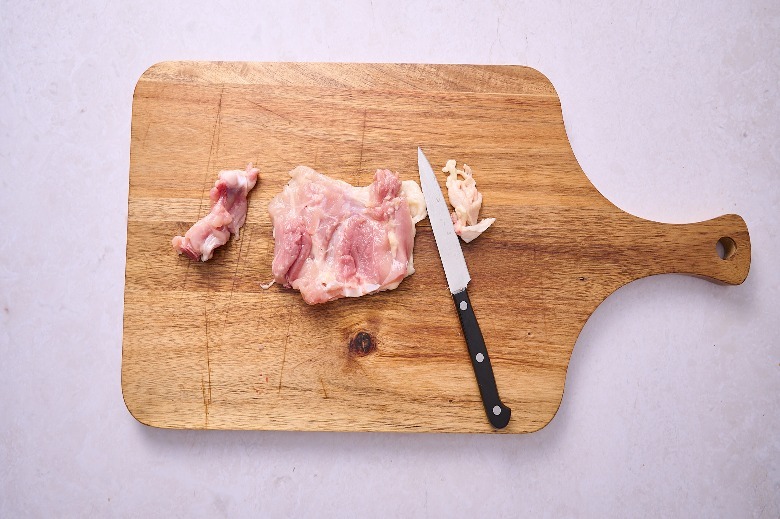
Slide the knife across the underside of the bone and around the top and bottom to remove it from the thigh.
Remove the skin
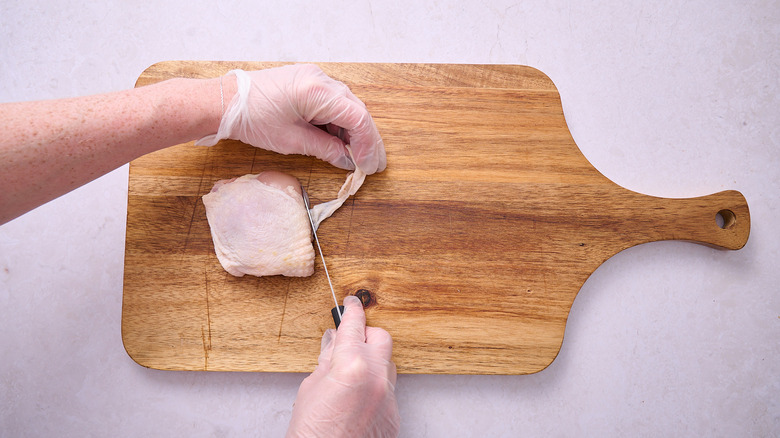
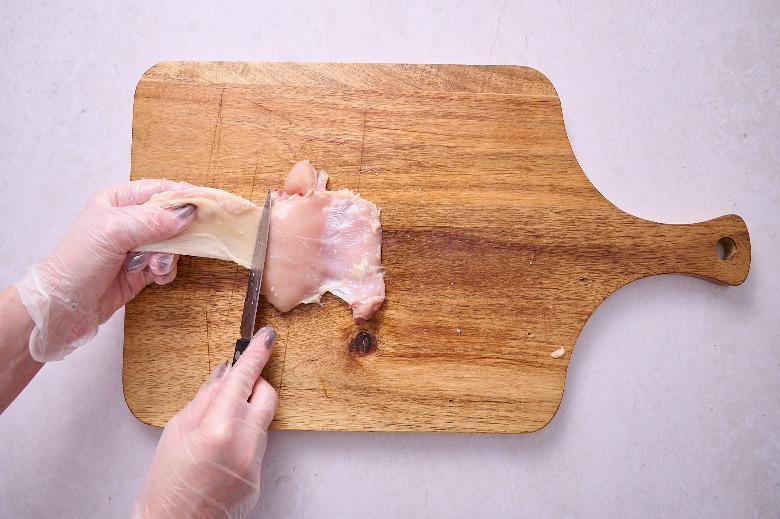
After deboning, you can choose to remove the skins of the chicken thighs, too. To do this, use your hands to peel away the skin from the top of the chicken thigh, slicing away any attached portions of skin from the meat with your knife.
With the skin removed, clean up the chicken thigh by slicing away any remaining fat and skin residue.
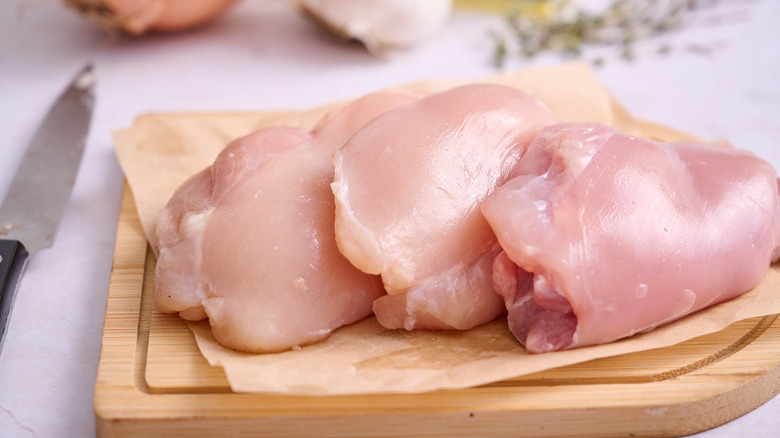
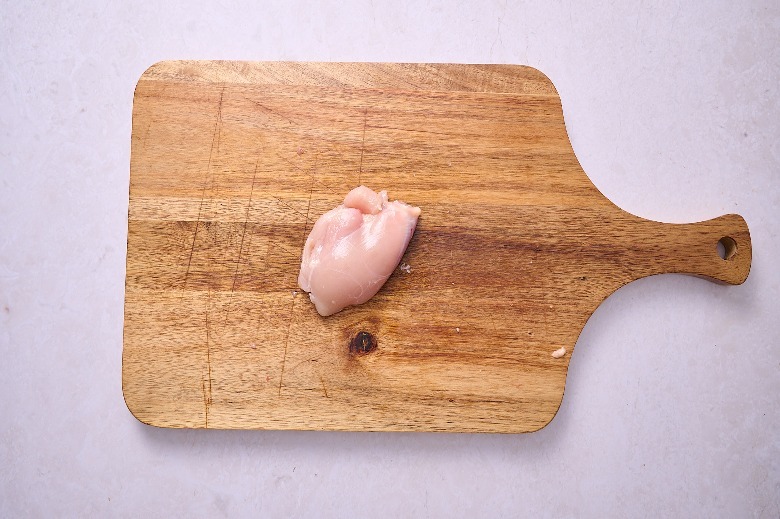
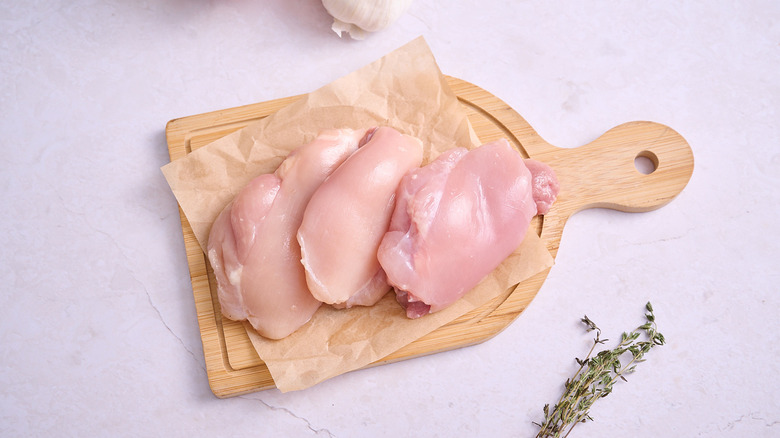
The clean, skinless, boneless chicken thigh will be a solid pink color about the size of your fist.
Using boneless chicken thighs
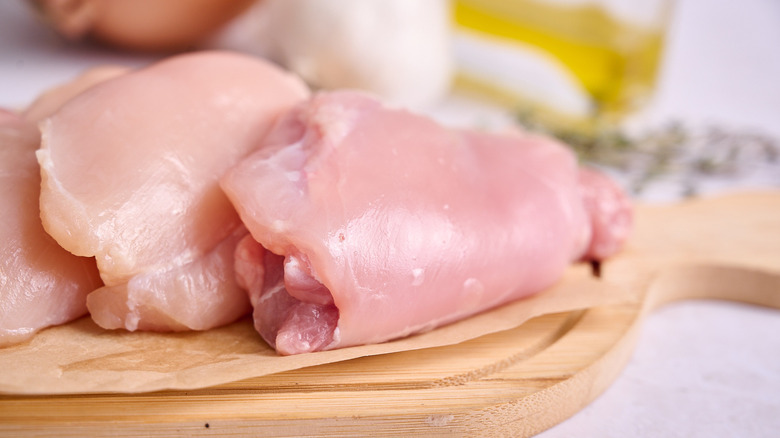
Because chicken thighs are juicier and more tender than chicken breasts, they are a reliable swap for many recipes that call for the latter. Some of our favorite ways to use chicken thighs include chicken souvlaki, chicken adobado, and slow cooker chicken mole, where using thighs ensures moist and juicy results. You can also swap for thighs in recipes like hearty white chicken chili, where the chicken thighs can be cooked quickly and then pulled and simmered in the pot. You can even use your newly deboned thighs where you would otherwise use bone-in, skin-on, like in our recipe for honey soy baked chicken thighs. Using boneless, skinless thighs offers many options, and prepping the thighs yourself gives you the power to make that happen anytime.
How to store chicken thighs
The easiest way to store chicken thighs that you aren't using right away is in a sealable plastic bag. Whether bone-in or deboned, transfer the chicken thighs to a gallon-sized plastic bag and firmly seal, then store on the bottom shelf of your refrigerator. If working with a large amount of chicken, wrap portions (say, two or three pieces) in plastic before adding to the sealable bag. This way, when freezing, the chicken can easily be removed and thawed in portions.
How long chicken thighs last
You can store chicken thighs for one to two days in the refrigerator. If you aren't planning to use these within a few days, you can also freeze them for up to nine months.
