Chicken, Mushroom, And Winter Squash Pot Pie Recipe
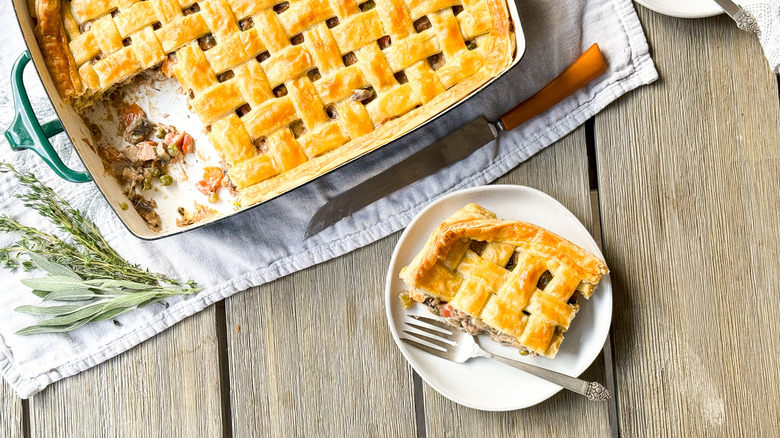
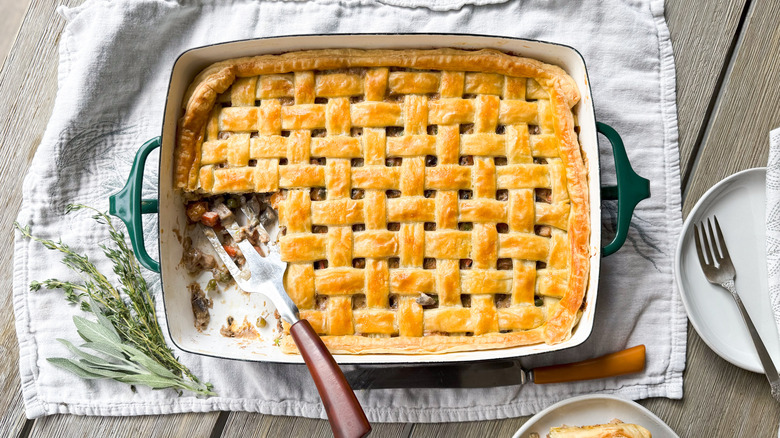
The intoxicating smell of a freshly baked pot pie emerging from the oven is nothing short of divine. Flaky pastry and creamy, savory filling create the ultimate one-pan comfort meal. Pot pies have homey connotations, but this lattice-topped chicken, mushroom, and winter squash pot pie from recipe developer Julie Kinnaird puts a sophisticated spin on the timeless classic.
A rich filling of boneless and skinless chicken thighs, fresh and dried mixed mushrooms, butternut squash, English peas, and aromatic vegetables and herbs balances the umami of mushrooms with the sweetness of winter squash and peas. The flavorful filling is topped with an impressive lacquered puff pastry crust, made with the ease of purchased frozen dough. Once baked, this pot pie creation is elegant enough for a dinner party centerpiece or a special holiday meal, yet perfect for cozy dinners any night of the week. Kinnaird shares some tips for advance preparation as well as for learning to work like a pro with the often intimidating puff pastry dough.
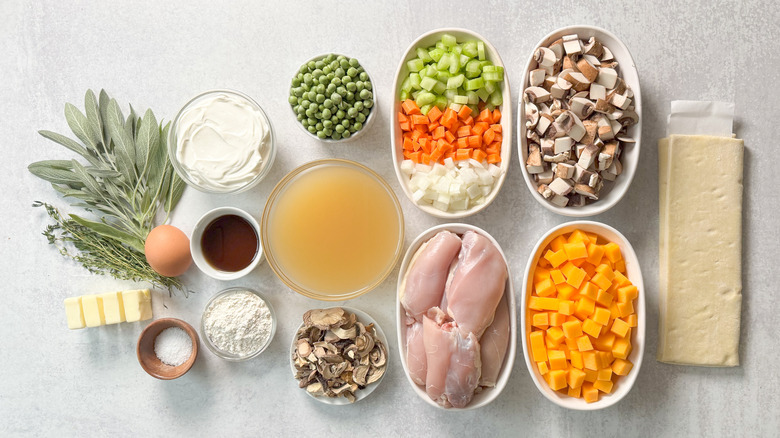
Gather the chicken, mushroom, and winter squash pot pie ingredients
This hearty pot pie is infused with plenty of mushroom flavor, starting with a small amount of mixed dried mushrooms. These can include porcini, trumpet, oyster, or any of your favorite varieties. These mushrooms are given a simple soak in hot water to reconstitute, or you can try this fun French press hack. Boneless, skinless chicken thighs are browned in unsalted butter and seasoned with kosher salt, then removed and chopped. A "mirepoix," or combination of diced onion, celery, and carrots is then sauteed with cubed butternut squash. Fresh cremini mushrooms are cooked down with the vegetables, then dry sherry is used to deglaze the pot. Fresh English peas, reconstituted mushrooms, fresh sage, and thyme, plus the chopped chicken are added back in. A sprinkle of all-purpose flour helps create a sauce along with low-sodium chicken broth and sour cream. Packaged frozen puff pastry sheets are thawed and rolled out, cut into strips, and formed into a lattice over the chicken and vegetable filling. An egg wash made from one whole egg plus water creates a sheen on the baked dough.
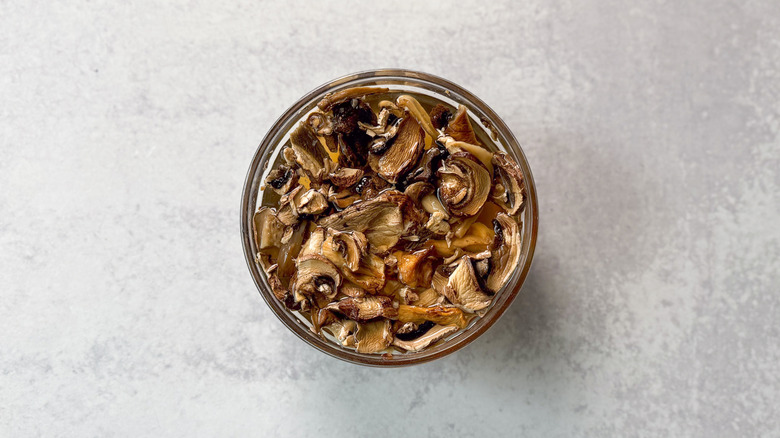
Step 1: Soak the dried mushrooms
Place the dried mushrooms in a small heat-proof bowl and cover with boiling water. Let sit for 30 minutes until warm to the touch and softened.
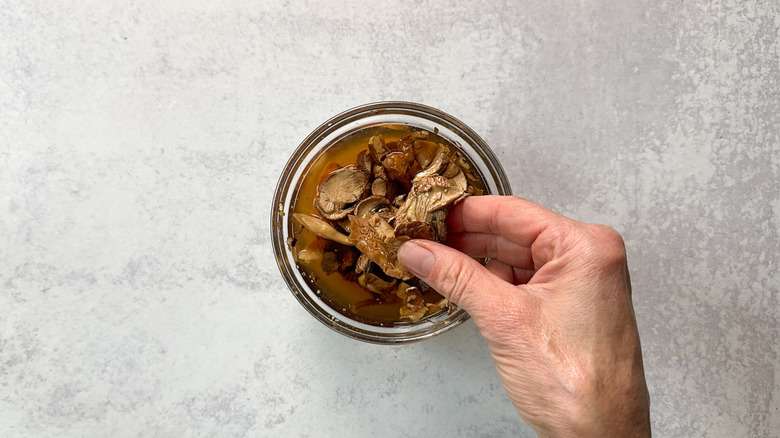
Step 2: Remove the mushrooms from the soaking liquid
Lift the mushrooms out of the soaking liquid (sediment will settle to the bottom), coarsely chop and set aside.
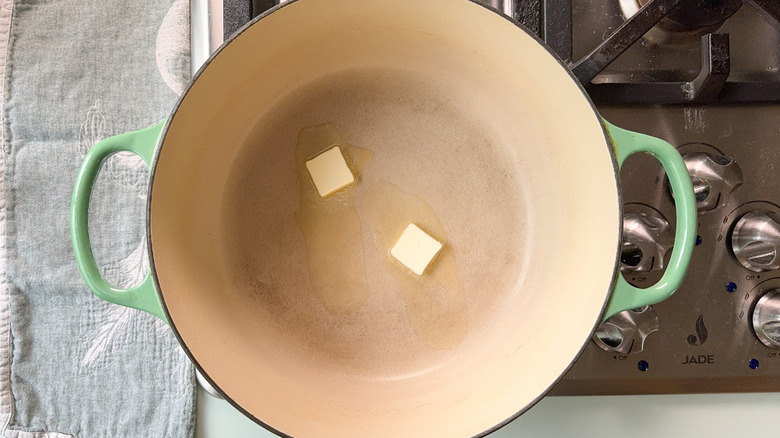
Step 3: Melt butter in a large pot
Heat a large Dutch oven or other pan over medium-high heat and add 2 tablespoons of butter.
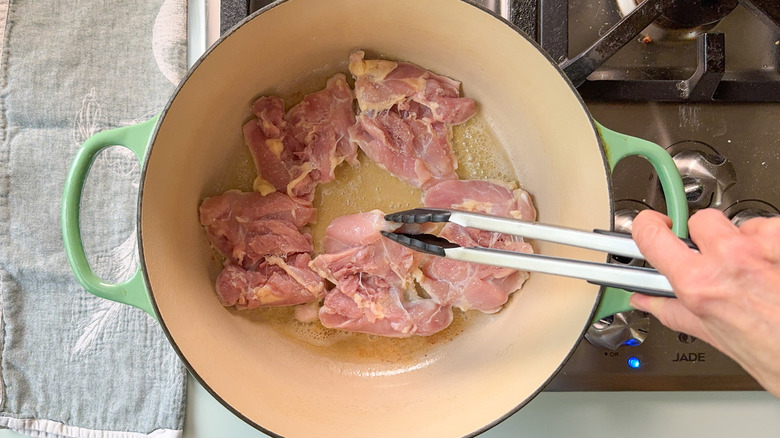
Step 4: Add the chicken thighs
Once the butter has melted add the chicken thighs.
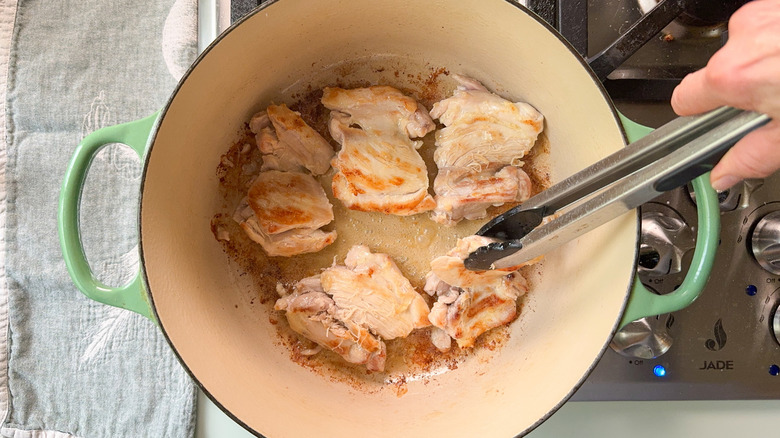
Step 5: Season and cook the chicken on both sides
Season with ½ teaspoon salt and cook on both sides until golden brown and just cooked through.
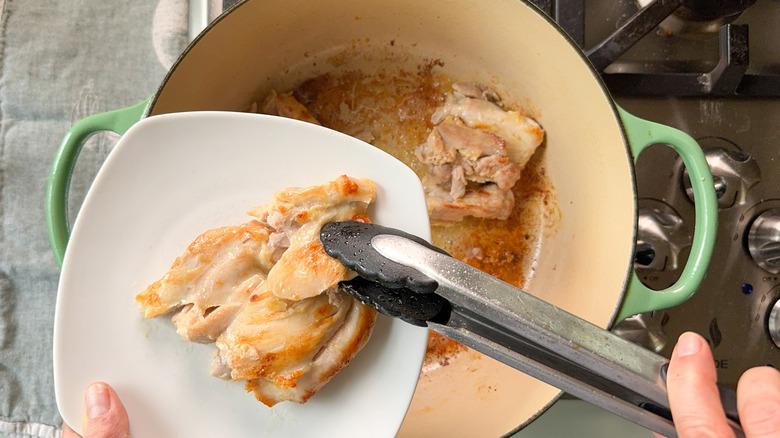
Step 6: Remove chicken from pan and chop
Remove the chicken from the pan, coarsely chop, and set aside.
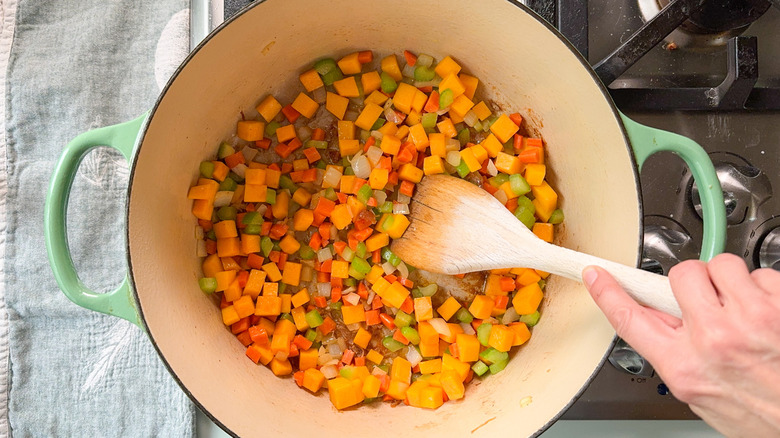
Step 7: Add the remaining butter and vegetables
Add the remaining 2 tablespoons of butter, and the onion, celery, carrot, and butternut squash to the pan. Cook and stir occasionally until the vegetables have softened slightly (about 10 minutes).
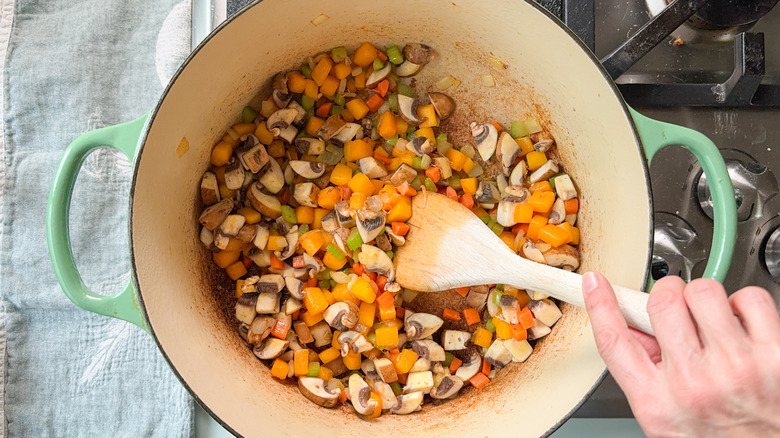
Step 8: Add the fresh mushrooms
Add the fresh mushrooms and cook until the juices are released (about 10 minutes more).
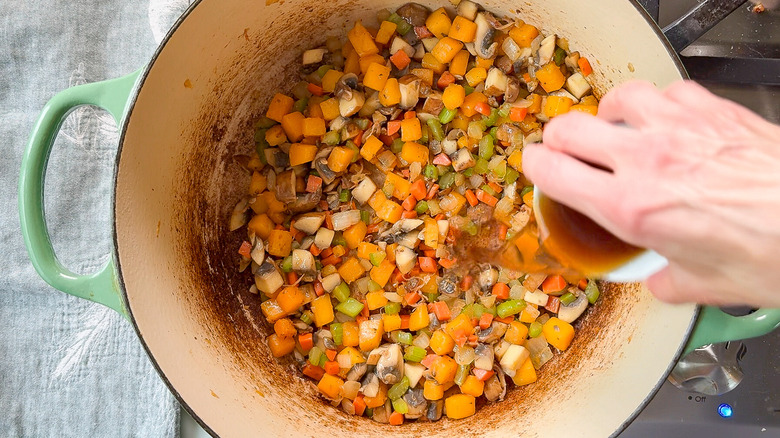
Step 9: Add the sherry
Add the sherry and stir, scraping up the browned bits from the bottom of the pan.
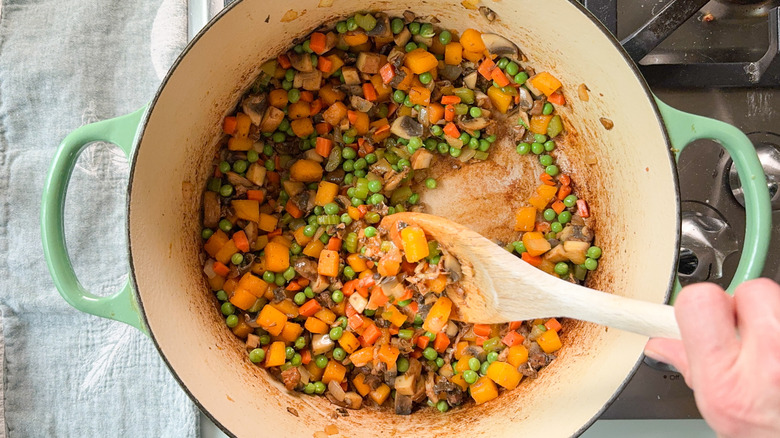
Step 10: Add the peas and soaked mushrooms
Stir in the peas and the chopped soaked mushrooms.
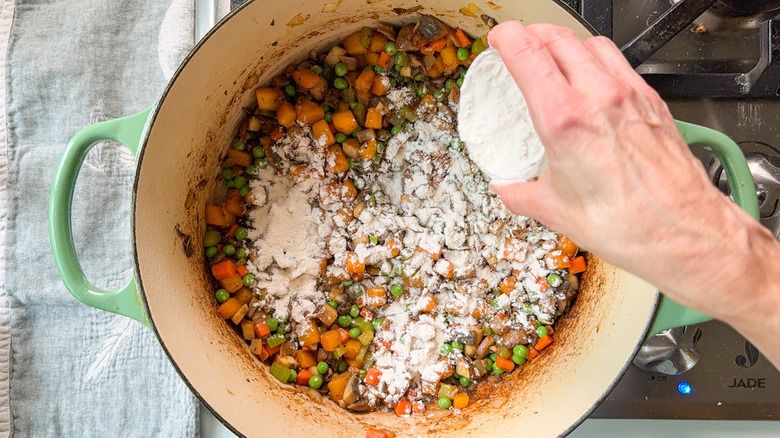
Step 11: Sprinkle the vegetables with some flour
Sprinkle the vegetables with ¼ cup of the flour.
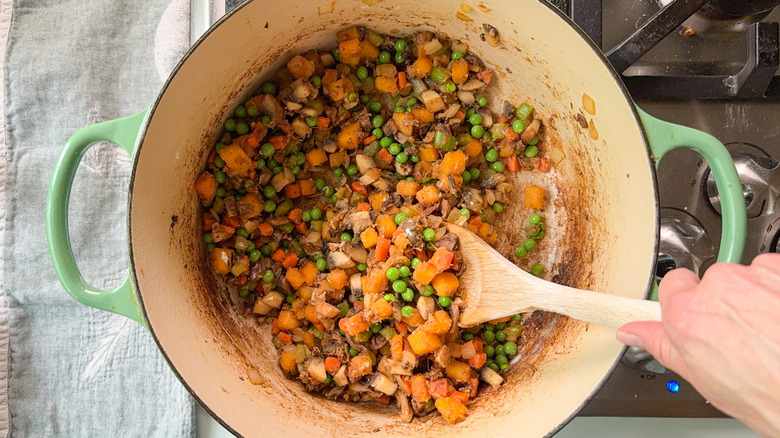
Step 12: Stir to coat
Stir to coat and cook for 1 minute, stirring constantly.
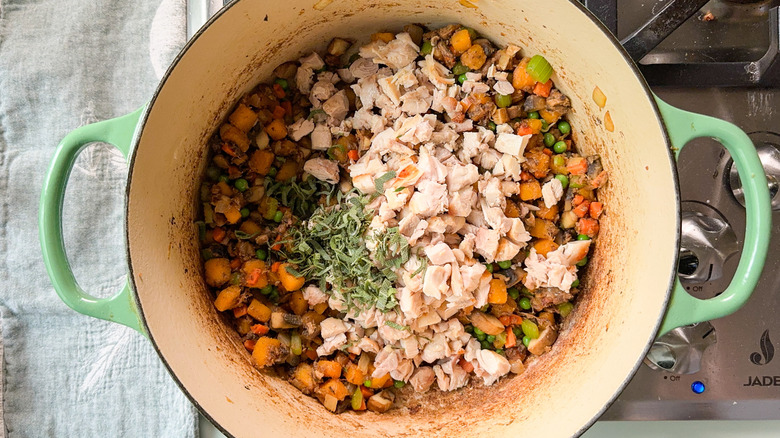
Step 13: Add cooked chicken and herbs
Add the cooked chicken, herbs, and remaining salt to the pan.
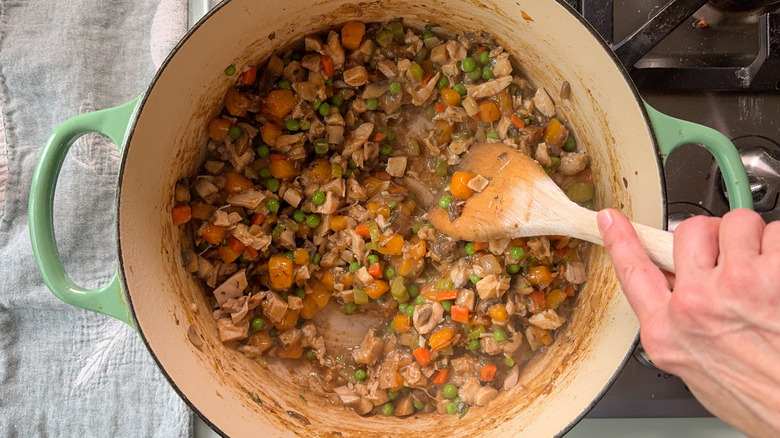
Step 14: Add the chicken broth
Stir in the chicken broth and cook until the mixture thickens slightly.
Step 15: Add the sour cream
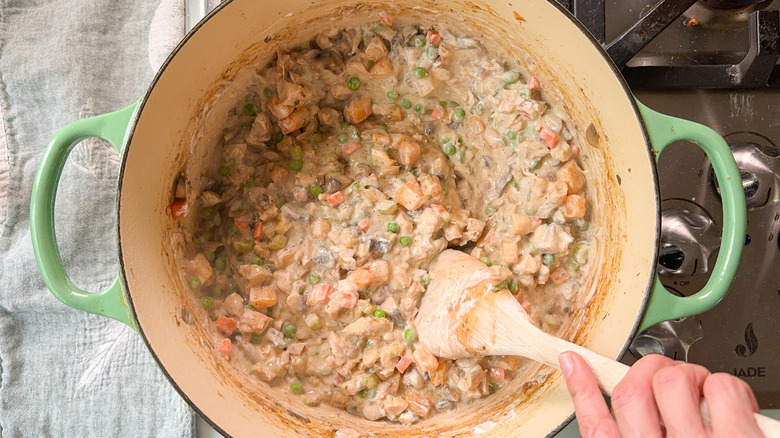
Add the sour cream and reduce the heat to low. Cook and stir for another minute or until the consistency is quite thick. Remove the pan from the heat.
Step 16: Preheat the oven
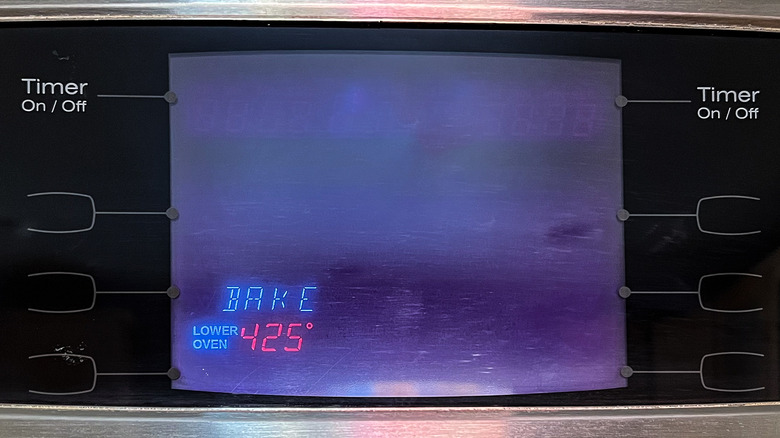
Preheat the oven to 425 F.
Step 17: Oil a casserole dish
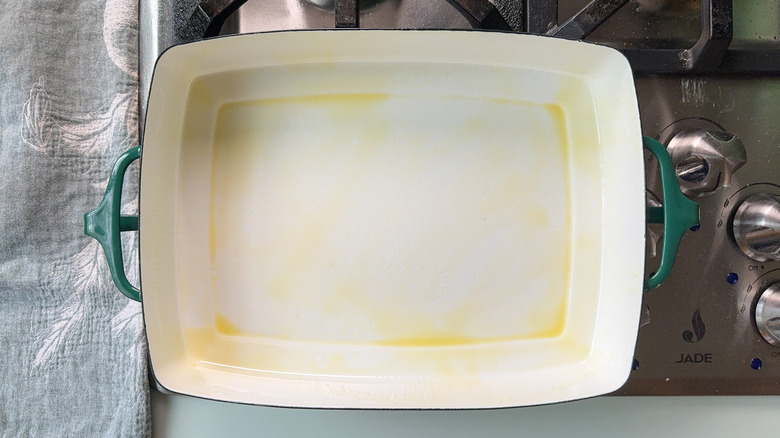
Oil a 13 x 9-inch baking or casserole dish.
Step 18: Add the filling to the pan
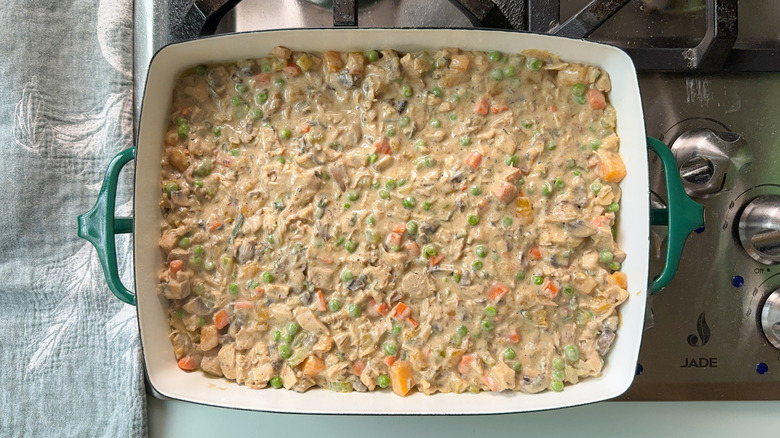
Add the filling and spread into an even layer. Allow the filling to cool slightly while rolling out the pastry.
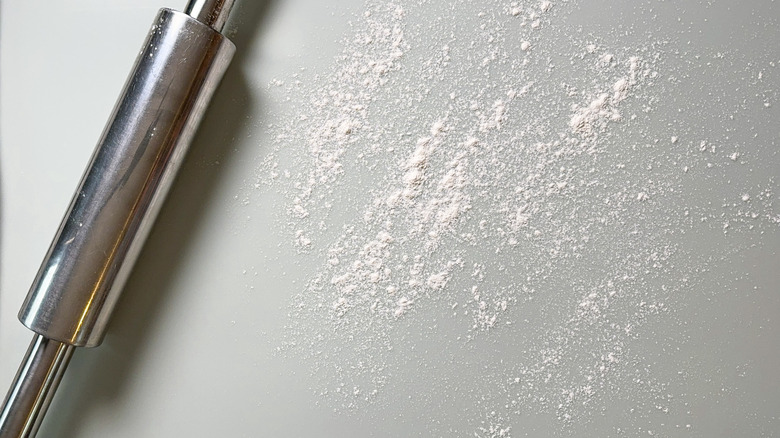
Step 19: Sprinkle a work surface with flour
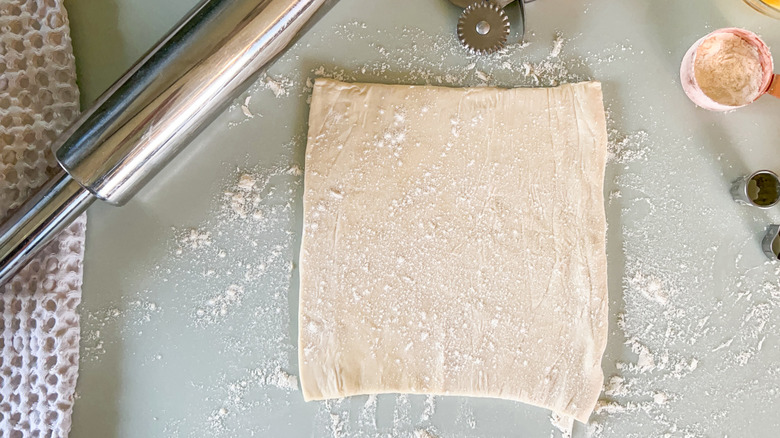
Sprinkle a work surface with a little of the remaining flour.
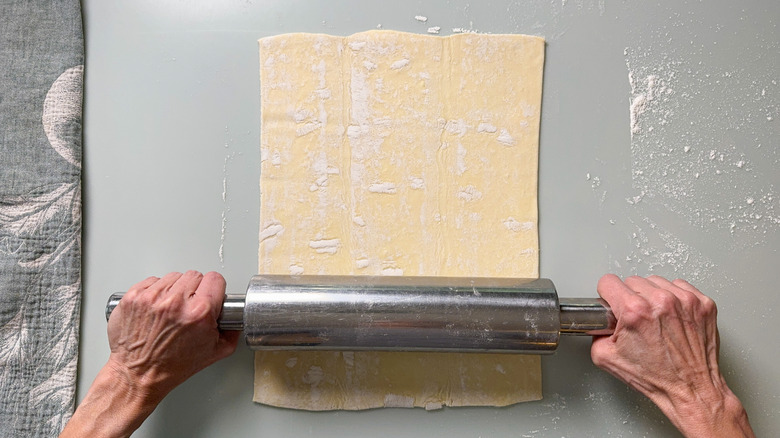
Step 20: Roll out the first sheet of puff pastry
Roll 1 sheet of the pastry out into a 14 x 10-inch rectangle.
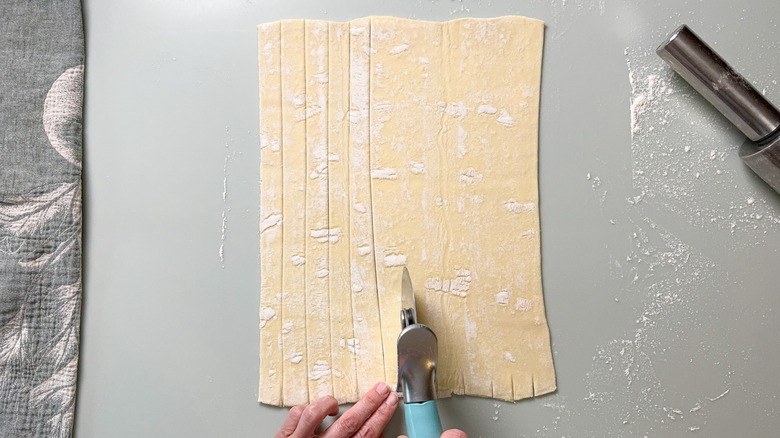
Step 21: Cut the pastry into 12 strips
Use a pizza wheel or sharp knife to cut the pastry into 12 strips lengthwise.
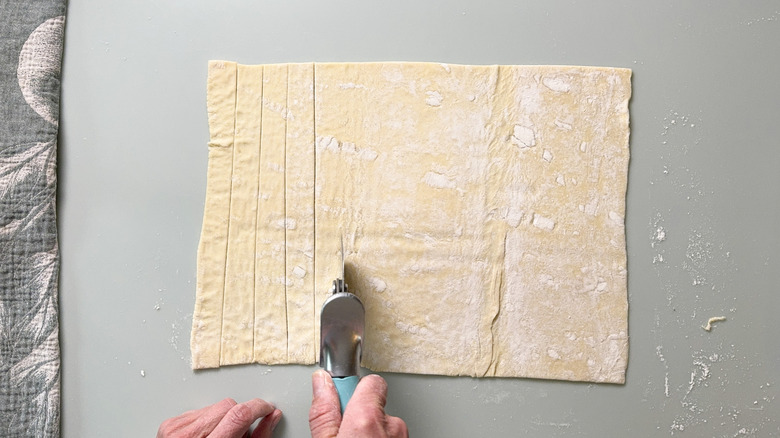
Step 22: Roll out the second sheet of pastry and cut into strips
Repeat the process with the second pastry sheet, but this time cut the strips in the opposite direction.
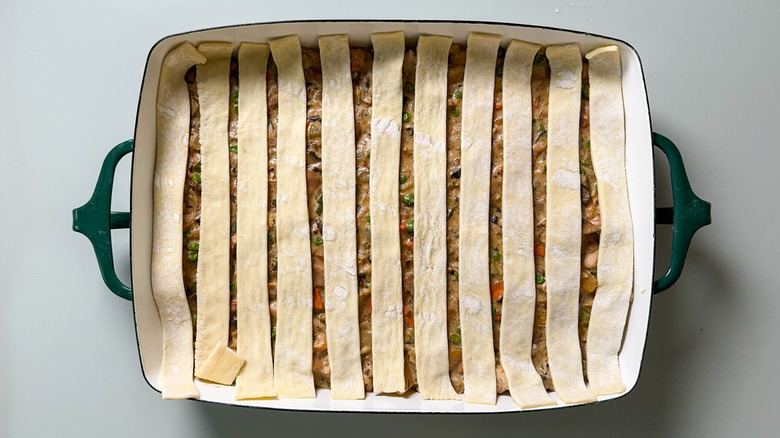
Step 23: Lay the shorter strips across the filling
Lay the shorter strips across the filling from side to side to fit.
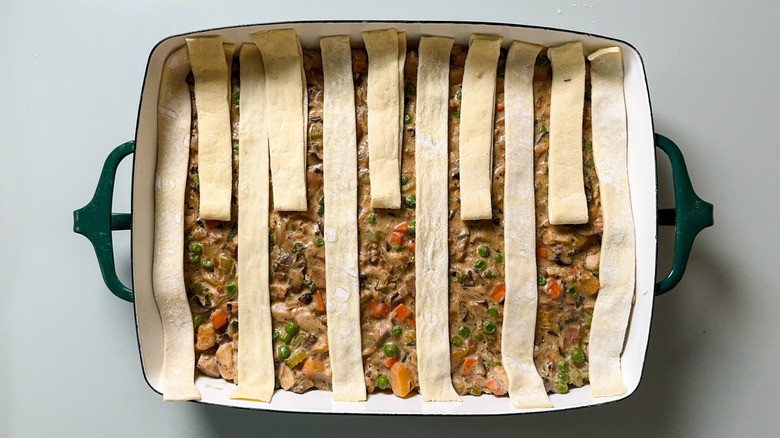
Step 24: Fold back some strips
Fold back every other strip.
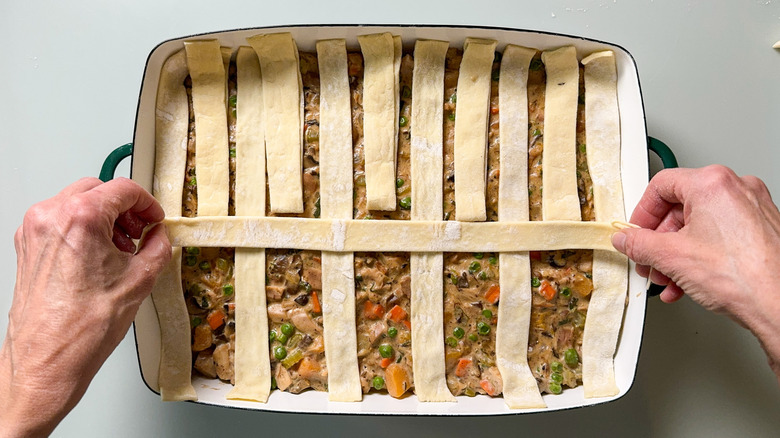
Step 25: Lay one long strip across the middle
Lay one of the longer strips across in the opposite direction.
Step 26: Fold the strips
Fold back the strips over the top.
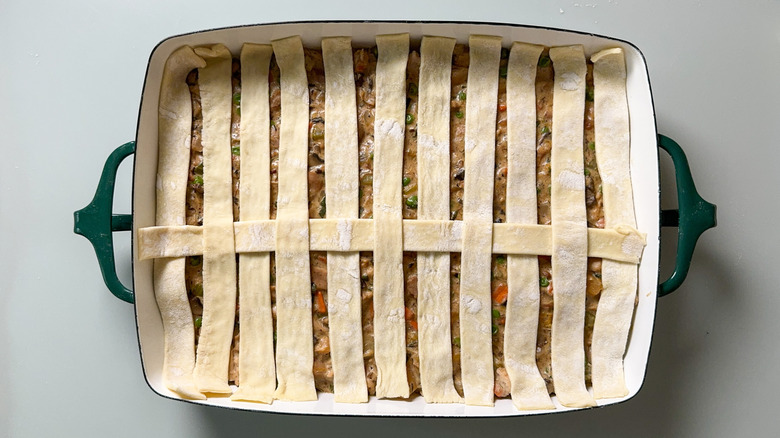
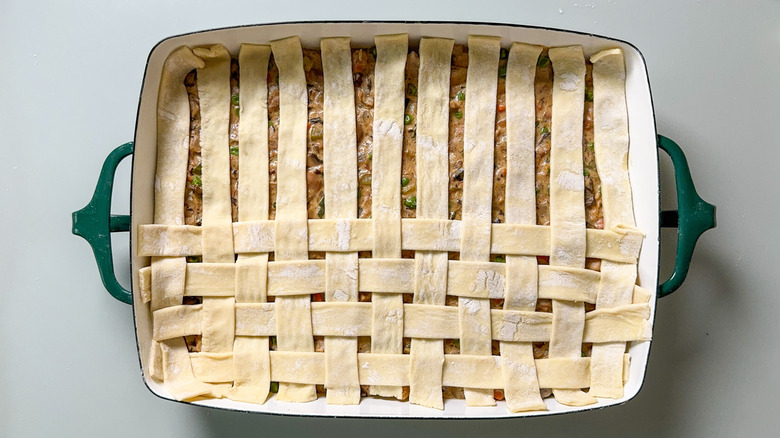
Step 27: Continue to weave the lattice
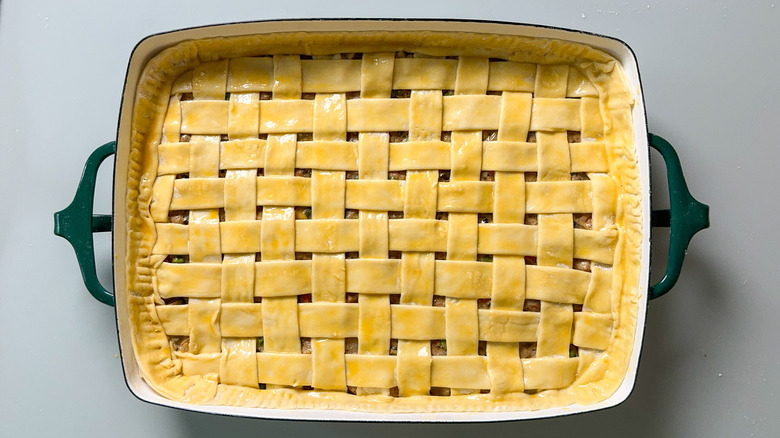
Repeat this process working down to the bottom edge of the pan, folding back alternating strips each time and repeating for the second half of the pan.
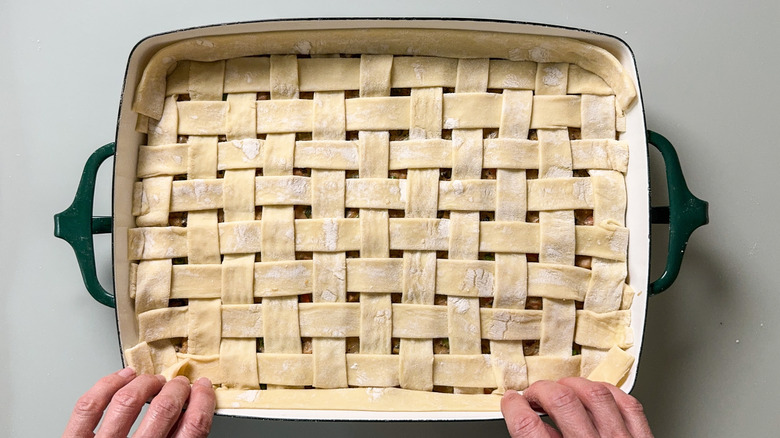
Step 28: Press extra strips around the edges
Use any extra strips to press around the edges of the pan.
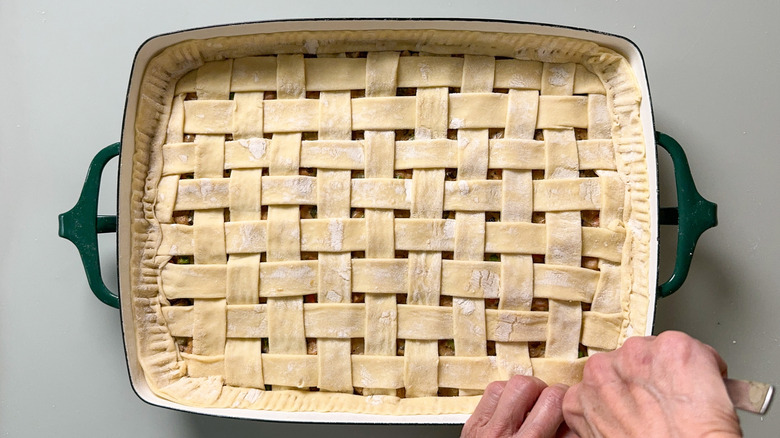
Step 29: Crimp the edge
Crimp the edge using a fork.
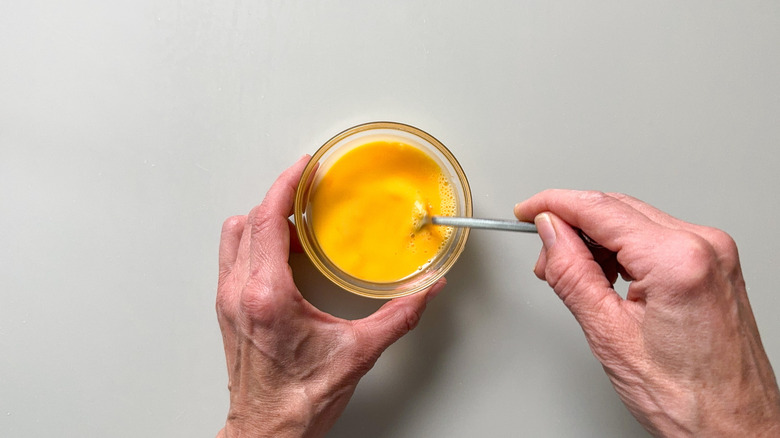
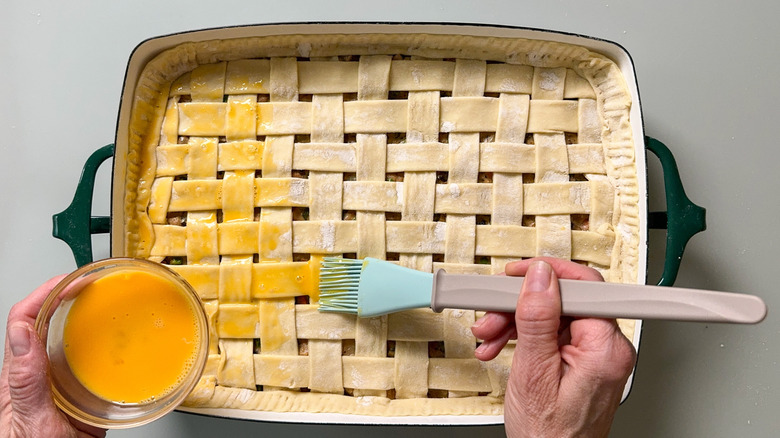
Step 30: Make an egg wash
Whisk together the egg with 1 teaspoon water in a small bowl.
Step 31: Egg wash the lattice crust
Brush some of the egg wash onto the pastry strips.
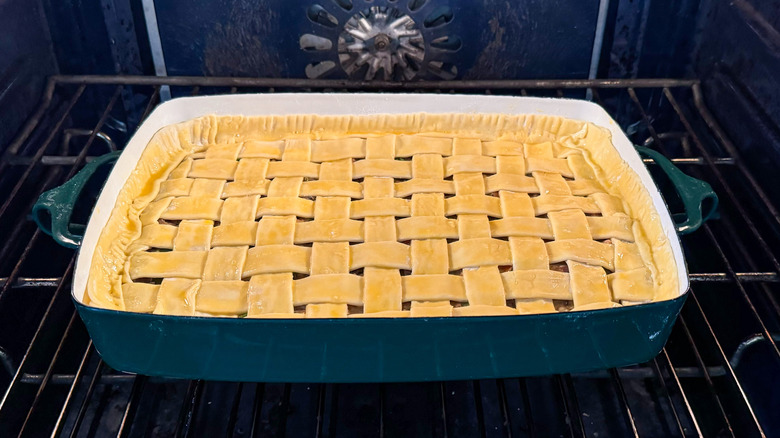
Step 32: Bake the pot pie
Bake the pot pie for 20 minutes.
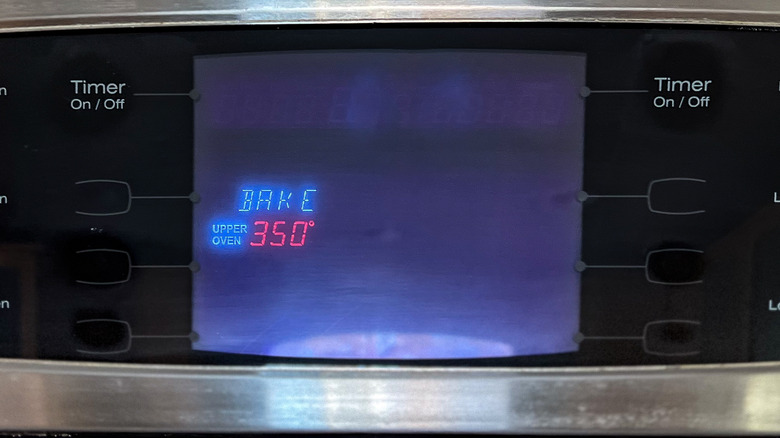
Step 33: Turn the oven down
Turn the oven down to 350 F.
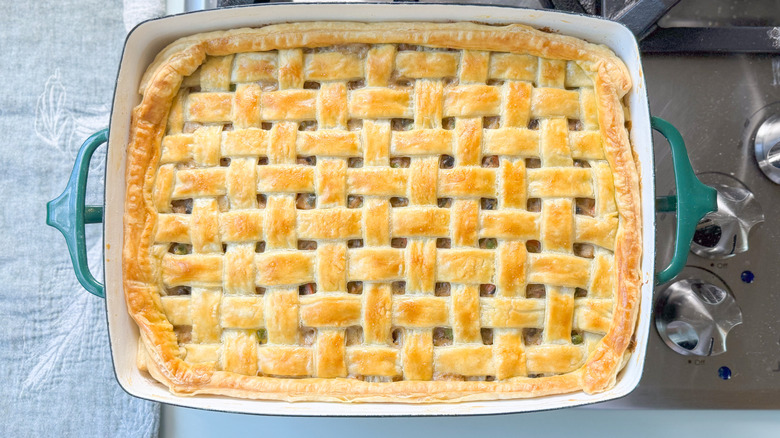
Step 34: Bake the pot pie 15 minutes longer
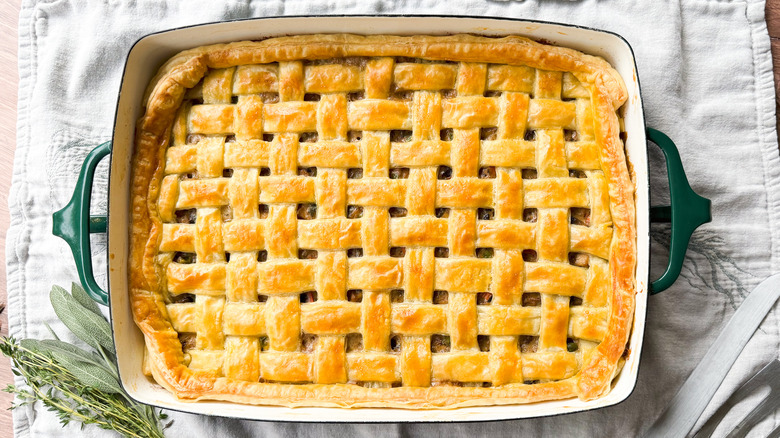
Bake for about 15 minutes longer, or until deep golden brown and the pastry is puffed.
Step 35: Serve the chicken, mushroom, and winter squash pot pie
Cool for 15 minutes, then serve the chicken, mushroom, and winter squash pot pie and enjoy.
Chicken, Mushroom, and Winter Squash Pot Pie Recipe
This pot pie uses easy pre-made puff pastry over a savory filling of chicken, mushrooms, and butternut squash, for a satisfying, comforting, yet elegant meal.
Ingredients
- ½-ounce package mixed dried mushrooms (porcini, oyster, trumpet, morel)
- 4 tablespoons unsalted butter, divided
- 1 ½ pounds boneless, skinless chicken thighs
- 2 teaspoons kosher salt, divided
- ½ cup finely chopped yellow onion
- ½ cup finely chopped celery stalks
- ½ cup finely chopped peeled carrot
- 2 cups peeled and seeded butternut squash, cut into ½-inch dice
- 2 cups diced fresh crimini or portobello mushroom caps
- ¼ cup sherry
- 1 cup fresh shelled English peas
- ¼ cup plus 2 tablespoons all-purpose flour
- 1 tablespoon finely chopped fresh sage leaves
- 1 tablespoon fresh thyme leaves
- 2 cups low-sodium chicken broth
- 1 cup sour cream
- 2 sheets frozen puff pastry, thawed and chilled
- 1 large egg
Directions
- Place the dried mushrooms in a small heat-proof bowl and cover with boiling water. Let sit for 30 minutes until warm to the touch and softened.
- Lift the mushrooms out of the soaking liquid (sediment will settle to the bottom), coarsely chop and set aside.
- Heat a large Dutch oven or other pan over medium-high heat and add 2 tablespoons of butter.
- Once the butter has melted add the chicken thighs.
- Season with ½ teaspoon salt and cook on both sides until golden brown and just cooked through.
- Remove the chicken from the pan, coarsely chop, and set aside.
- Add the remaining 2 tablespoons of butter, and the onion, celery, carrot, and butternut squash to the pan. Cook and stir occasionally until the vegetables have softened slightly (about 10 minutes).
- Add the fresh mushrooms and cook until the juices are released (about 10 minutes more).
- Add the sherry and stir, scraping up the browned bits from the bottom of the pan.
- Stir in the peas and the chopped soaked mushrooms.
- Sprinkle the vegetables with ¼ cup of the flour.
- Stir to coat and cook for 1 minute, stirring constantly.
- Add the cooked chicken, herbs, and remaining salt to the pan.
- Stir in the chicken broth and cook until the mixture thickens slightly.
- Add the sour cream and reduce the heat to low. Cook and stir for another minute or until the consistency is quite thick. Remove the pan from the heat.
- Preheat the oven to 425 F.
- Oil a 13 x 9-inch baking or casserole dish.
- Add the filling and spread into an even layer. Allow the filling to cool slightly while rolling out the pastry.
- Sprinkle a work surface with a little of the remaining flour.
- Roll 1 sheet of the pastry out into a 14 x 10-inch rectangle.
- Use a pizza wheel or sharp knife to cut the pastry into 12 strips lengthwise.
- Repeat the process with the second pastry sheet, but this time cut the strips in the opposite direction.
- Lay the shorter strips across the filling from side to side to fit.
- Fold back every other strip.
- Lay one of the longer strips across in the opposite direction.
- Fold back the strips over the top.
- Repeat this process working down to the bottom edge of the pan, folding back alternating strips each time and repeating for the second half of the pan.
- Use any extra strips to press around the edges of the pan.
- Crimp the edge using a fork.
- Whisk together the egg with 1 teaspoon water in a small bowl.
- Brush some of the egg wash onto the pastry strips.
- Bake the pot pie for 20 minutes.
- Turn the oven down to 350 F.
- Bake for about 15 minutes longer, or until deep golden brown and the pastry is puffed.
- Cool for 15 minutes, then serve the chicken, mushroom, and winter squash pot pie and enjoy.
Nutrition
| Calories per Serving | 341 |
| Total Fat | 18.6 g |
| Saturated Fat | 8.5 g |
| Trans Fat | 0.2 g |
| Cholesterol | 135.4 mg |
| Total Carbohydrates | 20.9 g |
| Dietary Fiber | 3.3 g |
| Total Sugars | 4.3 g |
| Sodium | 618.4 mg |
| Protein | 23.0 g |
What are some tips for working with puff pastry?
Puff pastry can seem quite intimidating for a novice baker. The good news for home cooks is that puff pastry is one of the few baker's staples that is often better purchased than prepared by hand. As a former pastry chef, Kinnaird enjoys the challenge of making this dough from scratch, but admits that having a package of frozen puff pastry on hand makes it easy to produce glorious bakes without working up a sweat.
When it comes to working with a package of frozen dough, thawing the puff pastry sheets in the refrigerator overnight is the usual recommendation. Kinnaird has also had great results with a 30–40 minute countertop thaw in a pinch. The key is making sure that the dough is thawed enough to unfold without cracking or breaking, but still chilled enough to avoid the butter melting within the layers. Using a chilled rolling pin will create even better results.
You should also try to avoid rolling over the edges of the dough. The delicate, flaky layers of puff pastry develop from steam forming between the flour and fat. Sealing the dough's edge prevents the steam from escaping and results in a soggy interior. When blind baking unfilled puff pastry, prick the dough with a fork to allow the extra steam to escape. If you want a solid top crust for your pot pie, make slits or decorative cut-outs to allow the steam to escape.
How can I prepare this pot pie in advance?
Pot pies are at their best right after baking, but the majority of this recipe can be prepared in advance, which saves the easiest step for the day of preparation. This makes it a perfect recipe to serve for a holiday celebration or a dinner gathering. The entire filling can be cooked, cooled, and stored in an air-tight container in the refrigerator for up to 2 days before baking. Once the filling is transferred to the prepared pan it is ready to be topped with the puff pastry crust, including the egg wash.
You can cover the unbaked pie with plastic wrap and refrigerate for one additional day before baking, or freeze the entire thing for up to 3 months. When baking a pot pie that has been frozen, allow it to thaw completely for 12-24 hours in the refrigerator before baking. The thawed yet still chilled pot pie may require up to 15 minutes longer baking time. If the crust starts to become too deeply brown, simply lay a sheet of foil over the top to prevent over-browning.
