15 Baking Tips From Martha Stewart That We Love
Whether you are new to baking or have been a cake maestro for a while, it is always great to hear how the experts make their baking look and taste so good. Taking advice from someone who has been in the industry for a long time is a surefire way to hone your skills and take your baking from good to excellent. When it comes to culinary icons, Martha Stewart is up there with the best of them, and her baking skills are legendary.
From making your own buttermilk to repurposing the crispy edges of your brownies, Stewart has shared so many nuggets of wisdom over the years to help you level up your baking skills. With her down to earth nature, she gives advice that every home cook can follow, without any fancy, expensive equipment. In this guide, you will find Stewart's best tips for making baking easier, less frustrating, and most importantly, fun. So, go grab your whisk, and let's have a look at 15 baking tips from Martha Stewart that we love.
Grate butter for flakiness
If you are a keen baker then chances are you are well aware of the frustrations of cold butter. Using it straight from the fridge is a challenge, even if you are simply trying to butter a piece of bread, and baking with it is a near impossible task. Fortunately, Martha Stewart has a tip that will make it so much easier.
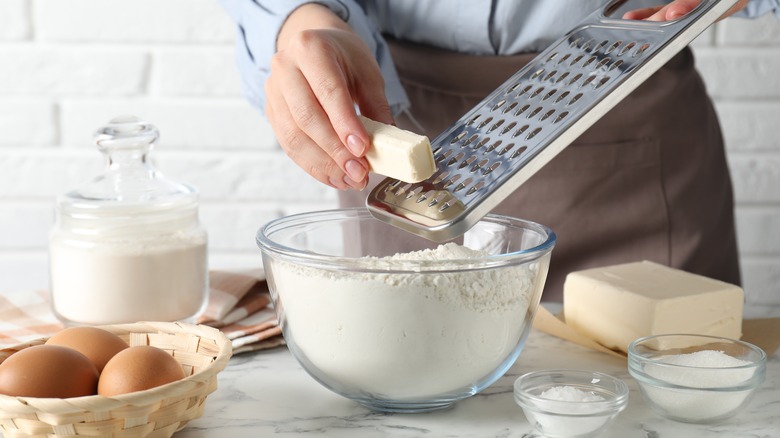
Strangely, Stewart's tip involves making the butter even colder — by freezing it. This means you can then use a box grater and grate the butter like you would a block of cheese. She told Good Morning America, "You'll have no problem with it making the most beautiful flakiness — in biscuits, scones, pie crusts, and other laminated doughs."
Grating the butter means you have full control over where it goes and how much you use. It is the perfect middle point between a chunk of rock hard butter that you are unable to work with and melted butter that you have no means of directing. The flakes of grated butter can be sprinkled into your dough, and you can easily add a little more if you need it. This handy tip will result in your baked goods having a better texture, and reducing the amount of frustration you feel when making them.
Sweeten muffins with dried fruit instead of sugar
While we all love a baked treat every so often, finding one that has the right balance of sweetness can be tricky. Those that claim to be low in sugar can often be lacking in the taste stakes, too. Thanks to Martha Stewart, it is easy for home bakers to create a delicious muffin that features a fruity sweetness that is just right — courtesy of dried fruit.
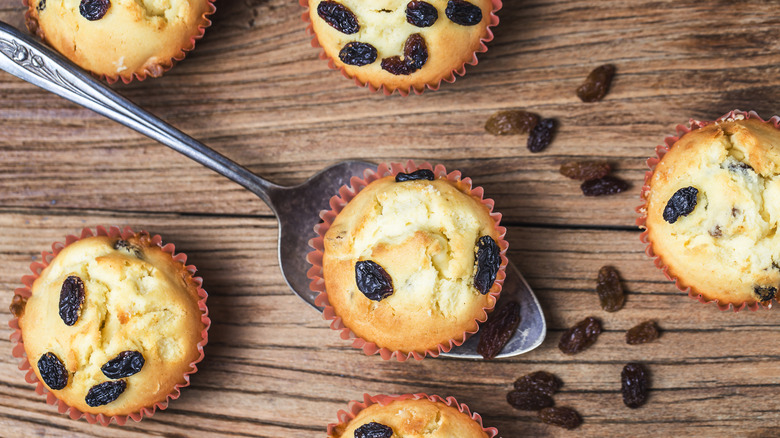
In her Instagram post, Stewart advises sweetening bran muffins with a mixture of regular dark raisins and golden ones, along with a little prune juice. Golden raisins come from the same grapes as dark raisins, but they are dried differently, giving them a paler color and delicate sweetness that will work well in the muffins. The dried fruits are packed with nutrients in the same way as the fresh version, meaning that your muffins will be as healthy as they are tasty. Once you have tried the raisin version, you can start experimenting with other dried fruits — apricots or cranberries will work nicely and give a burst of tangy sweetness with every bite.
Make a buttermilk substitute if you run out
Buttermilk is a common ingredient in baking, and it pays to always have some in your fridge if you can. It gets its name from the traditional method of production, which involved removing the liquid that was left behind after churning butter. Nowadays, buttermilk doesn't involve butter at all, and is instead made by adding bacteria to milk that causes it to ferment, creating a tangy flavor.
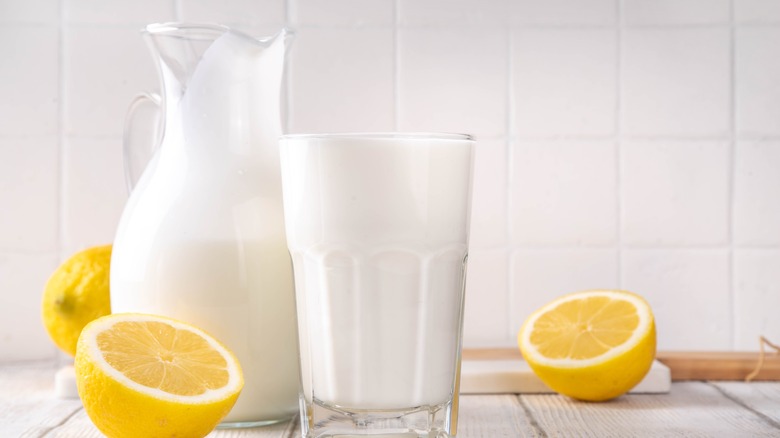
If a recipe calls for buttermilk and you find yourself lacking, Martha Stewart suggests making your own version that works as a pretty good substitute. For the purpose of baking, buttermilk is responsible for reacting with baking soda to create bubbles of carbon dioxide — the key to fluffy baked goods. The requirement for this chemical reaction is to have an acidic ingredient to react with the baking soda, which is alkaline. Stewart's trick involves adding an acidic ingredient, such as vinegar, to regular milk in order to create an acidic version. Her simple recipe involves mixing one part vinegar with three parts milk.
This substitute buttermilk can also be made using the same quantity of lemon juice instead of vinegar. Leave the milk/acid mixture to sit for about 10 minutes before adding to your recipe and follow the rest of the instructions as normal.
Add sour cream to keep cakes light
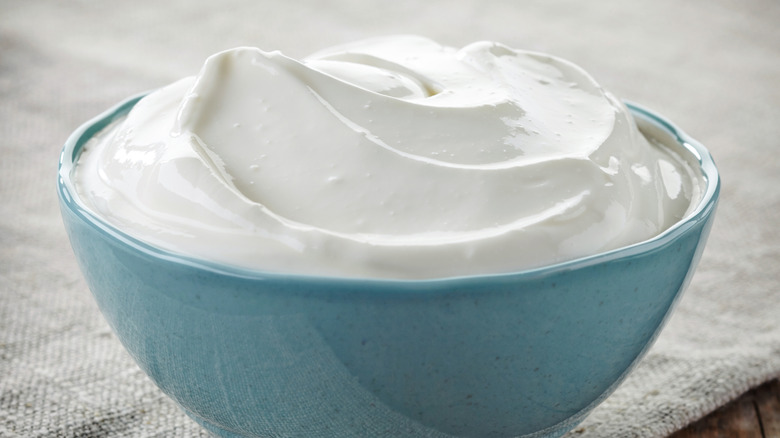
When you sit down mid-afternoon to have a cup of tea and a slice of cake, the one thing you are hoping for is that the cake will have a wonderful, light texture. This can be difficult to achieve, but Martha Stewart has a secret ingredient you can add that will keep your cakes moist and give them an airy texture at the same time. By adding sour cream to your cakes, you can get the perfect balance between texture and flavor, without overpowering the taste of the other ingredients.
In the recipe for her banana bread, Stewart points out that using sour cream instead of milk or buttermilk will increase the fat content of the mix — and we all know that fat equals flavor. The acidity of the sour cream is also a crucial factor. Since gluten is a protein, the acid will tenderize it in the same way that a squeeze of lemon juice can tenderize a steak. It can also create the same reaction with baking soda that buttermilk would, but without making your batter too runny. Stewart adds sour cream to many of her cake recipes, including pound cake and chocolate cake, so why not try out this tip the next time you are baking, and see the effect it can have on your sweet treats?
Save the edges of brownies as an ice cream topping
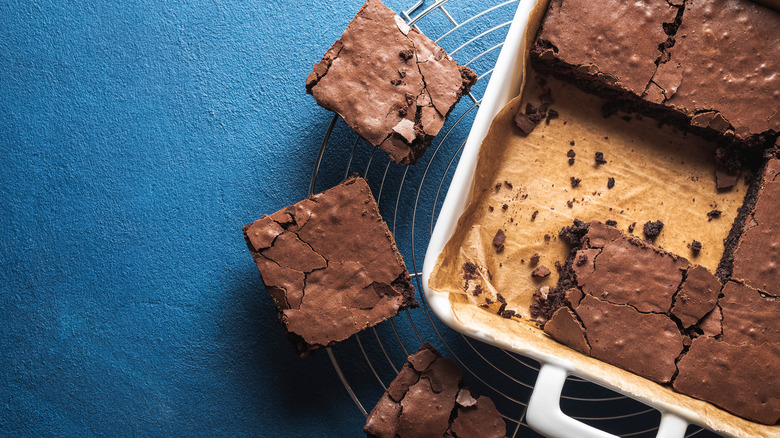
For some people, the crispy edges around the pan after something has finished baking are the best bits. Whether it's the crispy piece of burnt pasta on a lasagna, or the crunchy corners of a tray of brownies, many a fight has started at a family dinner as everyone strives to get their favorite piece. When you are cooking for guests, however, you want your sweet offerings to look as professional as possible, and raggedy, almost-burnt edges just won't do.
In her TikTok video, Martha Stewart advises cutting the edges from your brownie before presenting it to guests, but she recognizes what a travesty it would be to let them go to waste. Of course, one option is that you could eat them all yourself while no one is looking, but Stewart has a nifty idea that will allow everyone to share those delicious off-casts. Cut them up into bite-size pieces, store them in your freezer, and you have a fantastic homemade brownie ice cream topping whenever you need it. And by chance you don't like ice cream, they are equally good with yogurt or even a bowl of chia pudding.
Make a hole in your soufflé
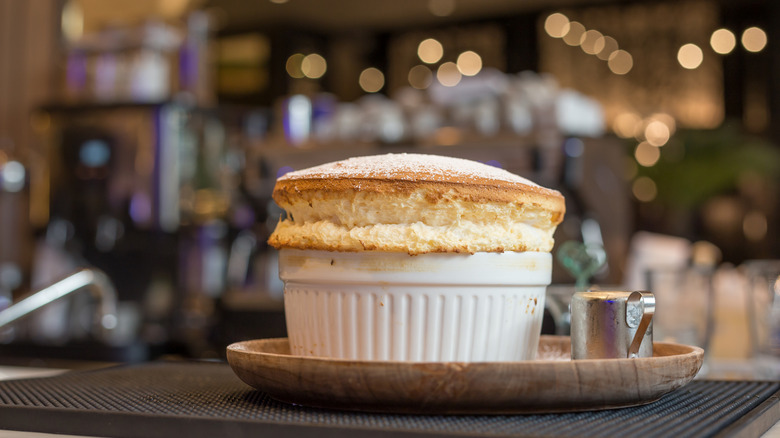
Making a soufflé for dinner guests, whether family or friends, is a big undertaking. This dessert is the nemesis of many a home cook and plenty of professional ones, too. Getting it to rise perfectly — and stay risen — is quite the challenge, and one that you should be proud of when you accomplish it. Martha Stewart's soufflé tip, however, doesn't refer to the cooking of the soufflé, but to the serving of it.
As soon as a soufflé is placed in front of her, Stewart likes to poke a hole in the middle of it and pour in the accompanying crème anglaise. This little tip means that your guests can enjoy the silky custard sauce with every spoonful of the still-risen soufflé, rather than pouring it on top and watching as the whole dessert collapses. As host, it is your decision whether to do this as you serve the soufflés to your guests, or encourage them to pour it in themselves.
Add orange zest to bread pudding
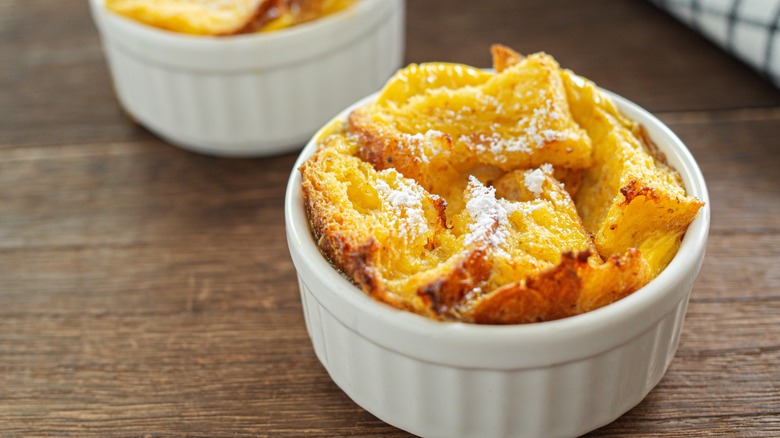
Bread pudding is the ultimate in comfort desserts — rich, indulgent, and beautifully sweet. Sometimes, though, it could do with a lift of flavor from something bright, and this is where Martha Stewart has a great addition — some orange zest. Alongside cranberries, cherries, and prunes, Stewart likes to add a further fruity twist by grating some fresh orange zest into the mix.
Citrus zest is packed with essential oils, which contain the distinctive smell and flavor of the fruit. If you like to add alcohol to your bread pudding, as Stewart does, choosing an orange flavored liqueur such as Grand Marnier will strengthen the orange notes running through the pudding. Or a few dark chocolate chips scattered on top will create the classic chocolate-orange combination. The result is a bread pudding that manages to taste both comforting and refreshing at the same time, and will soon become a family favorite.
Use chilled dough — it is easier to work with
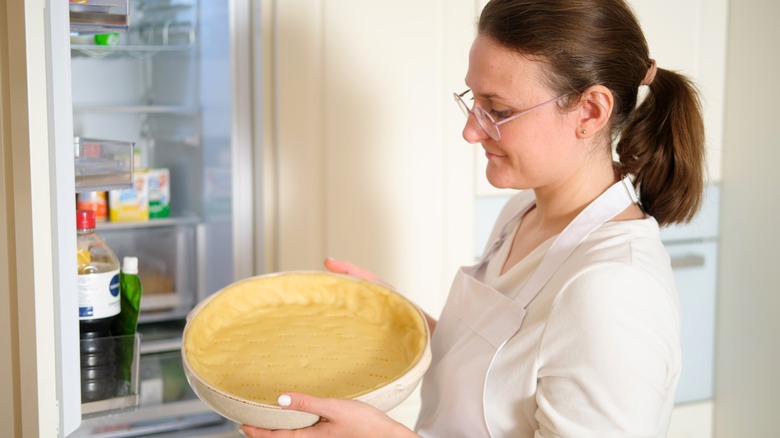
As a home baker, it is inevitable that at some point, you will encounter soft dough that sticks to absolutely everything as you try to roll it out — your hands, the rolling pin, the countertop — it can be extremely disheartening. If this is happening regularly, Martha Stewart has some great advice on how to keep your dough firm but pliable. According to Marthastewart.com, "Make it cold and bake it hot," is Stewart's top tip to prevent a sticky mess. By making the dough with ice cold water and chilling it in the fridge until you're ready to roll it out, not only will it prevent the dough from sticking, it will also improve the texture of the finished pie, resulting in beautiful flaky layers.
If you want to create a lattice top for your pie, Stewart also recommends building the lattice on a piece of baking paper on the countertop, rather than trying to do it on top of the pie. The chilled dough will be easy to braid on the flat surface, alternating over and under until you have created a beautiful crisscross pie lid.
Use an ice cream scoop to measure out cookie dough evenly
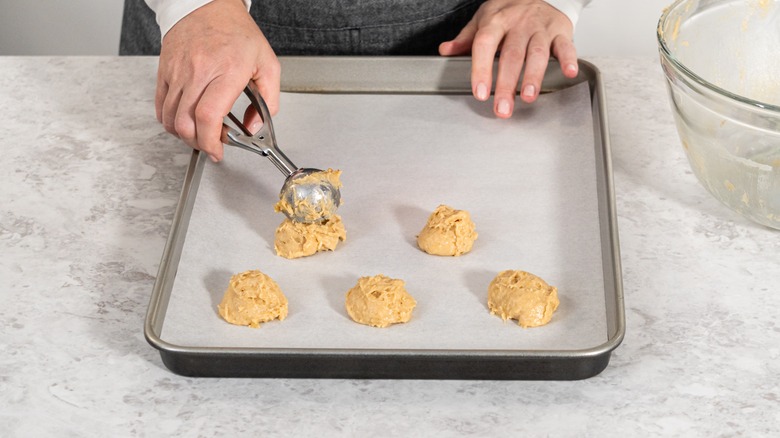
If you're baking for a crowd or just looking to impress your family, creating cookies that look uniform and are cooked evenly will be your aim. Martha Stewart uses a tool that you likely have at the back of your cutlery drawer to portion out the cookie dough and ensure your cookies are like little clones of each other.
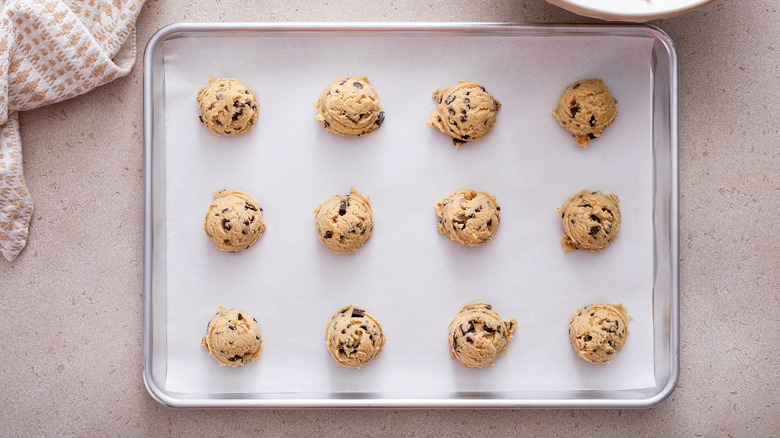
Grab your ice cream scoop, preferably one with a trigger release, and use it to scoop up a level measure of the cookie mixture. Drop it onto the baking sheet, then repeat the process to get another identical scoop. Be sure to leave plenty of space between each portion on the tray as they will spread as they cook, and you don't want them to merge into each other. Employing this simple trick allows you to have precise measurements without any fancy tools, and your cookies will look much more professional as a result.
Spray the inside of measuring cups to prevent liquids from sticking
If you need to add sticky substances such as honey or syrup to your baked goods, measuring them out can be a bit of a challenge. You always end up with some left behind in the container, meaning you don't know if you have added enough or not. Cleaning it up can also be a total nightmare. Martha Stewart has a really simple hack that will allow the liquids to flow freely from the cup, and make washing up a lot easier.
Before adding the liquid to the measuring cup, give the inside a quick spritz with spray oil. You can then add molasses, peanut butter, or any other sticky ingredient, then watch as it glides out of the container with ease. You can be assured that you have the exact volume of liquid that the recipe requires, and washing up will be a breeze, too.
Refrigerate cookie dough
If you want to take your homemade cookies to the next level, Martha Stewart has a really straightforward tip to help you: refrigerate your cookie dough after you make it. Chilling the dough for at least 30 minutes will improve your cookies on two fronts — texture and presentation.
As you may expect, chilling the cookie dough will make it firmer. This is especially important if you plan to cut your cookies into distinct shapes. Soft dough will spread as it cooks, ruining the precise edges of your cut-outs, whereas firmer dough is less likely to do so. The firmer dough will also create a cookie with a chewy center, which is what you are aiming for in most cases. Of course, if you want super-thin and crispy cookies, then this step is not necessary. If you are really tight for time, but still want to chill your dough, you can freeze it quickly instead. Aim for a quarter of the recommended chilling time from the recipe.
Line your cake pan with parchment paper
For home bakers, one of the biggest fears can be of the cake sticking to the pan after it has cooked. It is so disheartening to have poured your heart and soul into the bake, see it look so good in the pan when you bring it out, then half of it gets left behind as you attempt to remove it.
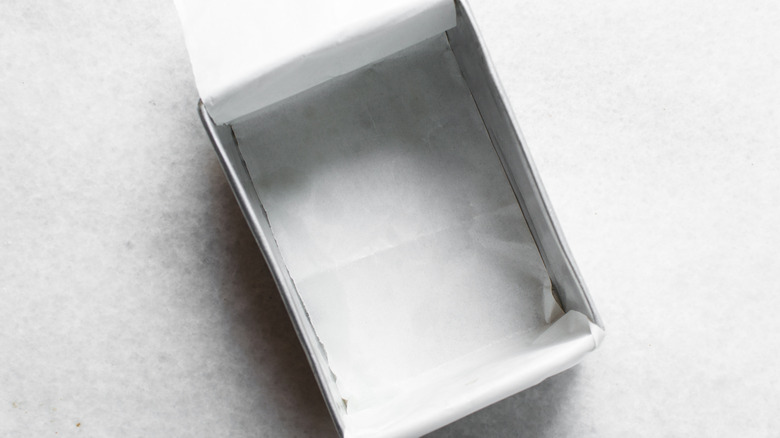
Martha Stewart recommends always using two sheets of parchment paper in the pan to avoid this scenario, allowing you to lift the cake out with ease, and keep the sharp edges and beautiful shape intact. She greases the pan first, then cuts two strips of parchment paper roughly the width of the pan. One goes in horizontally, and the other across the pan, so that the entire surface and sides are covered. Don't worry if the corners are exposed slightly, the greasing of the pan should prevent those tiny areas from sticking. Once your cake has baked and cooled, simply lift the ends of the parchment out. The cake will come with it, and will glide off the paper in one beautiful whole piece.
Make pie dough in food processor
As home cooks, we are always trying to get the balance right between doing things properly or taking shortcuts to save time. It can be hard to know when cutting corners will pay off. Fortunately, when it comes to pie crusts, there is one shortcut that is approved by Martha Stewart herself — using a food processor to make the dough.
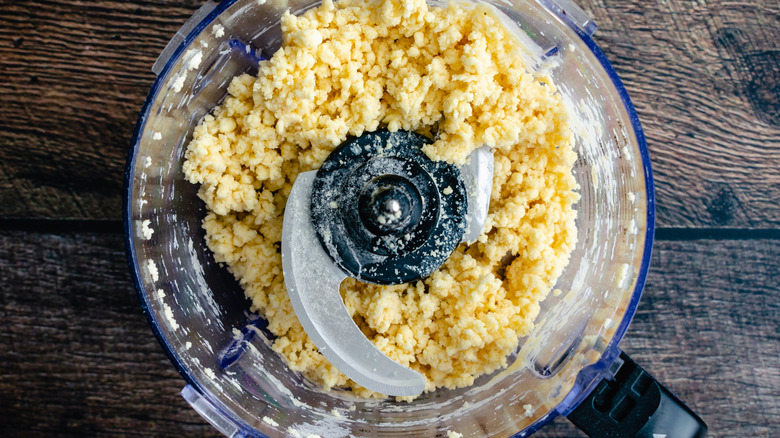
Making dough can be a messy affair, mixing and folding, trying to keep the ingredients cool, and prevent them sticking to your hands. Instead of struggling through it, let the food processor do the hard work for you. Add the dry ingredients first, pulsing them until they are mixed, then add the chilled butter a little at a time to incorporate. Stewart points out that it is crucial to pulse, even though it can be frustrating, as running it at full speed will overdo it.
Read the recipe thoroughly and prepare ingredients before you start
In your enthusiasm to get stuck into your baking endeavor, it's possible that you may dive into measuring and mixing without reading the recipe thoroughly first. Like at school, when your teacher told you to read the question thoroughly before you begin to write, it seems like an unnecessary task that is simply delaying getting on with the job. However, Martha Stewart warns that an important part of preparation is to read the recipe through properly and measure out all your ingredients in advance.
If you haven't read the recipe thoroughly, there is always a chance that you could get halfway through the bake and realize that you are missing an ingredient. While in regular cooking this may be less of an issue, with the precision needed in baking, it could be the downfall of your entire recipe. Substitutions are not as easy in the baking world, and a trip to the store to pick up the missing ingredient may not be an option if you have already mixed parts of your recipe together and time is running out. Taking a few minutes to prepare in advance could save you a lot of heartache further down the line.
Test your baking powder regularly to see if it still works
Baking powder is an ingredient that most home cooks have in their cupboards, and since it is shelf-stable, we often don't think to replace it unless it is finished. The main purpose of baking powder is to help baked goods rise, so if your cakes have been falling a little flat, the baking powder may be to blame.
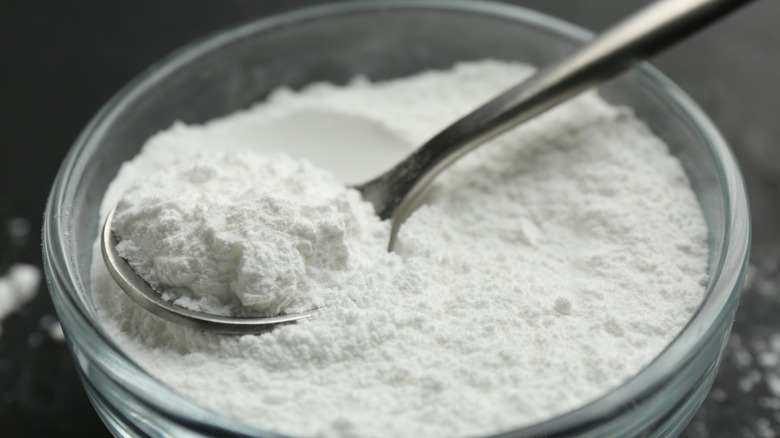
No matter what the expiration date is on the packaging, your baking powder could be past its best, meaning it won't give your baked goods the boost they need. Fortunately, Martha Stewart has a simple test that you can use to establish the effectiveness of it. Add a scoop of the powder to a cup of hot water — if you see plenty of bubbles immediately, you are good to go. If not, add it to your shopping list and replace it before your next baking adventure. If your baking powder has been past its best for a while, you will be amazed at the difference in your light and fluffy cakes once you purchase a new batch.
