How To Make A Sourdough Starter At Home
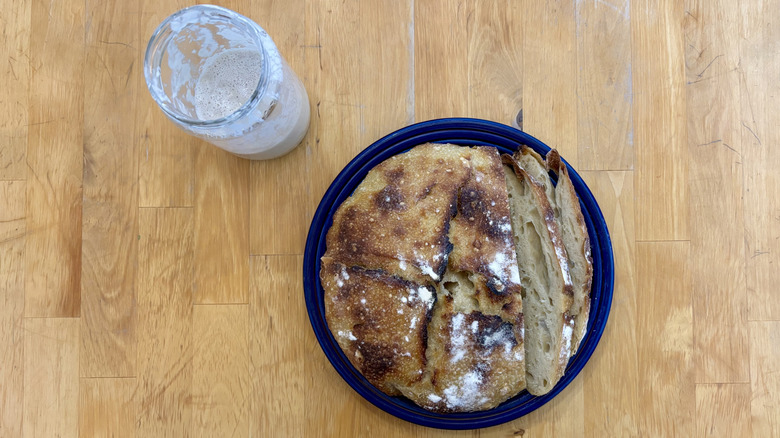
Homemade sourdough has seen a huge uptick in recent years. If you are ready to hop on the trend and join this cottage hobby, we are here to help you start. You might be tempted to buy a kit online or some prefab starter mix, but we are here to gently guide you away from that. While making your own starter does require some time, it requires very little effort and even fewer ingredients. You likely have everything you need in your home right now, so why buy anything?
Now, if you don't want your house filled with delicious bread, this article is not for you. Caring for a sourdough starter inevitably leads to bread baking and the creation of tangy and succulent treats. Because of this, it is ideal that you have some bread-baking experience, but it is not required. In fact, those skills are not used at all when creating your starter; they are simply useful once your starter has fully come to life. Even if you are totally new to baking, you can start a homemade sourdough starter without any trouble. The rest of the skills will come over time.
What is a sourdough starter?
You may have seen this term thrown around a lot but may not know what a "starter" is. Simply put, a sourdough starter is a colony of wild yeast that is cultivated at home to raise bread without the help of commercial yeast. Because the yeast is gathered from the air around you, each sourdough starter tastes a little different and has a unique taste and aroma.
The colony is grown over time in a dough mix that must be "fed," meaning flour and water are added to it. This feeds the yeast microbes and keeps them happy and healthy until the next time you bake bread. While this is a scientific process and it can sound daunting, don't worry. It is fairly simple and relies on letting nature take its course.
Tools you will need
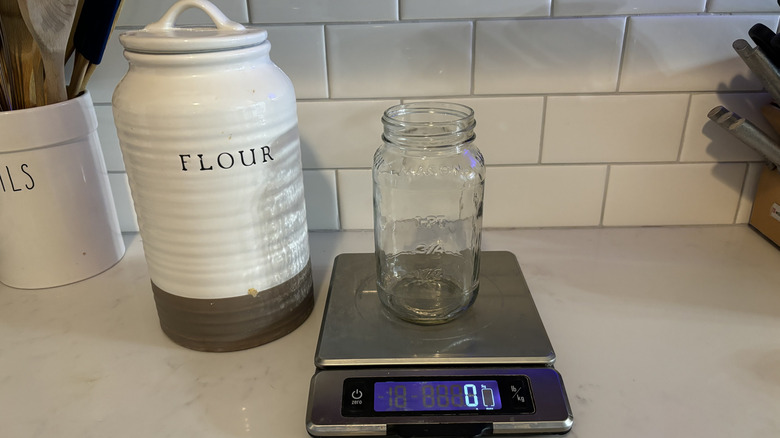
There are a few simple tools you will need to make a starter and put it on a specialized piece of equipment. First and foremost, you will need a jar. Any jar with a lid will do, but preferably a see-through one. In this article, we use a reused pasta sauce jar and an old Mason jar. You will also need a spoon. We recommend getting a kitchen scale for this, as it makes measuring the ingredients easier. As you start your bread-baking journey, a kitchen scale will be helpful.
In addition, you will need water — we use water straight from the tap, as well as filtered water. You will also need flour — we used all-purpose flour for this bread. You can use all-purpose flour, whole wheat, or rye flour to get started. Just be sure it's unbleached.
Common mistakes
Now, while making sourdough starter is fairly simple, there are some things you can do wrong. First, make sure the water you use is not chlorinated. If the water from your tap is chlorinated, allow it to sit for a 15-20 minutes to let the chlorine dissipate — chlorine will kill the good bacteria you need in your starter. Similarly, we recommend using unbleached flour. Bleaching kills good bacteria in the flour, which will help grow your starter.
Additionally, make sure not to add hot water to your starter. Yeast dies at 130 degrees Fahrenheit, which isn't even boiling. If the water feels hot to the touch, it is too hot for a starter. In addition, if your room is cold — below 70 degrees Fahrenheit — it may take longer for your yeast to rise. This doesn't mean there is anything wrong with your starter, but when the yeast is cold, it is less active. This means it will just need a little extra time to rise.
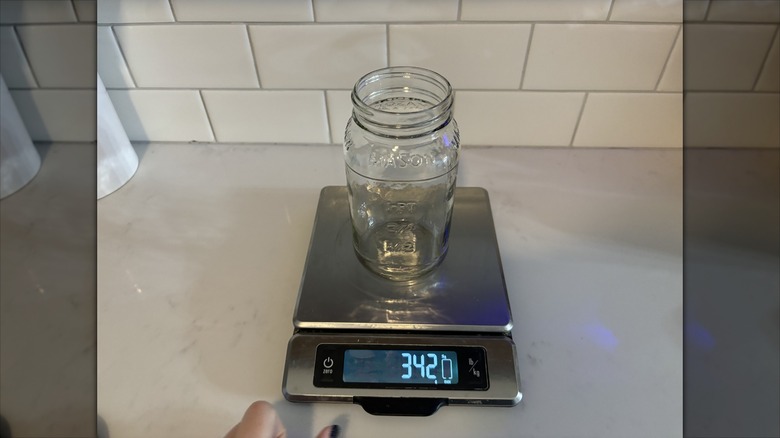
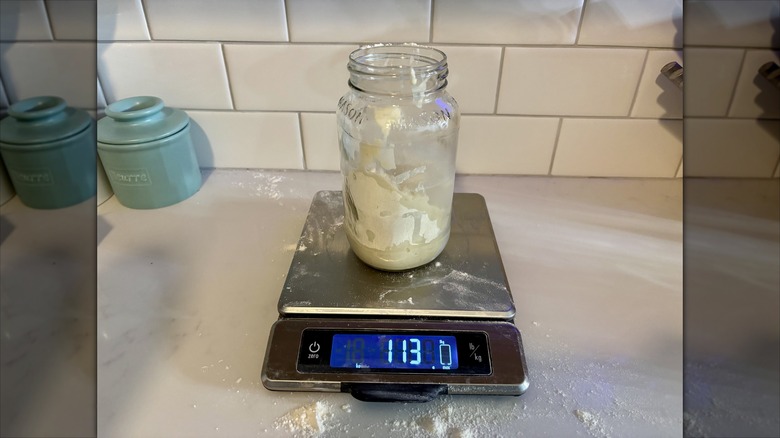
Finally, be careful when weighing ingredients. Be sure to 0 out your scale after placing your container on top. Weighing your ingredients is more accurate than measuring, but it's not infallible.
Day one: Add flour and water
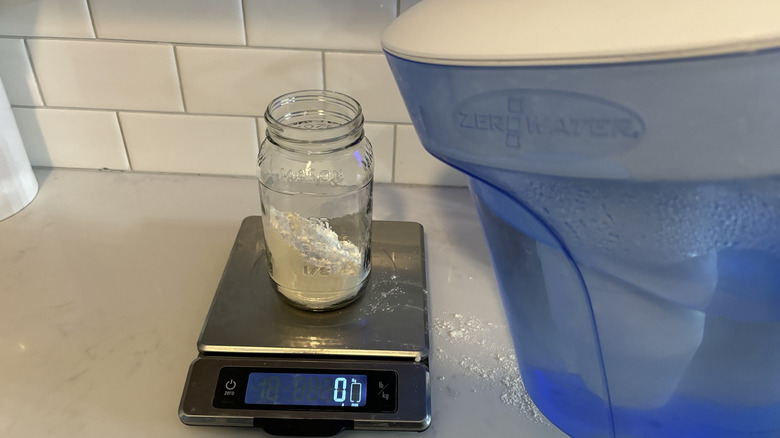
Mix together 113 grams of water and 113 grams of flour. This is equal parts by weight, not by volume. If you do not have a kitchen scale, this is roughly one cup of flour and half a cup of water.
Let it rest
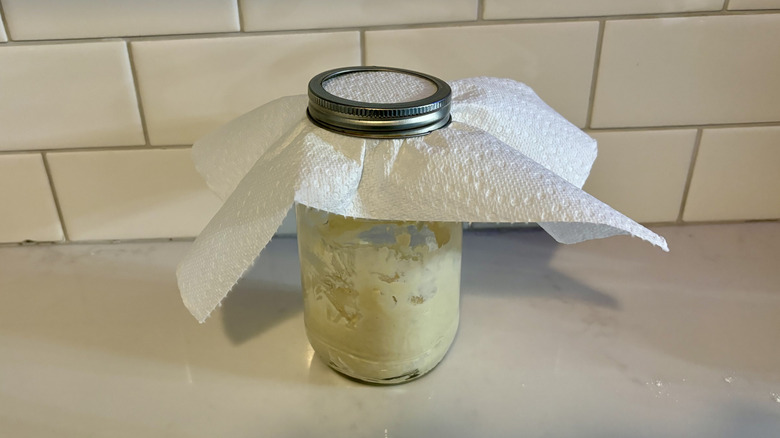
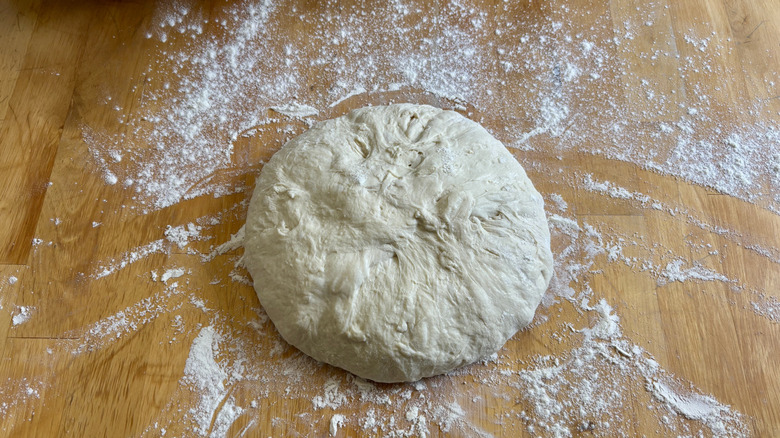
Mix together your ingredients until fully incorporated — this will make a shaggy dough. Cover loosely with a paper towel or a lid. Do not tighten the lid, as you want air and microbes to be able to get in and you do not want pressure to build up under the lid.
Let your starter sit out for 24 hours in a warm sport. Do not disturb it. Just let it rest.
Day 2: The first discard
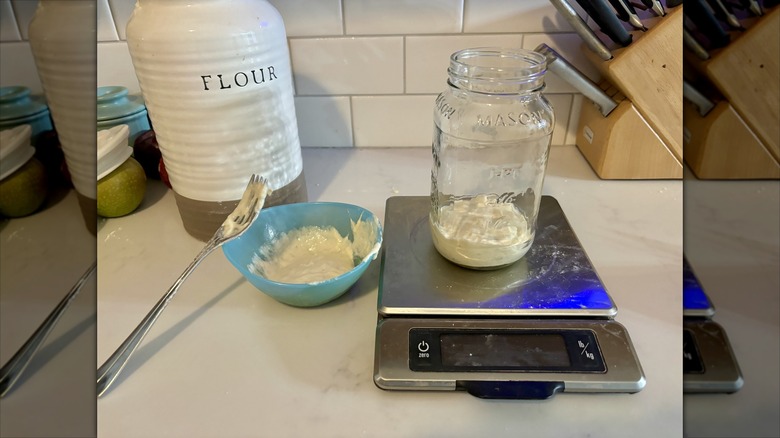
After 24 hours, discard all but 113 grams of the rested mixture. To do this, you can weigh 113 grams into a new clean jar or pour out your starter and replace 113 grams. This will be about half a cup total of starter.
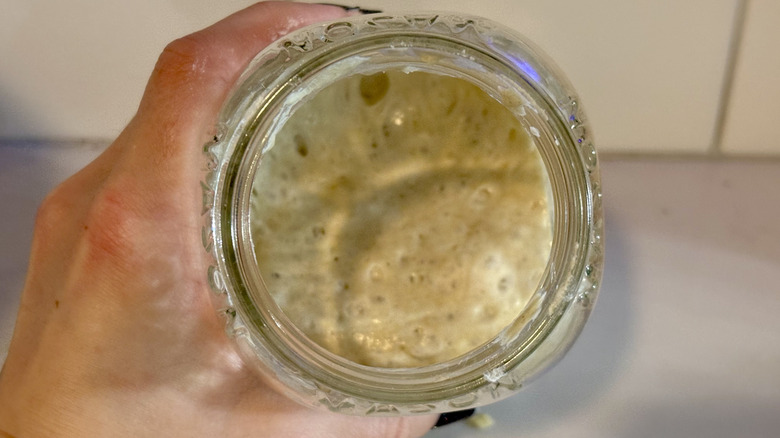
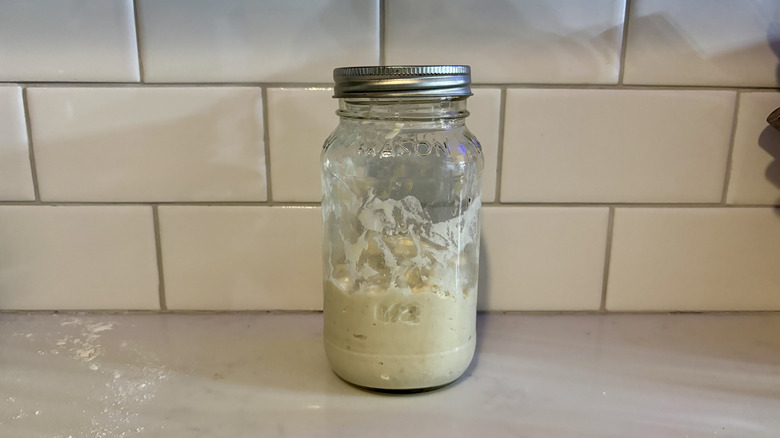
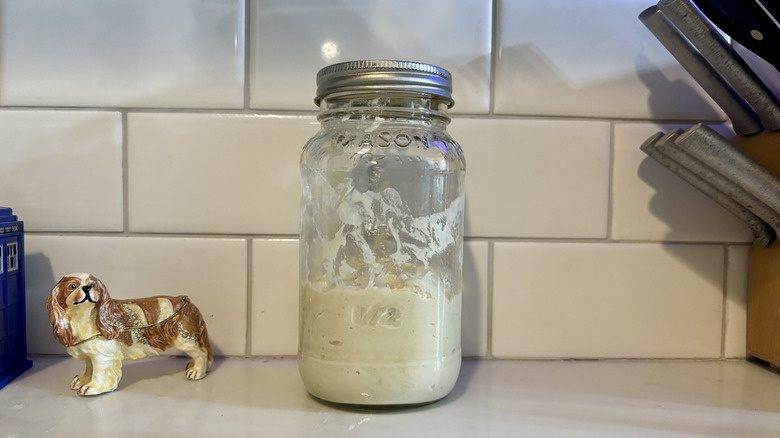
At this point, your starter may be bubbly or not, and it may have some liquid on top. Do not worry; as long as your starter is not actively moldy, it is fine. These are still early days.
Time to feed
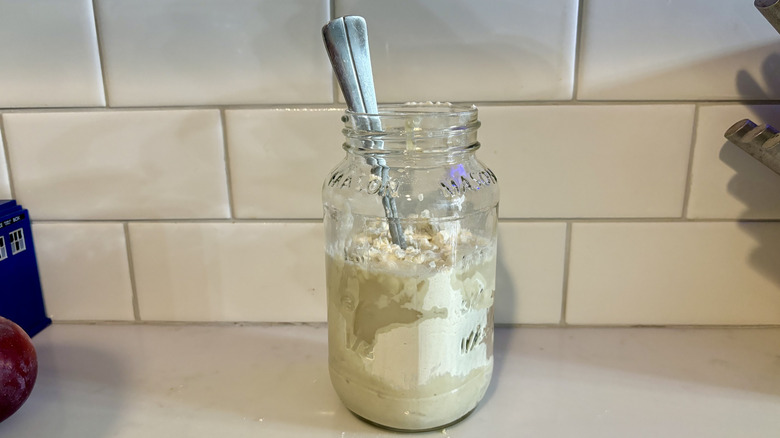
Now, it's time for the first feeding. Add 113 grams of flour and 113 grams of water into your starter (Remember to use unbleached flour and water that isn't chlorinated). Mix together as you did before. Let your starter sit for 24 hours.
Day 3: Double the feeding
On day three, you will need to do two feedings for your starter, 12 hours apart. This will help invigorate your starter. Feed 113 grams of starter, with 113 grams each of flour and water, twice in one day, getting as close to 12 hours in between feedings as possible.
Day 4 and until fully started
Continue feeding your starter one to two times per day until your starter is fully active. Discard all but 113 grams of starter and feed with 113 grams each of water and unbleached flour. Creating a fully active starter will likely take at least seven days but can take up to a two weeks or more. Repeat the feedings until that point.
Your starter is complete
Your starter is complete when you see it double in volume within 8-12 hours for at least three days in a row. You must wait until you have several days in a row; otherwise, your starter will not be strong enough to raise the bread consistently.
How to store your sourdough
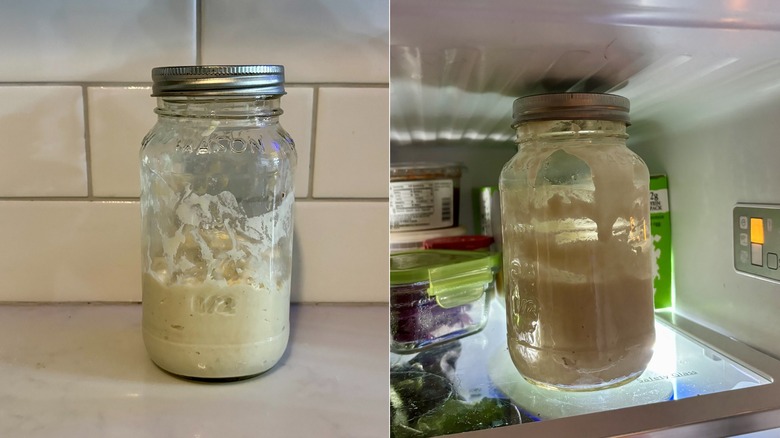
Sourdough starter can be stored on the counter. It can be left in its jar, but make sure the jar is not closed too tightly — you want excess gas to be able to escape. If you choose this option, sourdough will need to be fed every 12-24 hours. At feeding time, you can either discard your excess sourdough starter or use it to make bread or other goodies. There are plenty of sourdough discard recipes out there to choose from.
You can also store sourdough starter in the refrigerator. Keep sourdough discard in a loosely closed jar in the back of the fridge. This will slow down the fermentation process so you are not feeding and baking too often. Feed sourdough in the refrigerator once a week to keep it active. Before you plan to use sourdough for baking, remove it from the fridge and place it on the counter to come to room temperature. Make sure to give sourdough one to two feedings to reinvigorate it before you cook with it.
Starter can also be frozen in a sealed container for up to a year. To use frozen sourdough starter, remove it from the freezer, let it thaw, and be sure to feed the starter one to two times to reinvigorate it before using.
How to use your sourdough
The number one thing to do with sourdough starter is to make delicious sourdough bread. In addition to making bread, you can use your sourdough discard to make delicious sweets, such as coffee cake and chocolate chip cookies.
