How To Shuck Oysters Like A Pro
We may receive a commission on purchases made from links.
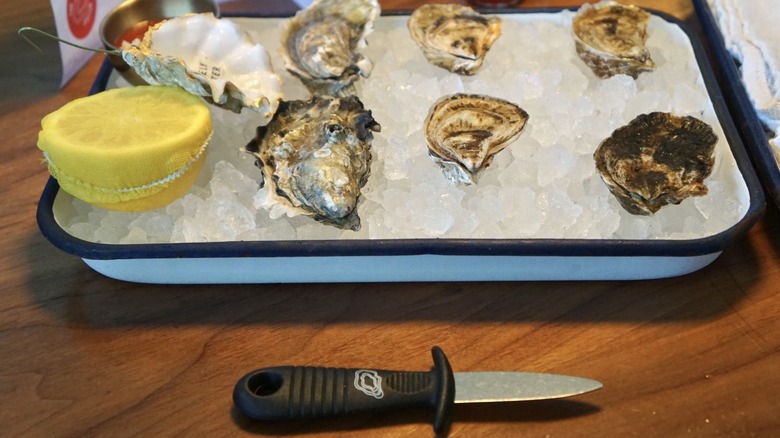
Nothing beats a freshly shucked oyster. While you can enjoy great oysters while dining out, there's a certain pride that comes from shucking your own — not to mention savings. It's a skill worth learning for any serious seafood lover. Imagine hosting your own holiday party with oysters for everyone, taking advantage of the best season to buy shellfish? Now that's an idea we can get behind.
Shucking an oyster might seem intimidating, but it's really not that difficult once you know all the steps. After you've shucked your first few, all it takes from there is a bit of practice – practice you won't mind, since you get to enjoy delicious oysters as a reward.
I spoke with Dom Crisp, culinary director and executive chef at The Lonely Oyster in Los Angeles, for insight into the process of shucking an oyster like a seasoned seafood professional. The restaurant is hosting a Christmas Shuck's Oyster Class on December 10 and 12, so you can learn just in time to book a reservation and show off your skills. Without further ado, let's get shucking.
Step 1: Get an oyster shucking knife
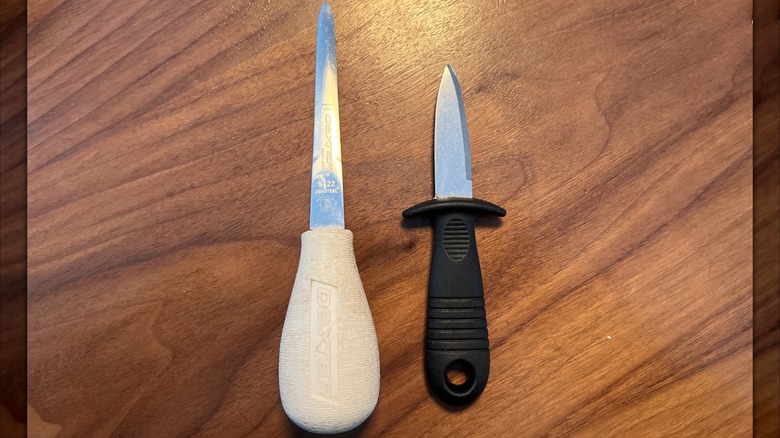
First of all, you need to get your hands on an oyster shucking knife. There are different types of oyster knives out there, but generally it's important that whichever one you choose is thick enough to pry open an oyster shell without breaking it. Standard kitchen knives are too sharp for this task and would be dangerous to use. On the other hand, butter knives aren't quite sharp enough for the job.
Chef Crisp recommends the R. Murphy Duxbury oyster knife, which he says is good for both West Coast or East Coast oysters. West Coast oysters tend to be bigger, but their shells are usually a bit more fragile. As a beginner, it's easier to start with East Coast oysters.
Step 2: Protect your hand with a kitchen towel and position the oyster
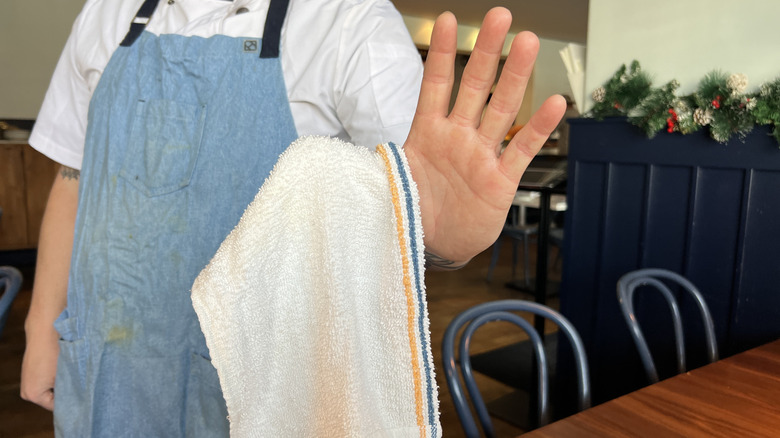
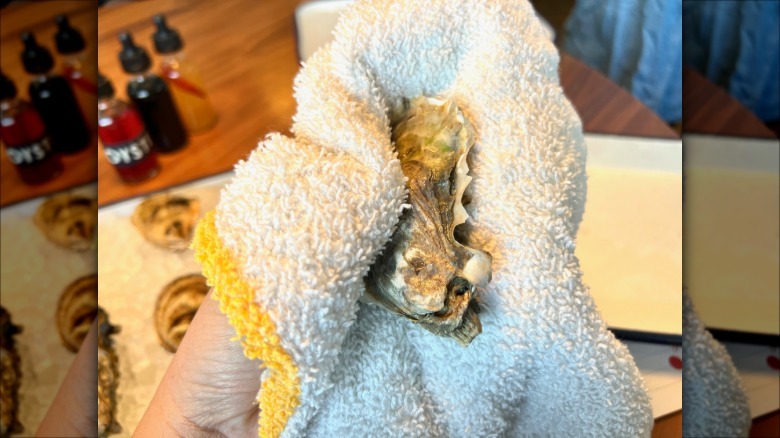
As a beginner, it's important to use a kitchen towel to protect your hand. Chef Crisp recommends folding a kitchen towel in half on the long end before then draping it over your thumb of your non-dominant hand — you'll be using your dominant hand to hold the knife and shuck.
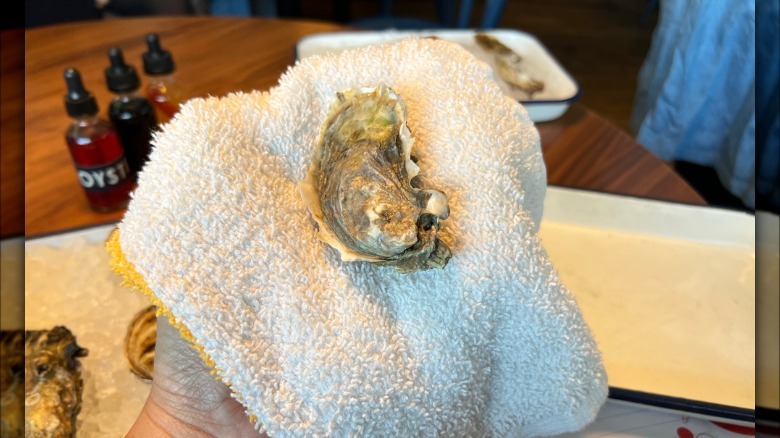
Next, cover your hand with the folded towel and place the oyster at the base of your forefingers, with the hinge facing you. Then use your (towel-covered) thumb to hold the oyster firmly in place. You're now ready to shuck.
Step 3: Find the hinge and slowly wiggle the knife in
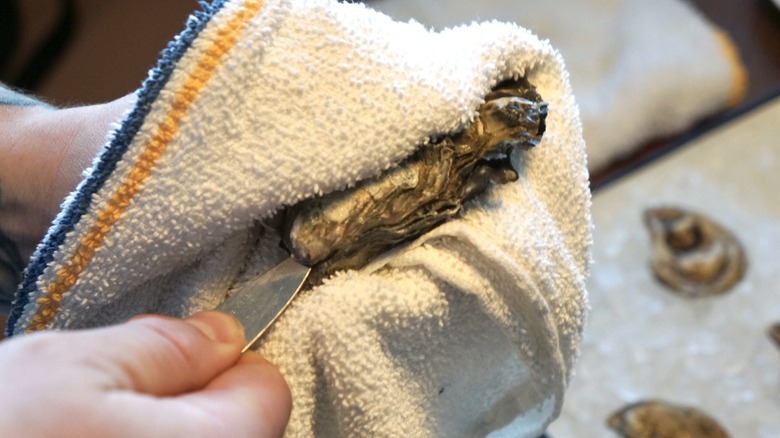
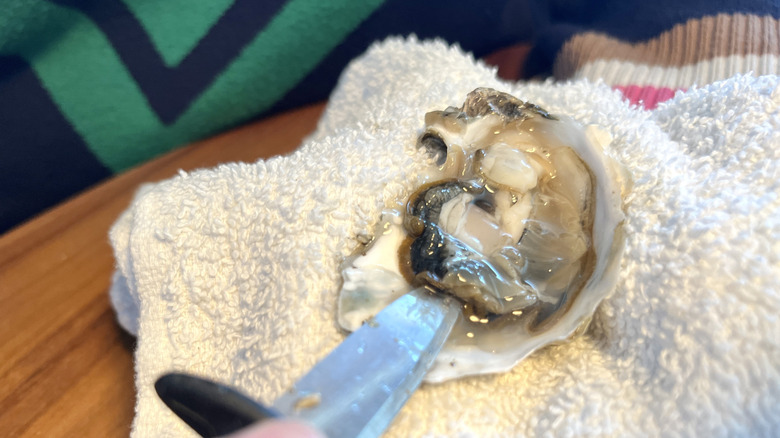
Find the hinge at the bottom of the oyster. Using the tip of the knife, slowly wiggle the blade into the hinge. Small movements will make bigger impact here. Chef Crisp notes that choking up on the blade of your oyster knife can make it a little easier — and safer — to insert it.
Gently wiggle the blade in until it's wedged into the oyster properly. You'll know it's wedged in when you can hold the knife by the handle and the oyster does not move.
Step 4: Twist the knife to the right to pop open the shell
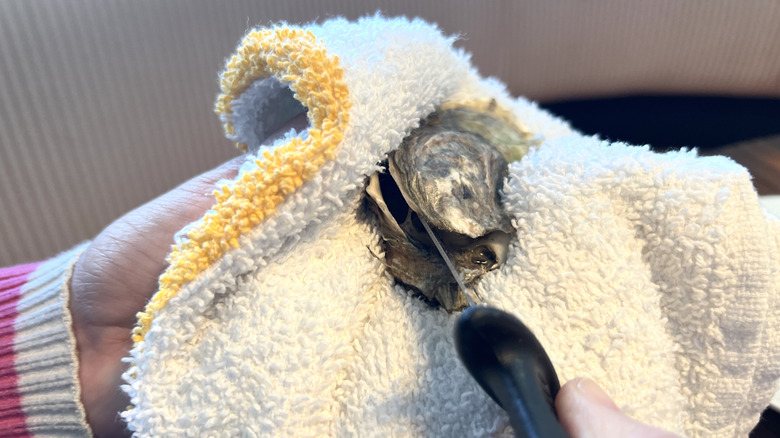
Once the knife is wedged properly into the oyster — such that you can pick it up by the handle like a lollipop and the oyster doesn't wiggle around, per chef Crisp — it's time to pry the shell open.
To do so, slowly twist the knife to the right. Twisting the knife creates a gentle pressure to pop the hinge. You will feel or hear the pop when the hinge gets disconnected. Do not try to remove the top shell just yet.
Step 5: Slice the inductor muscle of the top shell
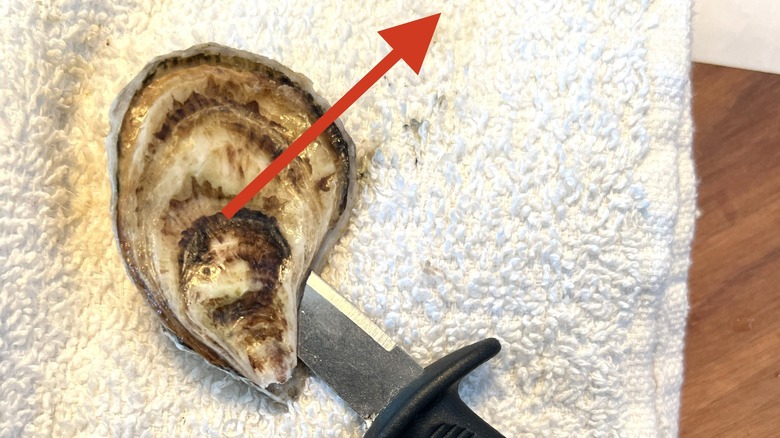
The shell is now open, but the oyster's flesh is still connected to the shell by its inductor muscles. Twist the knife back to its original position, so that it's flat against the top shell, and begin slicing toward the upper right corner. Slicing against the top shell will cut the inductor muscle.
Once you've cut the muscle, you can remove the top shell. If you try to remove it and find that the inductor muscle hasn't been completely severed, not to worry: Simply take the knife and cut the remaining muscle before removing the top shell.
Step 6: Cut the inductor muscle at the bottom
There is another inductor muscle connecting the oyster to the bottom part of the shell — this also needs be separated before eating. Approaching from the front of the shell, slip your knife under the oyster flesh and cut away the inductor muscle at the bottom. You'll know it's severed when you can easily slide the oyster around in its shell.
Once it's free, be sure to remove any broken shell bits or other small debris from the oyster so it's clean and ready to eat.
Step 7: Dress the oyster and slurp!
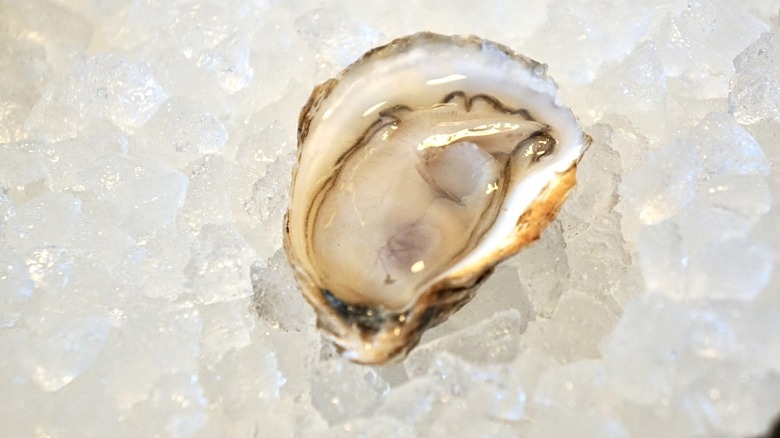
With the inductor muscles cut, the oyster is now ready to eat — well, almost. The final step is dressing the oyster the way you like it. You can do that with some vinegary mignonette, a simple homemade cocktail sauce, or even just a squeeze of lemon, which is the essential garnish for an oyster. You can't go wrong with high-quality hot sauce, either.
The Lonely Oyster serves its oysters with a selection of five different sauces, which is the kind of variety we love to see. However you like your oyster, just dress it up and slurp away. You might even consider pairing it with a dirty martini, but only after you're done handling knives for the night.
