16 Experts Tips For Cooking Mouthwatering Beef Ribs
Crafting the perfect ribs is as much an art as it is a science. It's all about getting the seasoning just right to bring out the meaty flavor, plus keeping the timing and temperature in balance for tender meat that practically falls off the bone. We've gotten the inside scoop from some of the best butchers and chefs about how to make the perfect dish at home.
Chef Clifton Dickerson, an instructor at the Auguste Escoffier School of Culinary Arts, shared what he teaches culinary students about making the best ribs from prep work to serving. Nate Molina, Executive Chef at the Genesee Store, also gave the best tips for selecting and working with beef ribs. They both shared their best tips and tricks for getting meat that practically falls off the bone, plus flavor pairings that take things to new heights. From picking out the meat at the butcher counter to plating your finished ribs alongside your favorite sides, here's how to get ribs that are second to none.
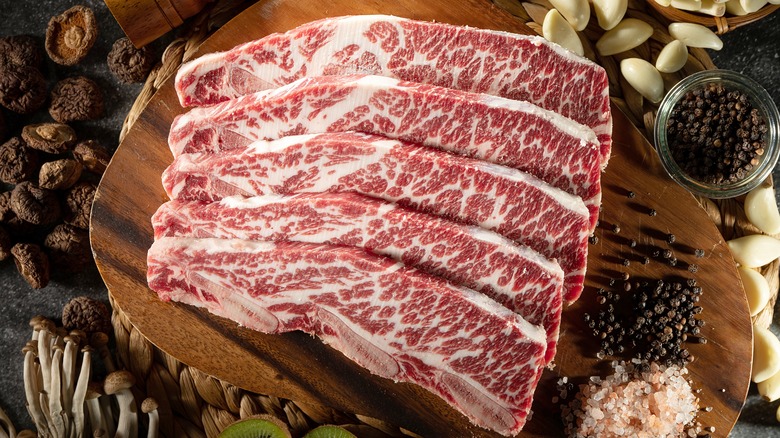
Get ribs with plenty of marbling
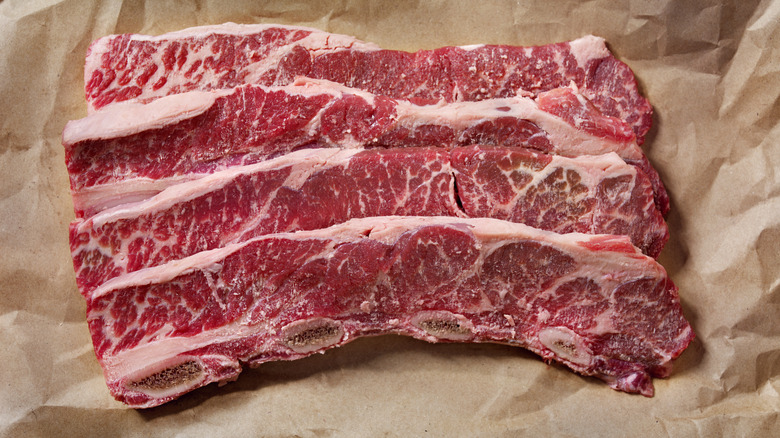
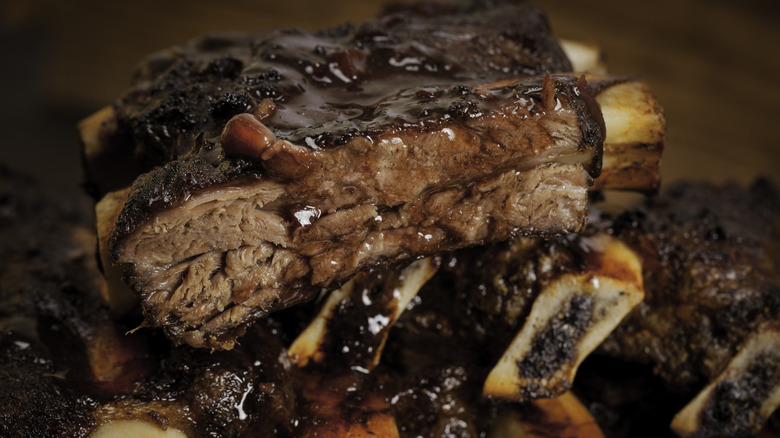
Cooking great beef ribs starts with picking the right ribs at the store. Look for those with marbling throughout that are firm and red. The fat should run throughout the meat rather than in large chunks.
"Fat is often referred to as flavor in the kitchen, and this is true in a certain manner of speaking as fat readily absorbs flavors and seasonings very well," says Clifton Dickerson. "That said, you do not want large chunks of fat on your short ribs as most of the fat will render off during the cooking process, and you will be left with scrawny pieces of greasy muscle." Marbling keeps that flavor but melts into the meat as it cooks. The end result is great taste and texture without chewy bits of fat that you can't enjoy.
Marbling is a good way to get fat without a ton of grisly fat at the end of your ribs. You'll likely still have some larger sections of fat, but those can be trimmed if needed.
Don't trim the fat
You should leave some of the fat cap on the ribs to keep them moist and add flavor. Chef Clifton Dickerson recommends around a quarter inch to let the fast melt into the meat as it cooks, keeping it rich and moist. Ribs generally have fat on the outer edge, which is called the fat cap. Untrimmed, it forms a barrier layer between the muscle and the outer part of the cow. Once the ribs are cut, however, assess the fat cap to see if it needs to be trimmed, but don't go overboard.
"This protects the meat as it cooks, keeping it juicy," says Dickerson. "If the ribs are all fat, you're losing out on valuable meat. If they're completely trimmed, you're losing flavor. The fat cap is your built-in basting system."
Remove the silver skin
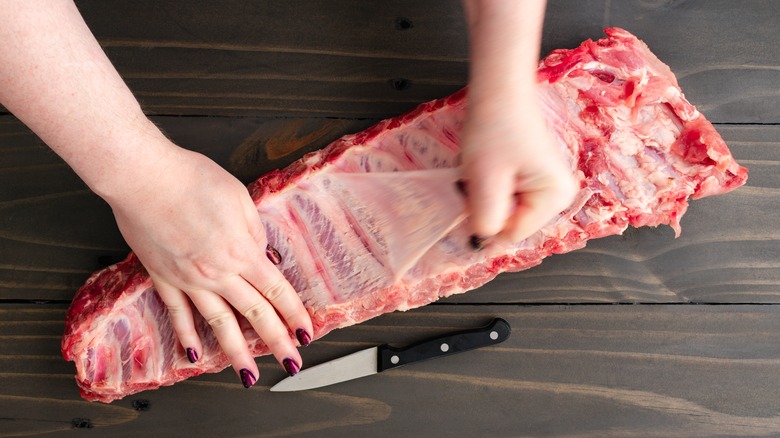
The silver skin is a thin membrane on the meat of the ribs that can make the final dish tough and difficult to eat if you don't remove it. You can ask the butcher to remove the silver skin for you or peel it off yourself before your ribs cook. Some butchers do it automatically, so check your ribs by looking at the underside. If the meat is covered with a thin membrane, you'll need to take it off for the best final dish.
"Prepping beef ribs is like getting ready for a party—it's all about the details," says Clifton Dickerson. "First, remove the silver skin from the bone side. It's a bit like peeling tape off a package, but trust me, it's worth it."
Removing the silver skin can be done using just a paring knife. Slide it under the membrane and use it to separate any stubborn sections from the muscle. It should peel off with just a little bit of force.
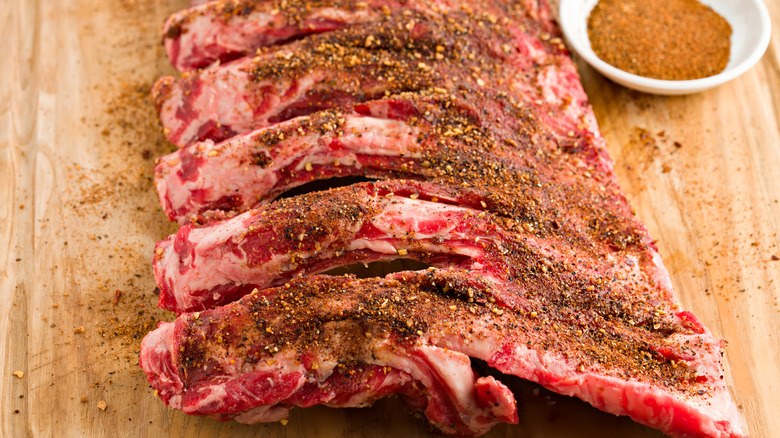
Season with your favorite flavors
After you have the ribs ready to cook, don't forget to add flavor. This is the perfect time for seasonings, rubs, and marinades because the ingredients will be able to fully incorporate and add plenty of taste to the meat. Dry the ribs before applying a dry rub since it will help the spices adhere better to the exterior. You can also brush on sauces like barbecue or hot pepper sauce to add moisture as well as flavor to your ribs.
Salt and pepper is a classic combination that brings out the meatiness of the ribs, but don't be afraid to experiment with other combinations as well. Chef Clifton Dickerson likes smoked paprika, garlic powder, onion powder, coarse salt, cracked black pepper, and brown sugar. He also recommends adding a thin layer of mustard before the seasoning to help it adhere to the meat.
Pay attention to salt and sugar
A good dry rub helps create a crispy crust on the outside of the ribs. Pick one up at the store or make your own at home. The ratio of salt to sugar is important to get the best results and to create a super flavorful crust on the exterior of the rib. Experiment with different combinations to see what you prefer, as well as which added spices in the dry rub work for you.
"The salt denatures the proteins and sugars just below the surface, causing proteins to rise to the surface of the rib," says Nate Molina. "This, in conjunction with heat, helps contribute to the development of a crust referred to as "bark" on the surface of the rib and is part of an overarching chemical reaction called the Maillard reaction."
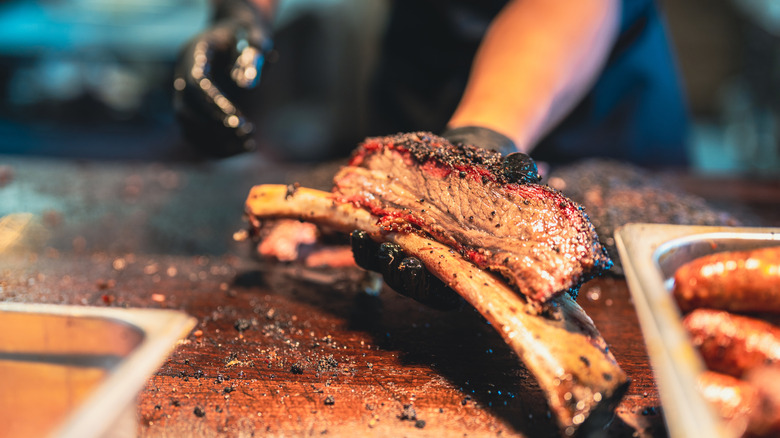
Smoke low and slow
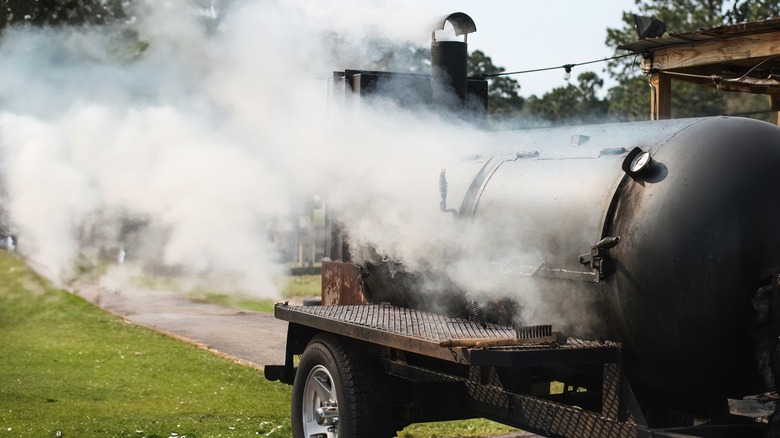
Smoking is a great way to prepare ribs because it keeps the meat super juicy and tender. You can use a smoker or use your grill and a makeshift smoker box to recreate the effect. The key to smoking ribs is to keep the temperature low to cook the meat without losing moisture. The result is super tender and juicy ribs. You can also add extra flavor by varying the wood chips used in the smoker. Oak is a good option, but there are countless varieties so even among this smoker favorite, there are variations. Hickory adds a lot of flavor while still being an affordable option. Mesquite packs a big punch that works well with strong, meaty cuts of beef.
Smoking takes much longer than grilling, but it's worth the extra effort. "Low and slow at 225 F for 5–6 hours gives you fall-off-the-bone tenderness and that signature smoky flavor," says Clifton Dickerson. "It's perfect for those who want the real barbecue experience."
Keep track of the time
There are a few variations of the exact ratio, but keeping track of the time the ribs spend in the smoker or oven wrapped and unwrapped to maintain moisture and keep the ribs from drying out. You can think about smoking meat in three steps: uncovered on low heat, wrapped, and uncovered on higher heat.
"The 3-2-1 method is the process of cooking the ribs uncovered in a smoker, BBQ, or oven for three hours at a very low temperature (usually 325 degrees or less) and then wrapping the ribs in special butcher (pink) paper or parchment paper and sometimes foil then cooked two hours at the same temperature," says Nate Molina. "Finally, unwrap the ribs and cook one more hour at a slightly higher temperature." Using this method, you get to enjoy a set of super tender ribs that will fall right off the bone.
Use steam
Preparing ribs in the oven is also a good option for those who aren't able to grill or smoke meat outside, but include some extra steps to keep things from getting too dry. If you're cooking ribs in the oven, add a small pan of water at the bottom of the oven. Put water in a simple dish on the bottom rack. This will create steam and help keep the ribs from drying out. Nate Molina also recommends using a spray bottle when smoking ribs to add moisture, if needed, as the ribs cook. Both methods help bring liquid back into the meat without dousing it with water.
Experiment with other liquids, like apple cider vinegar or beer, to incorporate a variety of flavors. The key is to keep the air moist, which will translate to the ribs as well. It's especially important toward the end of cooking, which is when the ribs are the most likely to start drying out.
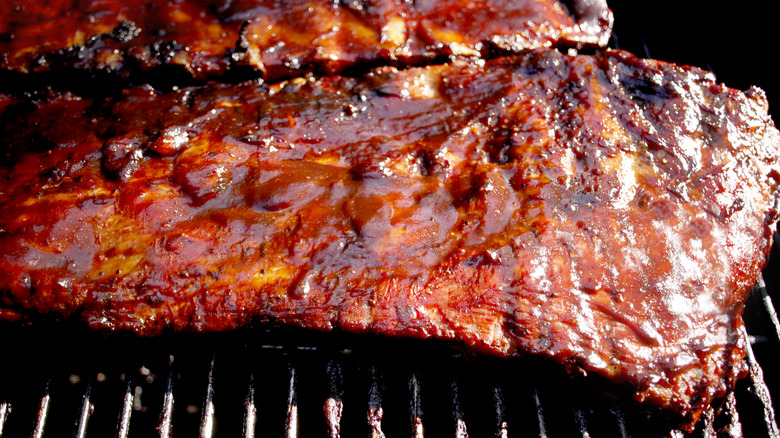
Finish on the grill

There are plenty of ways to cook ribs, but one that doesn't get as much attention is sous vide. This cooking method uses a hot water bath and vacuum-sealed bags for super specific temperature control. "Sous vide ribs are a chef's secret weapon," says Clifton Dickerson. "They cook at a precise temperature for hours; then you finish them on a grill or in the oven for a perfect crust. Grilling alone can be tricky — it's great for a quick sear but doesn't allow for the tenderness of low-and-slow cooking."
Pop the cooked ribs on the grill to get a tasty crust at the end. This is where you can turn to high temperatures to get a fast reaction with any rib on the outside of the meat. Rely on the Maillard reaction to generate that charred bark.
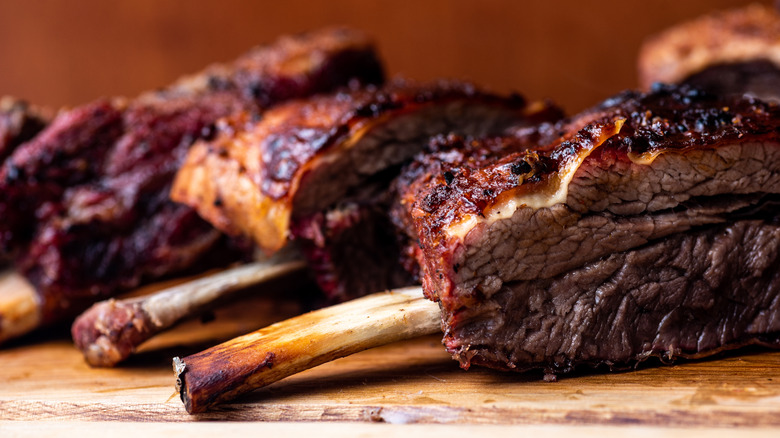
Keep temperature low
No matter how you cook ribs, sticking to a low temperature is the key to tender ribs. It'll require a longer cooking time but is crucial to fall off-the-bone meat. A smoker is the perfect way to do this, but you can get similar results by turning your oven temperature way down and letting the ribs cook for hours.
"Cook them at 225 degrees to 275 degrees Fahrenheit, whether in a smoker or oven and let time do the work," says Clifton Dickerson. "The ribs are done when you can bend them slightly, and the meat starts to pull back from the bone by about half an inch." Don't be tempted to turn up the heat to make them cook faster since you won't get the same tender results. Like with any cut of beef, make sure that the internal temperature is at least 145 degrees Fahrenheit to make sure that the ribs are safe to eat.
Let the meat rest
You might be tempted to cut right into your tasty ribs, but don't rush the process. Let the ribs rest after they're done for the most delicious results. This doesn't require any special tools or skill, just patience to enjoy the smell and sight of a perfectly cooked rack of ribs without being able to eat them just yet.
"Resting allows the juices to redistribute throughout the meat, ensuring each bite is juicy and flavorful," says Clifton Dickerson. "Cutting into the ribs too soon can cause the juices to escape, leading to drier meat."
Nate Molina follows a general rule of thumb when it comes to how long to let the ribs rest. "Resting times vary depending on the size and cut of meat — the general rule of thumb we follow at the restaurant is ten minutes of rest per inch of beef," he says.
Tent with foil
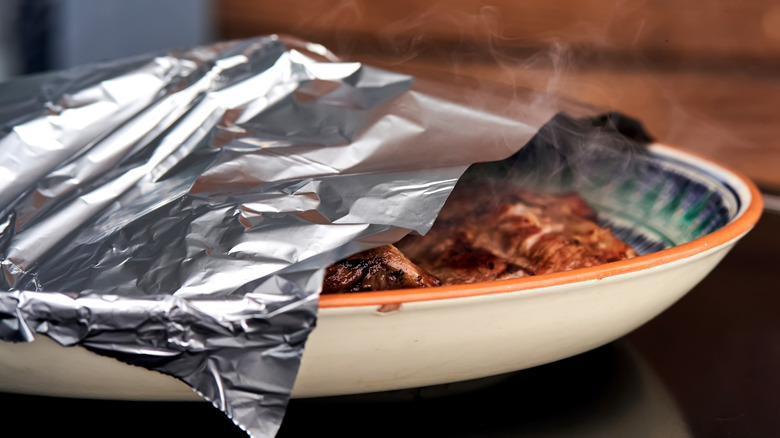
As the ribs rest, create a small tent with foil and place it loosely over the ribs. It should keep the heat inside, but a loose tent is still key to keeping the ribs crispy on the outside. This is part of the resting stage, which is key to getting tender, juicy ribs.
"Tent the ribs loosely with foil while they rest," says Clifton Dickerson. "This keeps them warm without trapping too much steam, which can soften the crust." Ribs are served hot, so the foil keeps them warm while also letting them rest. Don't cut into the ribs right away since they need a few minutes to get all of the juices back into the meat. Foil can also keep the sauce from dripping onto your pan or plate, keeping cleanup a little bit easier at the end.
Sauce up the ribs
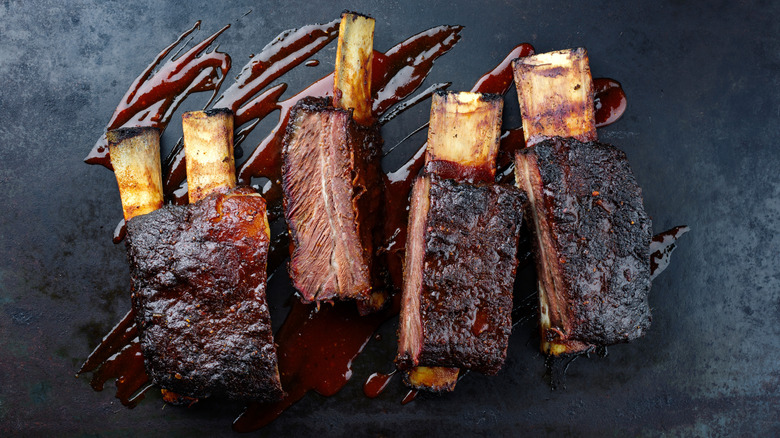
There are plenty of sauce options that pair well with ribs. Chef Clifton Dickerson recommends bold, smoky, and slightly sweet flavors, such as "tangy barbecue, bourbon molasses, or espresso-based glazes."
Nate Molina likes to pair ribs with miso-based barbecue for a different take on a classic pairing. "Various types of unrefined sugars and syrups such as molasses, maple, or honey pair wonderfully with beef ribs," he adds.
Whatever sauce you use, include it as a finishing sauce at the end of cooking so that it can add flavor without burning. Sauces with a lot of sugar can caramelize deliciously over the heat. You can slather it on in the last part of cooking or even add your sauce to the ribs once you take them off the grill, out of the smoker, or out of the oven. It will work its magic in the dish as the ribs rest.
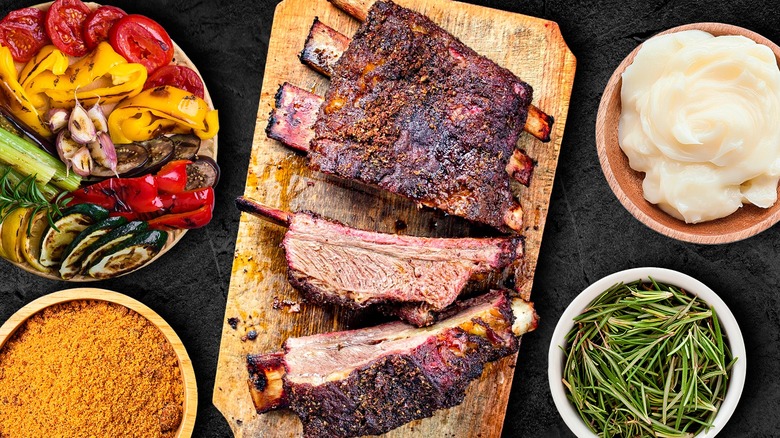
Garnish with fresh herbs
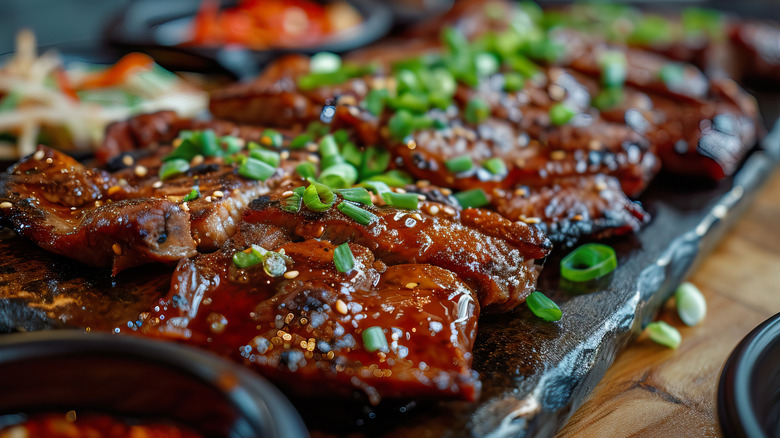
Fresh herbs add visual interest as well as bright flavor to your finished ribs. Chef Clifton Dickerson recommends thyme and rosemary. "They can elevate the flavor and add a touch of elegance," he says. Nate Molina uses the same herbs, relying on their bold, strong flavor to hold up next to the meatiness of ribs.
You can incorporate these ingredients into the prep stage in a marinade or by using the dried version in a rub. Herbs are also the perfect way to garnish your finished ribs, adding a touch of color to the plate. Chop them finely and sprinkle over the top of your ribs. Add them to your finishing sauce if you want the flavors to meld a little bit more. When preparing sides to serve with your ribs, bring in the flavors of the same herbs to tie everything together.
Make beef tallow
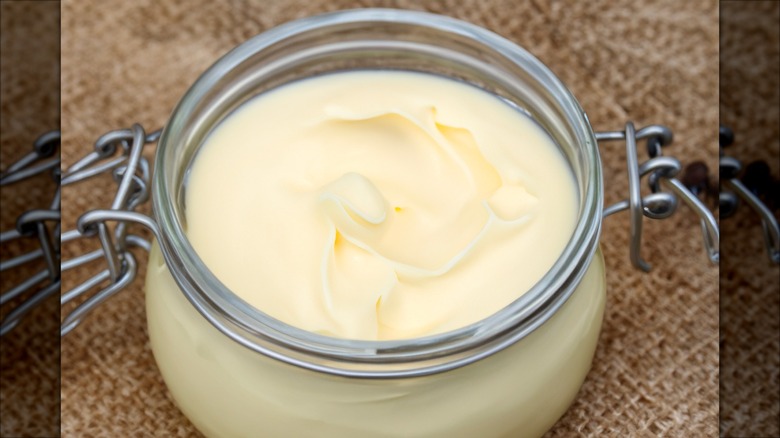
Remember the fat that you trimmed off back when you were prepping your ribs? Use it to add moisture back in during the cooking process. Cook it down in a pan until it thickens and creates tallow.
"Use this liquid gold to baste the ribs as they cook for extra moisture and flavor," says Clifton Dickerson. "If you plan to wrap your ribs in butcher paper, rub a bit of that beef tallow onto the paper first. It adds richness and helps the ribs retain their juices, creating a tender, mouthwatering final product."
You can also use beef tallow to add extra flavor to everything from gravy and roasted vegetables to deliciously savory fried pastries. This is a tasty fat that you can use in a variety of cooking styles and dishes.
Add your sides
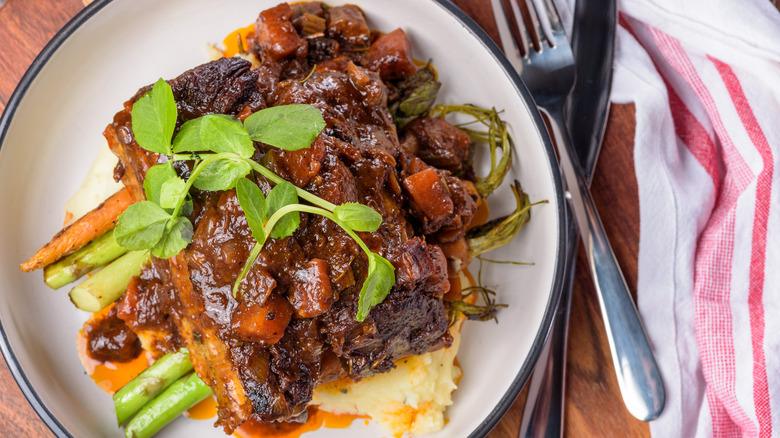
Chef Nate Molina says that ribs are rarely served on their own, so consider what sides you want to include to make sure they work well with your seasoning flavors. He likes slaw or grilled veggies in the summer and hearty sides like risotto or roasted Brussels sprouts in the colder months.
You can also put your ribs right over mashed potatoes and roasted vegetables, relying on the flavorful sauce to act as a type of gravy. These flavors work well together and can be eaten and enjoyed in delicious bites together. If you're going with classic barbecue flavors, add favorites like deviled eggs, fries, and macaroni and cheese. Pasta salads are a great way to add plenty of flavor to your plate, and the cold temperature works well alongside piping-hot ribs.
Clifton Dickerson recommends having plenty of napkins nearby when you're ready to dig into your ribs. "When it's time to eat, grab them by the bone," he says. "Ribs are meant to be enjoyed with your hands."