The Safest Ways To Clean Sticky, Grimy Wooden Cabinets
We may receive a commission on purchases made from links.
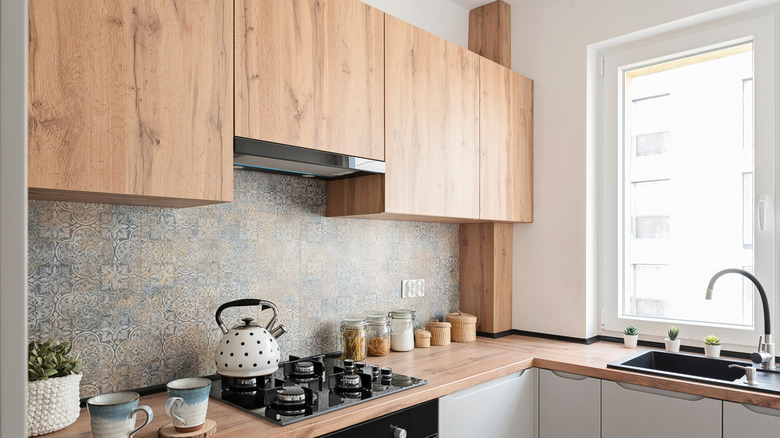
Wooden cabinets are commonplace in many kitchens; unfortunately, it's also all too common to see those cabinets coated with dust, speckled with stains, or covered with a sticky amalgamation of cooking oil and dust particles. Regardless of whether or not you spend a lot of time in the kitchen, it's important to make sure your cabinets are in good condition, which means cleansing them of that gunky grime. Unclean cabinets can lead to unsafe cooking areas — think about how easy it would be to mindlessly close a dirty cabinet, get some microscopic germs or dust on your fingers, and then go back to handling your food. Plus, failing to properly maintain wooden cabinets can cause them to deteriorate over time.
As important as it is to ensure your cabinets are clear of that sticky residue, it's even more important to clean them correctly. Though sturdy, wood can be a sensitive material, especially when exposed to the wrong chemicals or excess moisture. Before you start cleaning, take the time to choose the right products and methods for your cabinets.
Start with proper preparation
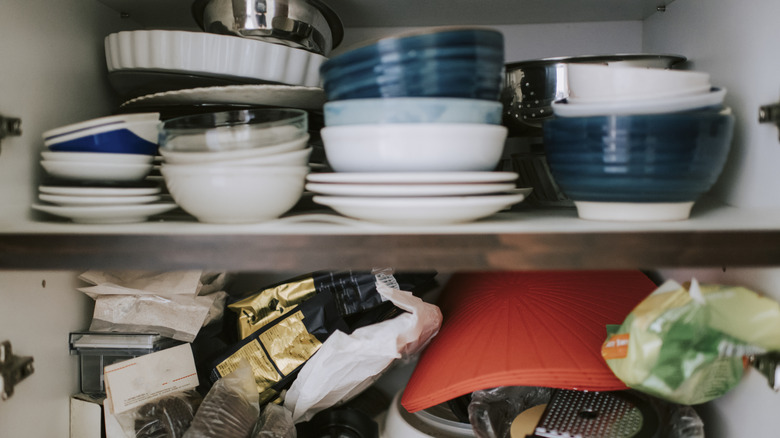
The first step in cleaning your kitchen cabinets is emptying them of all their contents. Not only will this make scrubbing the insides of the cabinets much more efficient, it's also a great way to declutter your storage space by consolidating ingredients and throwing out old spices. Keep a microfiber cloth on hand as you pull things out of the cabinets so you can quickly wipe off any dust or crumbs. If your cabinets have liners, don't forget to pull them out and give them a good dusting as well. A small handheld vacuum cleaner like this one from Amazon is also handy to have for this step so you can quickly clean the cabinet shelves.
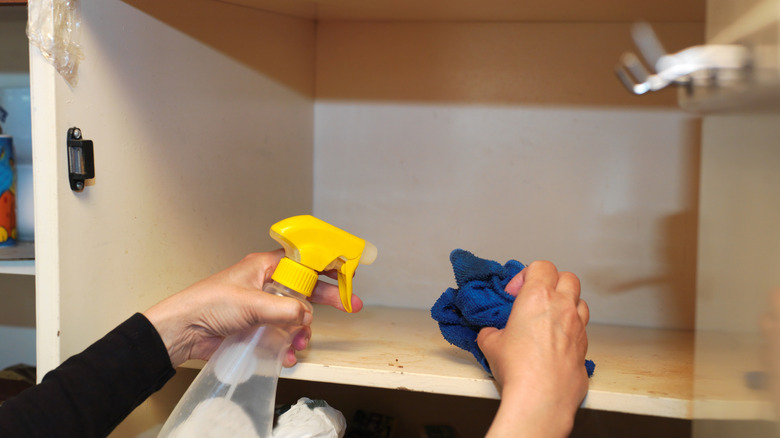
This is also the time to prepare a cleaning solution for the cabinets. You can throw together your own cleaner with vinegar, hot water, and a drop or two of dish soap, or you can opt for a product designed specifically for cleaning wood. Weiman Cabinet & Wood Clean & Shine works well for painted cabinets, while Murphy's Oil Soap is the best for natural wood surfaces. Before you apply any type of cleaner to your cabinets, do a test patch in case the solution damages the wood.
Give the cabinets a general cleaning
If you want to give your cabinets an extra thorough cleaning, you may want to consider taking the doors off the hinges and then removing any handles or metal bits. That may sound a bit daunting, but it's no sweat as long as you have the right tools and keep track of all the hardware. This is also a good opportunity to buff any visible screws or hinges (or even toss them in a cup of vinegar and hot water) to truly make your cabinets look brand new. Another benefit of taking the doors off to clean is that you can lay them down flat so no product runs onto the floor.
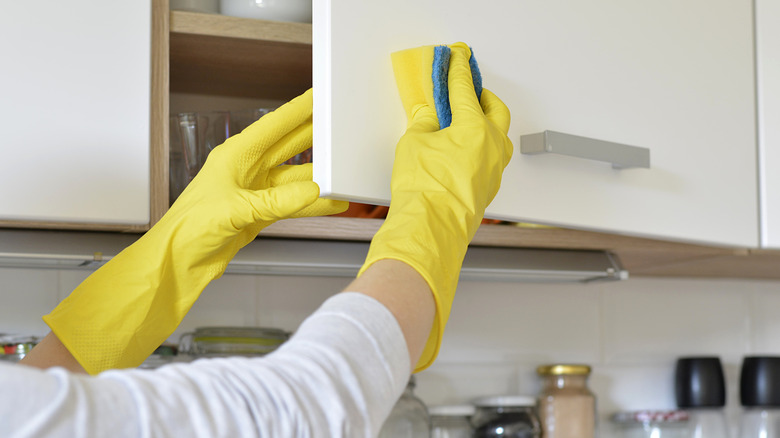
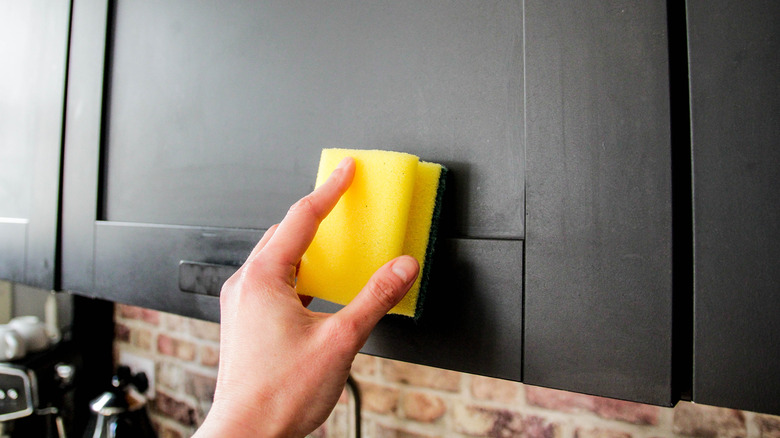
Once you're ready to start cleaning, there are a few different methods for actually applying the solution to the cabinets; depending on what product you use, you can either spray the cleaner or dab a bit onto a microfiber towel. Either way, wait a few minutes after applying the cleaner so it has time to work its magic. Then, start wiping the cabinets at the top so that the dirt and grime will run down to the next section that needs to be cleaned. Don't use steel wool or any other kind of abrasive scrubber, or you'll scratch the wood. Instead, opt for a clean, soft sponge or towel. Keep in mind that it's imperative that you completely dry wooden cabinets after cleaning them, or they might become water damaged or even moldy.
Use salt and vinegar to tackle stains
Giving your cabinets a general cleaning shouldn't take too much elbow grease, but tackling stains will take a little scrubbing. It shouldn't be too much of a problem, though; removing stains is easy with a bit of salt and vinegar, or a trusted all-purpose cleaner. You'll also need a soft bristled brush, like a toothbrush or a nylon cleaning brush like this set from Amazon. If you choose to make your own stain remover, simply mix the salt and vinegar together until it forms a spreadable paste.
Apply a dab of your chosen cleaning solution onto the offending stain, and let it sit for a moment to fully saturate. Then, take your brush and lightly scrub in circles to remove the stain. Even with a soft brush, it's important to have a gentle hand when scrubbing so you don't cause any damage, especially if your cabinets have an easily scratchable paint surface. Once the stain has been removed, rinse the area with water and then dry it completely. In extreme cases, a permanent stain that's hidden in the back of your cabinet can always be removed with a sheet of sandpaper.
Baking soda combats sticky doors
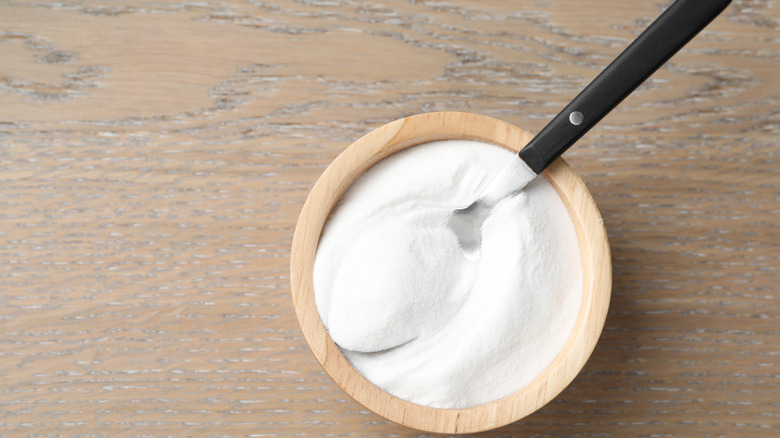
To get rid of sticky film that builds up on cabinets over years of being exposed to grease and dust, you'll need to call in the big guns; fortunately, the product in question is probably already in your kitchen. Whether you want to clean a dingy baking sheet or strip the stickiness off of wooden cabinets, reach for a box of baking soda. Think of it as an exfoliant for wooden surfaces: it's coarse enough to brush away caked-on grease, but it won't damage the surface. Plus, part of its chemical makeup makes it a natural deodorizer. To make the baking soda suitable for cabinet-cleaning purposes, simply add water until it thickens up enough to easily apply it to the wood.
You'll want to tackle stickiness the same way you tackled stains: by using a soft brush to scrub away the grime, although you may want something larger than a toothbrush if you're covering a large surface area. For an extra potent process, wait a few minutes after your initial round of scrubbing before (gently) scouring the cabinets again. Afterward, remove any excess cleaning paste with a damp microfiber towel.
Keep cabinets cleaner longer with polish
Scrubbing down your cabinets doesn't have to be part of your weekly kitchen cleanup, but once you notice that they're accumulating a lot of dust or grease, it's time to break out the vinegar and baking soda. Fortunately, it is possible to extend the time between cleanings by protecting your cabinets with a layer of polish, which will prevent dirt and debris from sticking to the wood. The exact polish you should use will depend on your cabinets and whether the wood is finished or unfinished. For a more natural polish, you can also combine equal parts oil and vinegar. As with the cleaner, be sure to test the polish on the wood first, before committing to full coverage.
To actually apply the polish, spritz some onto a clean microfiber towel and wipe it onto the wood, working in circles. If you want to give your cabinets an extra shiny sheen, grab a new towel after polishing to buff out any streaks. Once your cabinets are completely clean, all that's left to do is restock them, so after all your hard work, be sure to avoid making one of the worst pantry space mistakes.