The Ideal Water Temperature For Bread Baking In The Winter

We may receive a commission on purchases made from links.
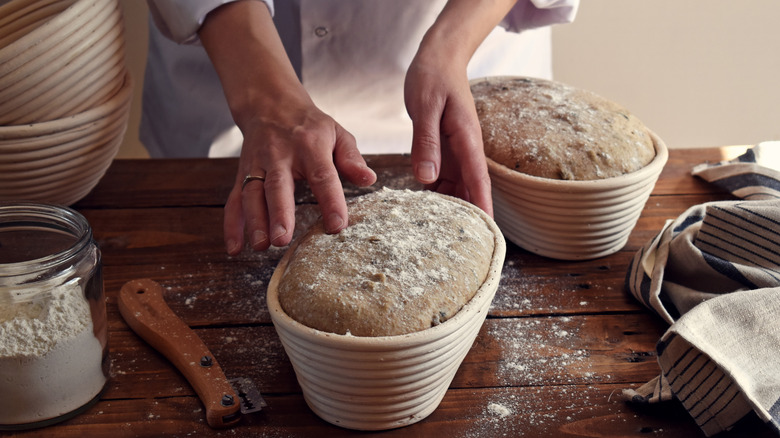
Who doesn't relish rustic, warm, homemade bread on a cold winter day? Whether to dunk in a comforting bowl of soup or make a buttery grilled cheese, fresh bread screams comfort and fills your home with the aroma of an artisanal bakery. But there is one small challenge that bakers face when crafting perfectly crusty bread as the cold season settles in. The lower ambient temperatures and dry air accompanying the season can significantly impact dough behavior, often leading to tough and dense bread, lacking the airy rise in the oven. But that doesn't mean your winter baking is doomed, because baby, even when it's cold outside, one simple adjustment can make all the difference: higher water temperature.
It's not just about the quality of the dough but also the foundational ingredients and equipment used to make the bread. When kitchen temperatures drop into the 60s, the key ingredients and equipment quickly chill the dough. The ideal dough temperature should be between 75 and 80 degrees Fahrenheit for optimal proofing; to compensate for the temperature drop in winter, warming your water to approximately 100 degrees Fahrenheit before mixing can bring life to your dough and deliver scrumptiously soft results. The increased water temperature is crucial as the dough gradually cools during the critical proofing period. A good kitchen thermometer, such as Alpha Grillers' digital thermometer for bread, certainly comes in handy to monitor the temperature of your dough to ensure it remains within the desired range. So, grab your apron and baker's hat, and gear up to deliver consistently excellent bread all through winter.
More pointers for the best winter bread
Beyond water temperature, there are additional techniques that complement the efforts to ensure success during winter baking. It's the time of year when you also need to make sure your bread-baking game gets the tender loving care your chapped skin does in an arid atmosphere. Managing humidity becomes crucial in the dry winter air, which can quickly draw moisture from exposed dough surfaces. Having a heated moisture source produces steam, which prevents the dough's surface from developing a dry exterior that restricts expansion during baking, yielding a tough, chewy bread that does the exact opposite of warming the soul. Once the ingredients are properly combined, cover your dough with airtight lids or moisture-proof bowl covers to avoid a desiccated dough and subpar bread. For avid home bakers and sourdough specialists, consider investing in dedicated products like the Brod & Taylor Folding Proofer, which can work their magic during chilly seasons.
You may need to extend bulk fermentation and final proofing times during winter, as the chemical reactions underlying the process naturally slow in cooler conditions. Find a warm spot for your dough to ferment — by the fireplace, in a microwave above the stove, or in the oven with the light on to avoid extended proofing periods during cold ambient temperatures. Visual cues are also a great guide. Rather than adhering to strict timing guidelines, once your dough has risen to the desired standards, that's your cue to put the oven to task. Speaking of ovens, a properly heated one is essential; preheat thoroughly, as depending on your oven and its efficiency during winter, it may require longer preheating periods to reach optimal baking temperatures. There's an intricate science behind baking, and while the little hiccups dictated by external factors might be a hindrance, perhaps we should view them as an invitation to delve into the fascinating chemistry that underlies the delightful baked treats we savor on our plates.