13 Ways To Keep Your Kitchen Fresh And Clean With Vinegar
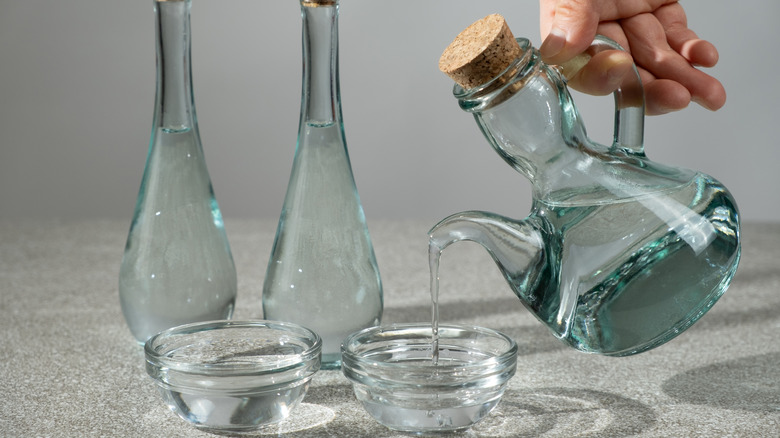
Distilled white vinegar is an all-around cleaning solution that works in more ways than one. It's a wonderful cleaner because it's highly acidic compared to other vinegars. Culinary white vinegar has 5% acidity and 95% water; it's suitable for both cooking and cleaning. By the way, "cleaning" vinegar has 6% acidity, and that extra percent makes cleaning vinegar several times stronger — but that also means that you never want to use cleaning vinegar in food or appliances that touch food. For cleaning your kitchen, you'll want to use culinary vinegar, as cleaning vinegar is acidic enough to damage rubber parts, like gaskets in coffee makers and other items.
Vinegar is so effective that sometimes you can use it by itself, but often it's combined with baking soda or dish soap. Vinegar is almost always diluted with water because of its acidity, although there are times when you want it to be full-strength. (Note that the water that's already in vinegar does not count toward dilution.) If you're looking for ways to clean your home without resorting to more caustic or fume-filled cleaners, here's a list of 13 ways to keep your kitchen fresh and clean with vinegar.
Static Media owns and operates House Digest, Mashed, and Chowhound.
Give your dishwasher a good deep-cleaning
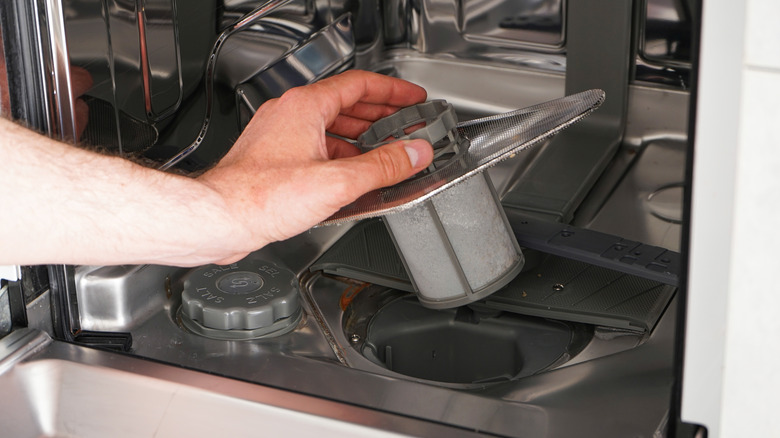
Dishwashers can become very dirty, with bits of food stuck to the sides, scale from hard water clogging lines, and mildew forming in areas that haven't drained properly. Cleaning a dishwasher thoroughly requires several steps — but in most cases, all the steps are very easy to complete.
First, wipe down the inside of the dishwasher to remove loose bits of food, and empty the filter, following the manufacturer's instructions for your model. Then, you'll fill a bowl with vinegar and run a dishwashing cycle — but there's some variation in advice here. One version is that you want to fill a dishwasher-safe bowl with 1 cup of white vinegar and place it on the top rack — run a soap-free cycle at the hottest temperature. The other version requires 2 cups of white vinegar in a dishwasher-safe bowl, placed on the lower rack. You'd run a normal cycle without soap, with any heat-dry options left off. Most versions of this tip place the vinegar step right after you clean out the filter, but some leave it for last after running cycles with baking soda, lemon juice, or citric acid.
Open that slow drain
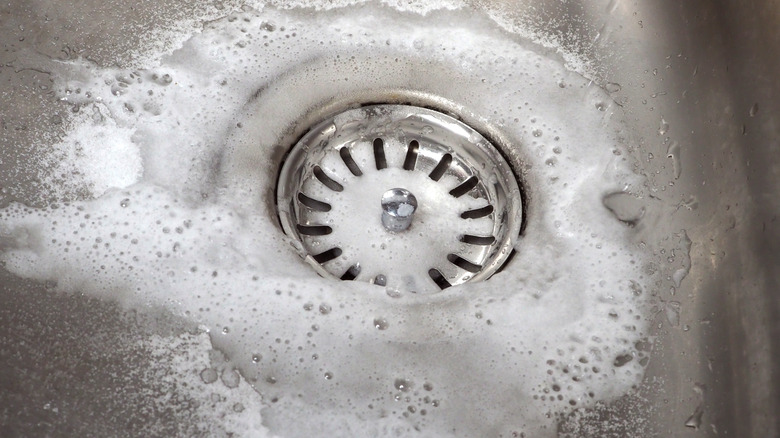
Slow drains can be caused by a partial clog. Combining baking soda and vinegar can help widen the gap to let more water flow down, but be aware that this won't remove years of stuck-on gunk or dissolve huge masses. This method could buy you some time, but eventually, you or a plumber will have to clean out the pipes if you want to truly get rid of it.
There are innumerable versions of this tip. The basics are to pour about 1/2 to 1 cup of baking soda into the drain, followed by about 1 to 2 cups of white vinegar (some versions use a 50-50 mix of vinegar and water). Then, you immediately plug the drain opening in the sink. As the baking soda and vinegar foam away, plugging the drain opening means the foam has to head down into the pipe toward the partial clog. The force of the foaming is supposed to knock away some of the looser bits of the clog. Wait anywhere from 10 minutes to an hour, and then wash all this down with hot water. You may have to do this again a few more times.
Disinfect your cutting boards
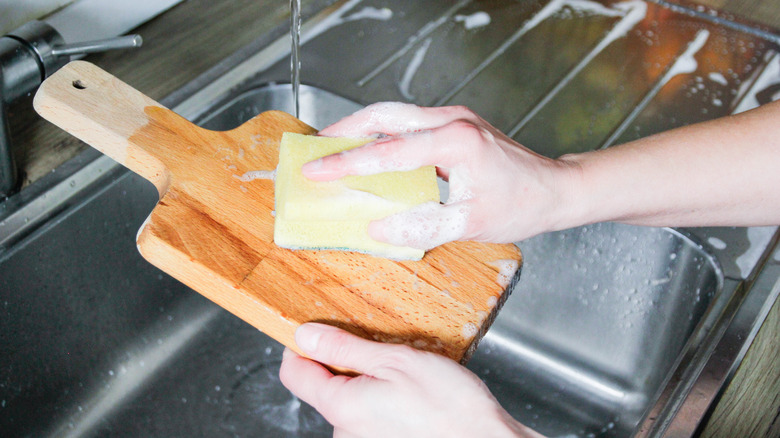
Cutting boards need to be disinfected and not just given a swipe with some soap. Even if you don't use the cutting board with meat or fish, you'll still need to occasionally disinfect it to ensure you're removing as much bacteria as possible. There are a number of ways to do this, but one of the simplest is with white distilled vinegar.
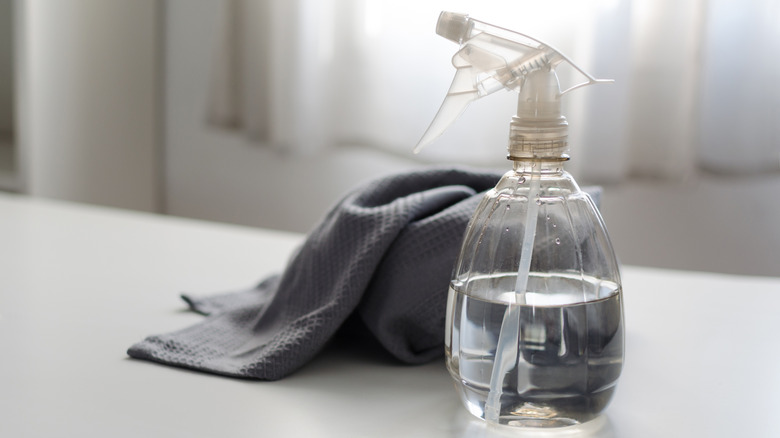
As with the drain-opening method, you'll find several different versions of this one. In general, clean the cutting board with dish soap and water first, and dry it. Then, for plastic boards, combine three parts water and one part vinegar (e.g., 1 cup water and 1/4 cup vinegar) in a spray bottle, and spray the surface. Wipe the board, and then clean it again. For wooden cutting boards, use full-strength vinegar without water. In both cases, you can pour the vinegar on the boards if you don't have a spray bottle.
Make cleaning your microwave much easier
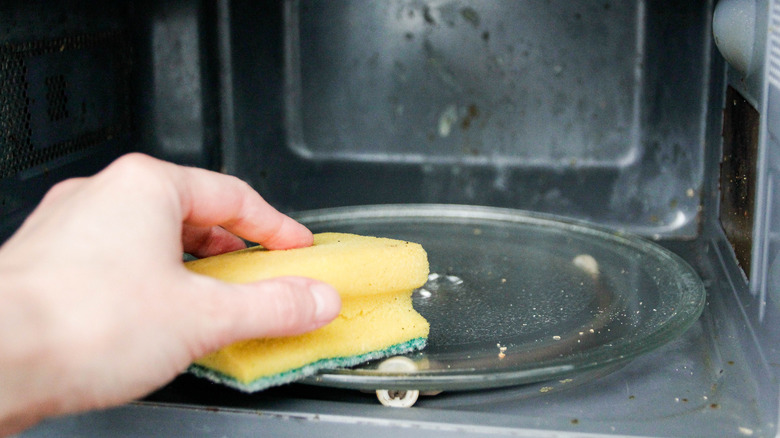
Microwaves are convenient, but the splatters of food that end up on the sides can be difficult to remove. Instead of spending time scrubbing away at them, microwave a mixture of vinegar and water to loosen the stains. One version of this tip uses a 1:1 ratio of water and vinegar, but most others call for 2 tablespoons of vinegar in 2 cups of water, all in a microwave-safe bowl.
Place the bowl in the microwave and heat the mixture on high for no more than two minutes. The mixture should be boiling at this point; if not, keep microwaving for up to another three minutes. Let the mixture sit for anywhere from two to 10 minutes without opening the microwave's door — you want the interior to fill with the steam from the boiled mixture. Then, open the door and carefully remove the bowl and the turntable, if you have one. With a clean sponge that you've dipped in the mixture, wipe down the inside of the microwave and the turntable. Repeat until everything is clean, and then wipe it all down with a dry, clean cloth or paper towel.
Descale kettles, coffee makers, and more
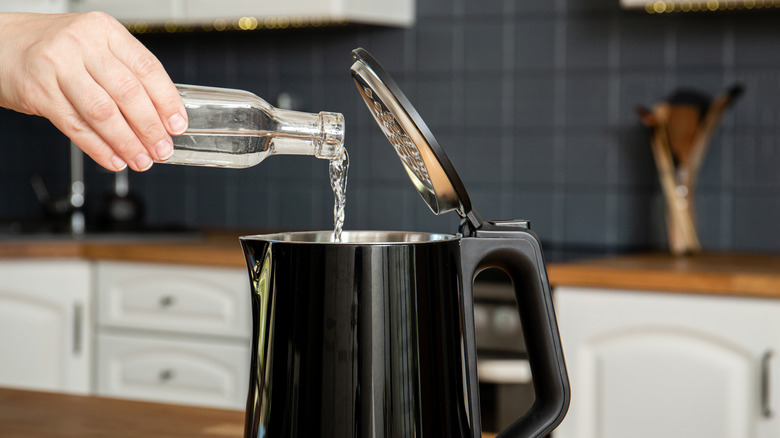
After washing something or pouring water out of an appliance like a kettle, the leftover droplets of water eventually evaporate. However, the minerals don't evaporate, and you're left with layers of limescale (or just scale). This scale can build-up, creating a rough layer of what looks like corrosion. The scale can also clog up lines within coffee makers. For items like kettles, where the deposits are in a bowl-like section, fill the item with white vinegar and water. Use one part vinegar and three parts water for a little scale, and 1:1 for a lot of scale. Boil the mixture — watch it very carefully as vinegar tends to boil fast and furious, and you don't want the mix boiling over. (Don't walk away because that's going to be the very moment everything boils.) Immediately turn off the stove or kettle, let everything sit for a half-hour, and pour out the mixture. Boil one to two more kettles of plain water to remove any remaining vinegar.
For coffee makers and espresso machines, check the instruction manual for warnings about using vinegar. Some machines are too fragile for the higher acidity of vinegar and instead require special descaling solutions. Otherwise, place a 1:1 mix of water and vinegar in the water reservoir. Run the machine, and then run a plain-water cycle to clean out the vinegar.
Remove scale from sinks, faucets, aerators, and dish racks

That same scale builds up on faucet aerators and bases, sink surfaces, and dish racks. For aerators, fill a plastic bag with a 50-50 mix of white vinegar and water and tie the bag around the end of the faucet. You can use a rubber band or string — whichever will hold the bag on securely. For flatter faucet arms, this may seem awkward, but do what you can. Pull the ends of the bag up to submerge the aerator housing in the mixture. Let that sit for at least one hour. Remove the bag, gently scrub at any leftover scale with a soft-bristled brush, run hot water out of the faucet, and wipe down the exterior surface with water.
For sink surfaces and fixtures, drench paper towels in the water and vinegar. Wrap them around faucet bases and other areas with scale, and spray the sink's interior surface with the mixture, too. Let that sit for a few hours, remove the towels, scrub if necessary, and wipe down the surfaces with water. Wipe everything dry to prevent more spots from forming.
Most dish racks (not wood) can do with a vinegar wash as well. Scale and mildew build up easily, especially in the drainage tray. Spray the rack and tray with that 50-50 water-vinegar solution, and let that sit for several hours. Scrub as necessary, and rinse everything off with water.
Static Media owns and operates House Digest and Chowhound.
Make heat tint disappear from stainless steel pans
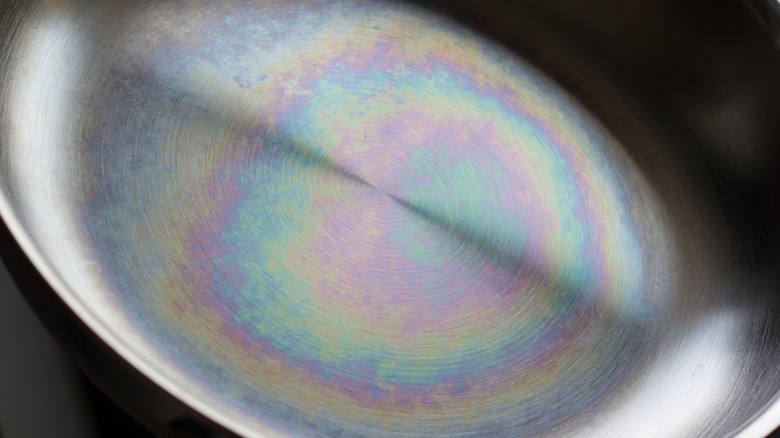
Cooking with stainless steel pots and pans can sometimes leave discoloration at the bottom of the pan, almost like an oil slick had dried on the metal. The discoloration can be gray-blue or have a rainbow-like sheen, and it can look like a mess. Believe it or not, this is normal — it's called heat tint and happens when the chromium layer in stainless steel, heat, and oxygen all meet (which happens during cooking). It's safe, and you don't have to clean it off, but the pan will look nicer if you do.
Grab your 50-50 mix of white vinegar and water, and pour it into the pan. If you want, pour in white vinegar first and swirl it a bit to watch the coating start to vanish, and then add water — the 50-50 mix doesn't have to be exact. Scrub gently at the stain with a sponge or paper towel.
You may want to wear gloves to protect your skin from the vinegar. Rinse out the pan and wash with soap and water to remove any vinegar residue. You may need to repeat this a couple of times, but most — if not all — of the heat tint should vanish.
Static Media owns and operates Food Republic and Chowhound.
Try to reduce odors while cooking
You may have heard of the trick of keeping some baking soda in an open box in your refrigerator to combat odors. Vinegar can do the same in your kitchen, just in a slightly different way. Alkaline baking soda interacts with acidic odors and creates a less-odorous compound, but acidic vinegar breaks up odor compounds, severing molecular bonds. This can help with lingering odors and combat some of the odors during cooking, although keep in mind that when you're actively cooking, you're producing more of the odor compounds. That will make it harder for the vinegar to combat everything. For that reason, you still want to use your stove's hood vent and fan, and keep a window open if possible.
All you have to do is pour about a cup or so of white vinegar into a bowl and let it sit in your kitchen. The vinegar releases acetic acid molecules, and when those contact the food odor compounds, the acetic acid destroys the bonds that hold the compounds together. Let the bowl sit out for a while after cooking is done, too.
Trap fruit flies (sometimes)
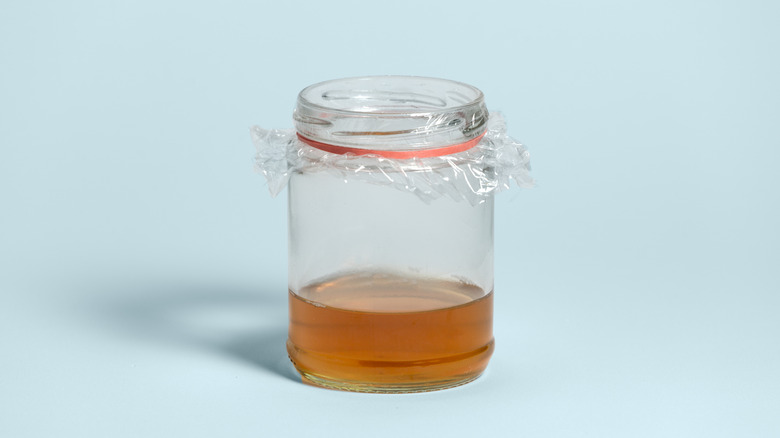
One very popular use for vinegar is to set up a trap for fruit flies. However, be aware that this tip requires apple cider vinegar — not white vinegar. Also be aware that people have had mixed results with this method. Enough have succeeded that it's worth a try, but keep in mind three things: one is that you'll have to remove whatever's attracting the flies; two is that you may have to repeat the process a few times; and three is that it's not going to mean immediate death for the entire infestation in a couple of hours. Expect that it's going to take time.
Pour apple cider vinegar into a cup or jar. Use enough to fill the container with about 1/2 to 1 inch of vinegar. Add a little dish soap without stirring; this breaks the surface tension of the vinegar so that the flies can't float on the surface while drinking away. The soap makes them sink and drown. Use only one to two drops because otherwise, the flies will smell the soap and not the vinegar, which won't work. Some online remedies include adding a little bit of sugar to the mix. Cover the container with plastic wrap, or if you're using a jar, use the jar lid. Punch very small holes in the wrap or lid, and then secure the wrap with a rubber band. Wait a few days, discard the vinegar and flies, and repeat if needed.
Remove hard water stains from glass
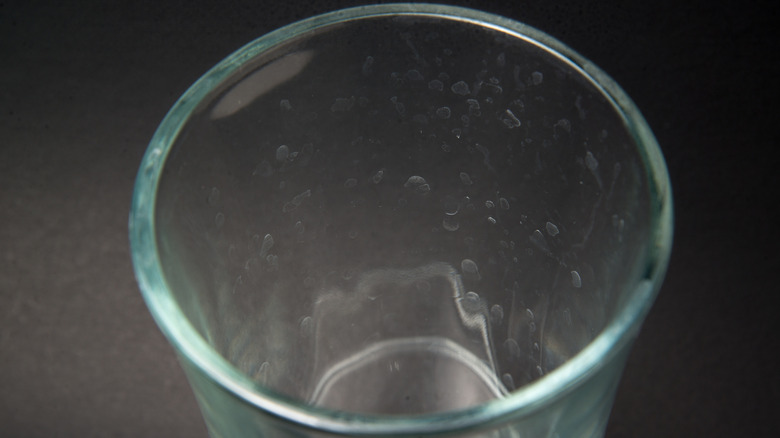
Those whitish, gritty droplets that remain after air-drying a glass are hard water deposits. The minerals in the water stay on the glass after the water itself has evaporated — it's just a thinner layer of the same scale that you've had to clean out of kettles. To remove new stains that appeared after the last wash, spray a 50-50 mix of white vinegar and water on the glass, leave it for 15 to 30 minutes, and then gently scrub away the stains. Wash the glass to remove the rest of the vinegar residue. To prevent more stains from forming, don't let the glass air-dry — wash it, let it sit for a couple of minutes to let most of the excess water drip off, and then dry it with a soft dishcloth or paper towel.
If the entire glass has become cloudy from scale after repeated uses, warm up undiluted white vinegar and soak the glass in it. This can take anywhere from one to several hours, depending on how bad that layer of scale is. Don't boil the vinegar — warm it up on the stove or in the microwave in very short bursts, or fill your sink with warm water and let the bottle of vinegar sit in that for a minute or so. If any scale is left on the glasses after that, try scrubbing it gently with baking soda.
Soak gas stove grates
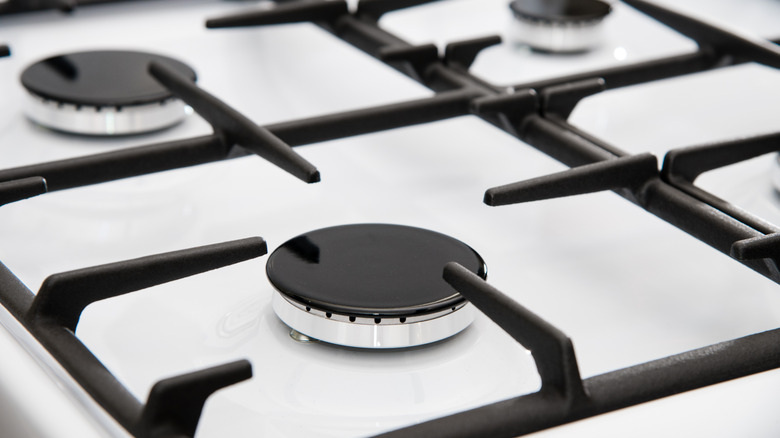
The grates on a gas stove can become dirty and greasy with repeated use, but the stains often aren't that visible because the grayish-black color of the grates tends to hide a lot of the mess. That being said, hiding dirt doesn't make the dirt OK to keep around. One remedy to restore the grates involves soaking them in water and vinegar, and this is best for grates with enamel or porcelain coatings. These coatings are smooth and shiny =– if your grates are uncoated cast iron, you'll need to clean them as you would an uncoated cast iron pan.
Pour a 50-50 mix of water and white vinegar into a very large tub (or your sink, if you can plug the drain). Use only enough to cover the grates. Soak the grates; this can take anywhere from 15 to 30 minutes if the grease isn't too badly baked on. After that, gently scrub the grates with a scouring pad or soft-bristled brush. You may need a small brush like a clean toothbrush to get into corners. Rinse off the grates when you're done, and dry them with a soft cloth or paper towel. Don't let greasy food bits that came off the grates go down the sink — wipe those out before draining the water.
Clean up the oven after cleaning the oven

One of the ways to clean your oven without resorting to commercial oven cleaners (and all their fumes) is to use baking soda paste to scrub the walls and doors of the oven. Afterward, you're supposed to wipe up the baking soda paste. Anyone who's ever tried to clean a surface with baking soda knows that if you can't hold the surface under running water, wiping the paste away tends to leave a gritty film, even if the cloth you use is totally soaked in water. That's where vinegar comes in.
After scrubbing down the oven with baking soda, take a wet cloth or paper towel and wipe out as much baking soda as you can. Fill a spray bottle with white vinegar and lightly spray the areas where you can see or feel baking soda residue (you can also try a 3:1 mix of water and vinegar). Just be sure to protect the oven's heating elements and wiring from the spray. You'll likely see a little foaming as the vinegar reacts with the baking soda. Take another wet cloth or paper towel and wipe out that foam and any leftover vinegar. You might need to repeat this process to remove all of the baking soda residue.
De-grease cabinets
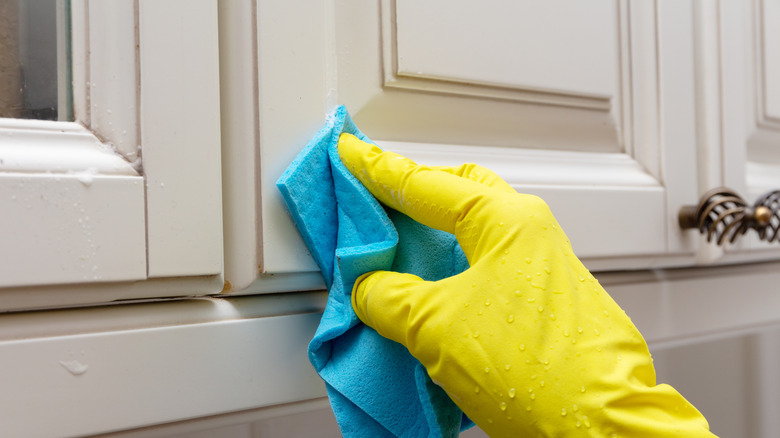
Cooking sends greasy particles out into the air that can eventually land on counters, cabinets, and floors. The greasy residue can attract dust and dirt, leading to a grimy-looking kitchen if you don't control the mess. If you have wood cabinets, you want to be careful regarding the cleaning solution you use so that you don't damage the wood or its finish. Rather than looking at expensive commercial solutions, though, turn to vinegar.
Fill a spray bottle with a 50-50 mix of water and vinegar, spray the mix on the cabinets, and let it sit for a few minutes. The solution may drip a bit, so don't walk away. You'll want to catch those drips before they land on counters or the floor. After a few minutes, take a soft cloth or paper towel and wipe up the water-vinegar and as much grime as possible. You may need to use a clean, soft-bristled brush or toothbrush to scrub crevices, but be gentle so that you don't scratch the finish. Once the grime is gone, wipe down the cabinet with another damp cloth (water only), and dry the surfaces with a soft, clean cloth.
For any spots of grime that won't come off, repeat the process with warm water and a little de-greasing dish soap instead of vinegar.