17 Mistakes Everyone Makes Baking Homemade Bagels

We may receive a commission on purchases made from links.
Many home bakers are dubious about bagels. Yes, they're a classic breakfast staple and yes, they're absolutely delicious with cream cheese and lox or nova salmon. They're also versatile, easily transforming into garlic bagel bites or savory breakfast casseroles in a pinch. But there's no need to make them at home, right?
Well, right and wrong. Although it's easy to buy bagels at the store, they're expensive, which is a pure labor premium considering how cheap main ingredients such as flour, and yeast really are. Believe it or not, you can even make bagels with two ingredients: Greek yogurt and self-rising flour. They don't have to be hard, either, considering how few ingredients they involve. What's admittedly more difficult about bagels is the number of steps, which some people find understandably alarming.
Again, though, these don't have to be off-putting, as long as you know the best approach to each one. In that spirit, let's take a look at the most common mistakes people make with homemade bagels, the better to avoid them tomorrow and elevate your breakfast today.
Using any old flour
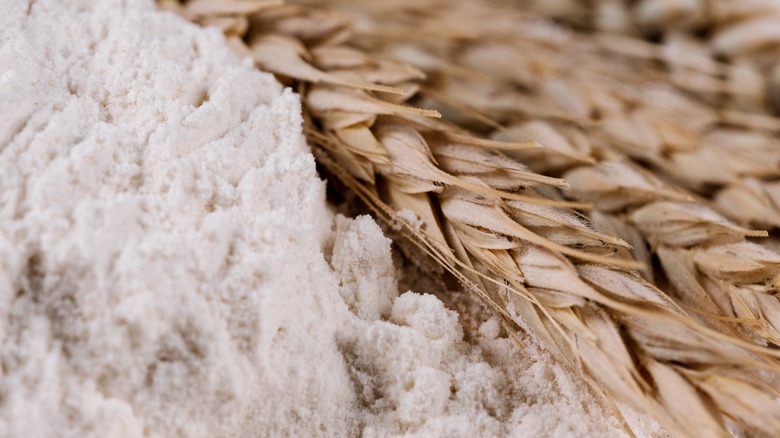
First and foremost among bagel making mistakes is using the wrong flour. Unfortunately, regular old flour just won't do, because it will lead to a soft and fluffy result more like cinnamon rolls. If you want a nice, chewy bagel with a round shape, then you need flour with good structural integrity. Otherwise, your bagels won't get that cute puffy look, and they won't have nice aeration.
Thus, you should use a high-protein flour, because it has a greater ability to form gluten and will therefore provide a stronger final result. Most recipes recommend bread flour. If you don't have any on hand, both King Arthur Unbleached Organic Bread Flour and Gold Medal Premium Quality Unbleached Bread Flour are good options.
Substituting with abandon
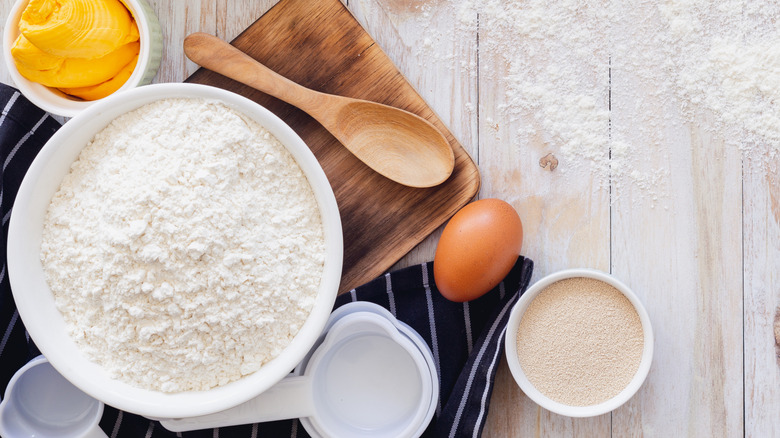
Home chefs are known for the liberties they take in the kitchen, and if you're making soup or throwing together a salad, that's just fine. However, people often end up making mistakes from which they can't recover when they start substituting. Baking is both an art and a science, and each ingredient performs a certain function, so don't wing it if you're not a professional.
If you are going to substitute ingredients in bagels, make sure you're using one of several options that are already approved for them. For instance, sweeteners are pretty free-for-all, so you could swap in molasses for barley malt syrup, say. Just know that the flavor will change and you may have to adjust amounts. On the other hand, you have to use the right high-protein flour, or your bagel will turn out too fluffy. If you're going to substitute, do your research and don't make assumptions.
Getting your hydration wrong

Hydration is an important component of bread science, including bagels. It essentially refers to the ratio of dry to wet ingredients, figured by dividing the weight of water by the weight of flour in a recipe. So for example, a hydration level of 100 percent means a one-to-one wet-to-dry ratio. In some cases, as when using bread or whole wheat flours that need a lot of water, your hydration level may be greater than 100 percent.
When it comes to a good bagel, you must pay attention to the hydration level specified by the recipe, because the amount of water really does impact the structure of your dough. High-hydration doughs have larger holes and thinner crusts, while low-hydration doughs have a tighter interior structure and thicker crusts. Put another way, too much flour, and your bagels won't be supple and able to rise. On the other hand, too little flour, and you'll have bagels that are too soft and don't have the structural integrity needed to hold that rise. You need the latter to get a good bagel, so do not eyeball your ingredients.
Adding water to get dough to come together

All right, so you followed your recipe to a T and added the right amounts of wet and dry ingredients, but your bagel dough looks like the Sahara. It's crumbly and it's not coming together, so obviously you should add water ... right? Wrong! Remember, you need to keep hydration low, so this is one of the biggest mistakes when baking bagels. Resist the urge to scatter in more water when mixing up your dough, and instead keep mixing
There is one caveat to this rule, which is that some areas require you to use more liquid for the recipe to work. If you live in a naturally low-humidity environment, such as the desert or at high altitude, you might have to experiment with adding in more water, but do it slowly and methodically.
Kneading incorrectly
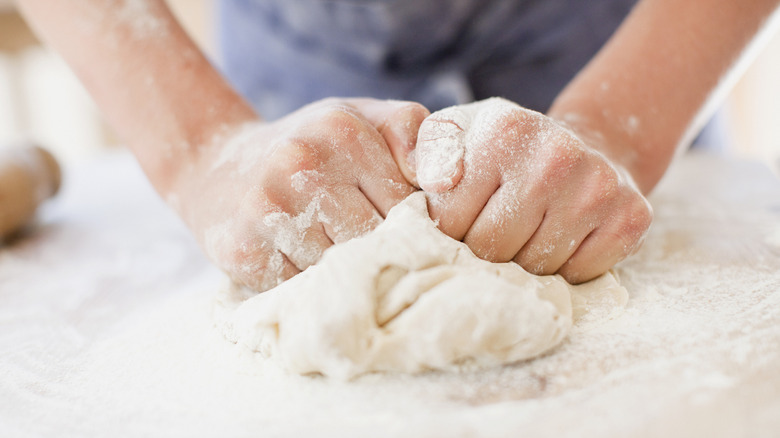
Bagel dough is supposed to be dry at first because it has a low wet-to-dry ingredient ratio. Instead of wetting it, you need to add effort, because kneading well will hydrate the flour that's in there. If you follow the amounts listed in your recipe and knead your dough for the entire recommended time, chances are good it will come together like it's supposed to. Skimping on kneading, however, will lead to dry, non-uniform, unappealing dough.
Intensity matters too. You must knead firmly enough that the flour in your bagel recipe really has a chance to absorb the water, which requires some serious elbow grease. If you lack faith in your ability to go hard, use a machine such as an Aucma 6-Speed Tilt-Head Stand Mixer instead. Also, many recipes recommend that you allow the dough to autolyze for 10-15 minutes after mixing the ingredients but before kneading. It will begin to soften, hydrate, and develop gluten for you during this time.
Being lax with temperatures
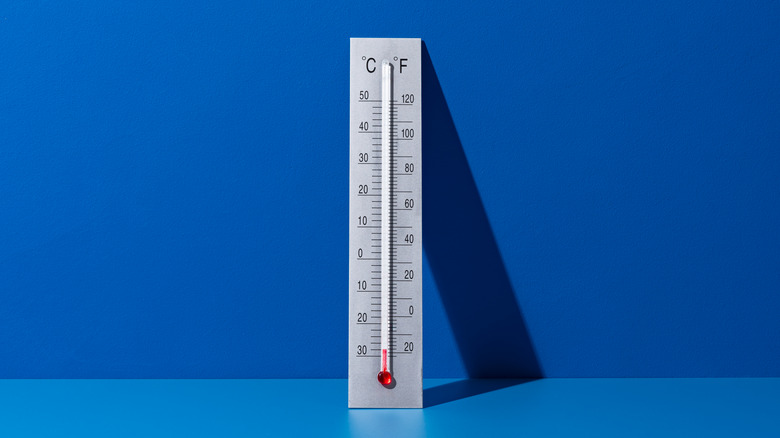
The temperatures at which you proof, boil, and bake your bagels matter. Like, a lot. As with the ingredients, eyeballing things is one of the biggest mistakes you can make. Instead, follow one bagel recipe and follow it carefully, using good tools to monitor temperature and calibrate your oven as needed.
A good recipe should give you information about the expected temperature of the kitchen and tell you how to adjust the proofing stages if your kitchen is different. When kettling your bagels (cooking them in water), make sure the water is boiling, because even a simmer can represent a temperature decrease of more than 30 degrees Fahrenheit.
When baking, ensure your oven's accuracy. Sometimes you need to adjust your oven based on what you're cooking or another factor, such as uneven heating or inaccurate calibration. Calibrate your oven by comparing the temperature it reports with the temperature of a thermometer, such as the Taylor 5932 Large Dial Kitchen Cooking Oven Thermometer, that you place within.
Employing the wrong techniques for shaping
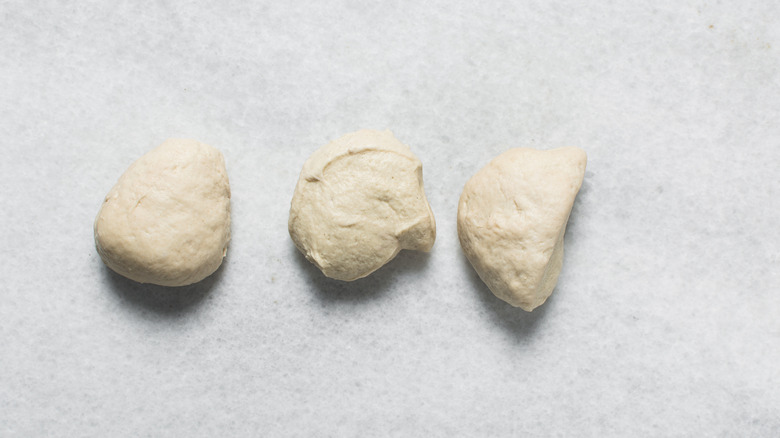
Once your dough has been proofed long enough, it's time to shape. The proper way to shape a bagel is a matter of some debate. While shaping a bagel like a professional baker is not necessarily easy, it's not the only way to do it. Happily, there are several other techniques for doing so, so you've got options.
One common method involves rolling your dough into a rectangle, rolling it up while leaving a flat part at one end, and inserting the other end into the flat part, then closing the dough around it. Once inserted, gently roll the seam to close it thoroughly. Another, easier method involves simply making a ball of dough, carefully sticking your finger into the middle, and widening it without tearing the dough (raise your hand if you're going for that one).
A final method involves making a rope, overlapping the ends, and gently rolling the overlapped area until they merge. Most likely, you'll need to experiment to find the best one for you, which will depend on what you find is easiest as well as how big you want your hole to be. For instance, the final method makes a significantly bigger hole than the first two.
Foregoing fermentation

Most experts recommend cold-proofing bagels, which means allowing them to rest in a cold environment to develop flavor. To do so, you let the dough rise once and then shape your bagels, then refrigerate them overnight. While the cold of a fridge will slow the rise so they don't overproof and collapse, it will still enable the ingredients to marry and develop a bit of that sourdough funk. That's why it's also called "cold fermentation."
Granted, skipping fermentation isn't the most egregious of bagel-making mistakes, as there are recipes that forego it, but it's a nice way to add flavor. Plus, if you ferment your bagels in the fridge overnight, you can cook them fresh first thing in the morning without a lot of fuss and proofing.
Placing your bagels near the front of your fridge

When cold-proofing bagel rounds, you want to keep the temperature as stable as possible. Unfortunately, not all areas of the fridge are created equal. The temperature fluctuates due to many factors, such as opening the door, the cycling of the compressor, and what's known as "electrical noise." That means interference from other electrical signals causes variations in the way your fridge monitors temperature, which can lead to increased fluctuation inside.
Granted, you can't do much about any of these things, so instead, you need to choose the best spot in the fridge for minimal variations. If you fail to account for this while cold-proofing, you risk bagels that flatten and collapse before they get cooked, which makes this one of the biggest (and easiest) mistakes novice bagel makers can make.
So, what to do? Experts recommend you place them as far from the fridge door as you can, as this is the primary controllable variable. If you have a smaller space to work with and need flexibility, consider going the Nordic Ware Naturals Half Sheet Pan route. These half sizes will allow you to cram your fermenting bagels into the back corners of your fridge more easily. Or, if you want multiple size options, consider the NutriChef 3-Piece Nonstick Kitchen Oven Baking Pans set.
Proofing too long

Another of the most common bagel making mistakes is overproving. If you, like this writer, are a fan of "The Great British Baking Show," then you already know this is one of Paul Hollywood's most common criticisms, because overproving dough — letting it rise too long — eventually weakens its structural integrity. This happens for two reasons. First, the gluten eventually weakens, and the bagel can't hold its shape long enough. Second, the yeast runs out of food, so there's not enough sugar left for them to eat and produce carbon dioxide (air) during the first few minutes of baking, so the final result is not as puffy.
Thus, if you proof your bagels too long, you risk letting them collapse. Follow your recipe and make small adjustments, if any. A good recipe should let you know not only how long to proof your bagels at each step (both during the initial rise and cold fermentation) as well as what a correct final result will look like. If you find your bagels have overproofed in the first stage, that's fine, because you will have another chance to let them proof in the second. However, while Paul Hollywood says it's okay to reshape a bread loaf and let it proof again if you have gone too long, this is unlikely to work with bagels. Better just to keep a weather eye out.
Skipping the float test
The float test might seem like a holdover from olden times, but in fact, it's a perfectly valid baking tool. It helps you to see whether a dough-based product is ready to go into cold fermentation or to cook, depending on your recipe — i.e. it helps you determine if it has proofed long enough.
To find out, simply toss a shaped bagel into a bowl of water and watch to see if it floats. If so, then your yeast has produced enough gas to make it lighter than the water, and the dough will bob to the top. If not, then it will sink, and you need to proof a little longer. Once your test bagel floats, you can move it to the fridge or begin boiling. Note, though, that proofing dough is susceptible to denting, so be gentle with your bagel during testing.
Not boiling your bagel
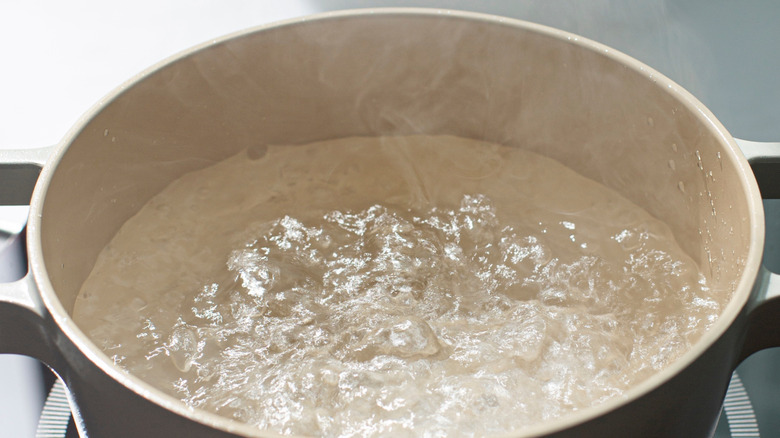
Among the most egregious of bagel making mistakes is skipping the boiling process. Also known as kettling, tossing your bagels in a pot of boiling water is a critical step in ensuring they have the smooth, shiny, chewy effect that you associate with a great bakery. That's because it gelatinizes the starch, giving it that distinctive finish.
Depending on the bagel recipe you've chosen, you can put different additives in the water to help the bagels come out shiny and chewy. Some experts advise a baking soda bath for homemade bagels, while other recipes add honey to the water. Whatever the case, make sure the pot of water is at a full rolling boil before dropping your bagels in, then cook for a minute per side maximum. Make sure not to top your bagels before boiling, as they'll come off.
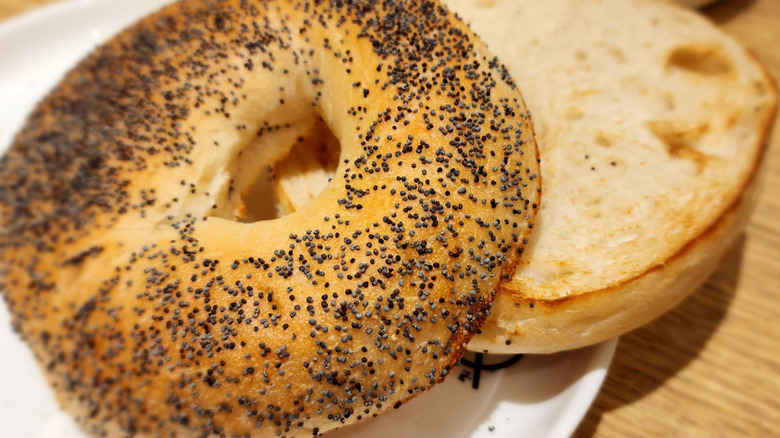
Choosing lame toppings
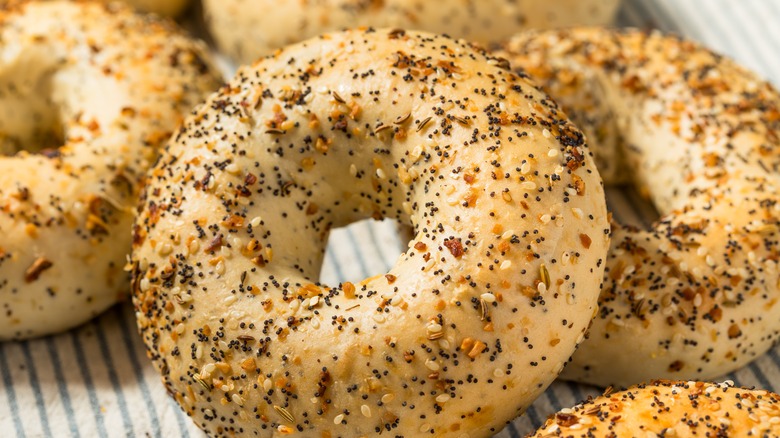
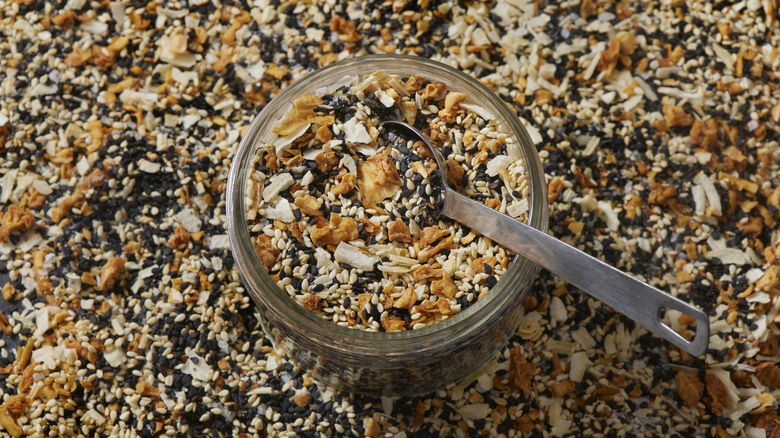
The whole reason you're making bagels from home is that you want more control over the process, right? Presumably, that's the case, since they're pretty easy to find at the store. As such, make sure you add good bagel toppings because lack of flavor is one of the easiest mistakes to prevent. Your toppings don't have to be particularly creative, and they definitely don't need to be expensive, but they should be fresh, flavorful, and to your taste.
If you like onion bagels, you can try Amazon Brand Happy Belly Minced Onion. If you're more of a poppy lover, then Amazon Grocery Poppy Seeds might do the trick. And for those who have to have it all, Everything Bagel Seasoning Original Blend will do the trick.
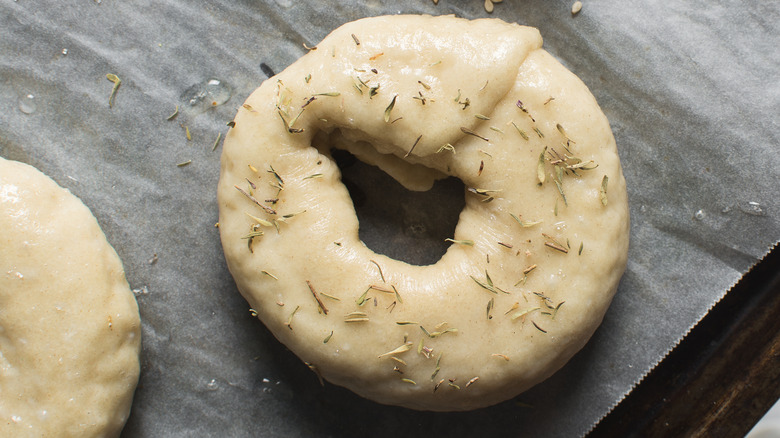
Not adhering seasonings firmly
The best toppings in the world matter not at all if they don't stay on the bagel during and after baking. Sadly, one of the most common bagel making mistakes is not adhering them well to the surface of your baked goodie, meaning you may as well just stick with plain bagels in the end.
Luckily, concerned engineers have tackled this problem and there are several ways to get a good result. You can use egg wash to help toppings stick, which is easy and approachable for newbie bakers. You can also dip them into a bowl of toppings rather than sprinkling them on, which will give you a thicker coat. If you want to go full nuclear, you can use a starch slurry of seven tablespoons of tapioca starch to 4 ⅓ cups of water. Mix, submerge your bagel in the solution with a skewer, remove, and coat with your garnish of choice.
Not centering bagels in the oven
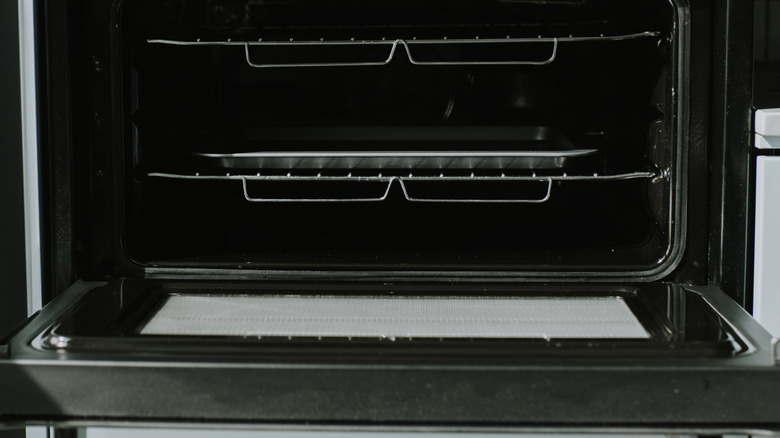
The best place to cook your bags is on a center rack, where even heating and airflow will lead to the best result. If you place your bagels too far to one side or the other or stack multiple pans in the oven, you may disrupt the convection process, which can lead to uneven heating. This in turn may lead to bagels that are irregularly browned or risen, which is a real bummer after all the work you've just put in.
Another of the most common mistakes is popping your pan in the oven and leaving it for the entire amount of time given by the recipe. Instead, you should also rotate your bagels halfway through to help ensure even cooking.
Slicing too soon
Although it seems instinctual to grab a fresh bagel and slice right in, this is a bad idea. Bagels should be allowed to cool down after baking, or they'll just mush when you press a hot knife into them. Plus, they get gummy, because the moisture inside has not yet been distributed to create the perfect chew.
Allow your bagels to rest for about 30 minutes after pulling them out of the oven. At that point, it's safe to slice and toast them, or just eat them fresh if you prefer. Make sure to use a sharp knife; the Orblue Serrated Bread Knife is a nice option. Plus, it comes in lots of colors. Slice them straight across, into three layers if you like. And, if you can figure out how you can even slice your bagel into a Mobius strip.
Storing incorrectly
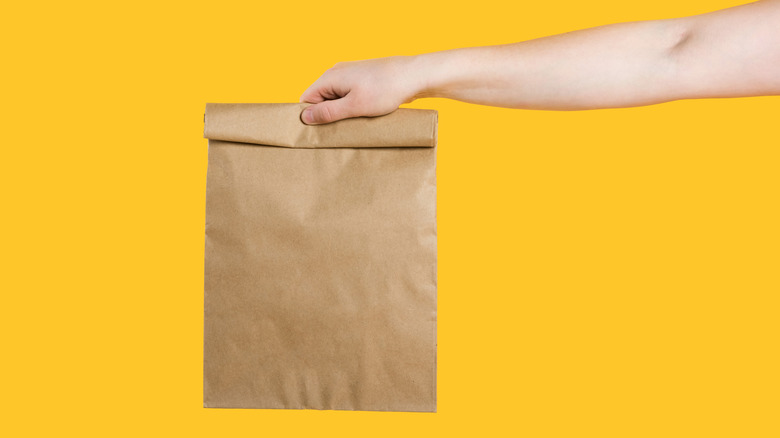
Bagels are like any other bread, except for one factor: They're quite dry. Remember that a bagel has very low hydration to start with, which is why it can get stale so quickly. Thus, you need to store bagels properly if you want to keep them fresh, a step that is just as important to follow carefully when you make bagels at home as it is when you bring them in from a bakery. After all, while you may spend less money on homemade bagels, you certainly won't spend less time, so it's worth the effort.
So, what's the drill? If you want to keep them at room temp, the two best methods are keeping them in a paper bag on the counter, rolled tightly, which will work overnight. However, it's a mistake to rely on this tactic longer, in which case, you should put them in a Ziploc bag instead. Close it tightly and keep it at room temperature for up to a week. If you want to extend the benefits of your bagel baking longer, opt for the freezer, where they'll last for three to four months. For optimum freshness, place them in the freezer within 48 hours of baking or purchasing them.