12 Best And Worst Practices For Cleaning Your Fridge
We may receive a commission on purchases made from links.
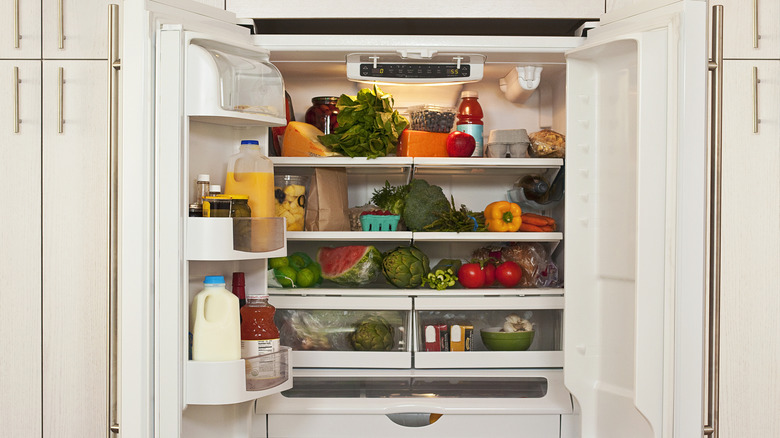
A refrigerator is a modern kitchen essential. According to 2024 statistics from the U.S. Energy Information Administration, 99.9% of American households have a refrigerator. But many may not realize that fridges should be regularly cleaned. Refrigerating food makes it resistant to most bacteria, but crumbs and drippings from said food create a bacteria breeding ground. Despite the low temperatures, which, according to the U.S. Department of Agriculture, is below 40 degrees Fahrenheit, some bacteria will grow in your fridge if left unchecked. For instance, an article published by the University of Connecticut points out that listeria thrives in the cold.
To keep your food safe and your fridge odor-free, experts recommend thoroughly cleaning your fridge every three months or so. Luckily, this is fairly easy to do, and you can even use inexpensive household items to do it. The one issue you may run into is whether or not to turn your fridge off during the process. Opinions vary, so it's best to check with your fridge's manufacturer, though it is generally recommended to turn the fridge off for safety and energy conservation. Then, get out your kitchen cleaning staples like white vinegar, dish soap, rags, and baking soda and get started! But if you're not sure how to proceed, don't worry. Here's what to do and not to do when cleaning your fridge.
Do keep your refrigerator clean
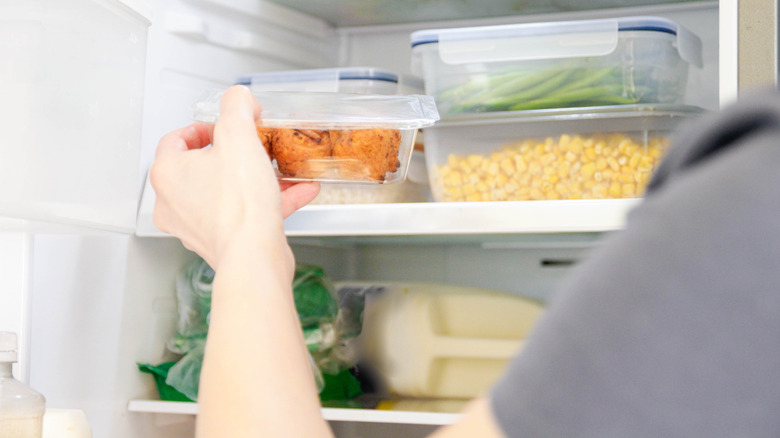
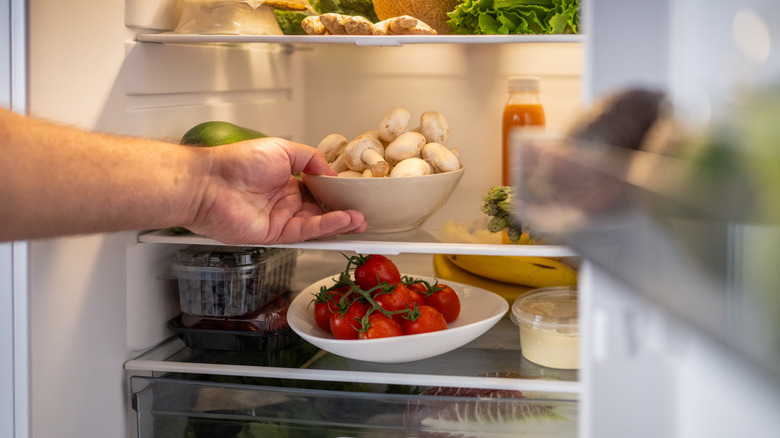
One way to make deep cleaning your fridge easier is doing minor clean-ups and taking preventative action more often. For instance, instead of storing food in your fridge on an uncovered plate or putting it straight onto the shelves, keep it in closed containers to prevent crumbs and spilled liquids. An additional bonus is that your food will stay fresh and your fridge will be odor-free, or at least have less of an odor issue than it might (keeping the smell of stinky cheese contained is quite the struggle).
Another good practice is to clean up spills and scraps as soon as you see them. This is especially important with organic substances like milk, or blood and fluids from raw meat. To make this easier, it's recommended to cover shelves and drawers with disposable liners like sheets of newspaper. Parchment paper works, too. Or, you can buy reusable liners made specifically for fridge drawers and shelves. No matter what you use, you can easily lift this layer up and throw it away or clean it if there's a spill or crumbs start accumulating. You should also try to go through your fridge every week or so to remove anything that's going bad.
Don't leave food inside your fridge while you clean
Sometimes it's hard to get the motivation to clean, and having to empty everything out of your fridge before you can even start may not seem very inspiring. And if there's food that you don't want to sit out at room temperature, the task can be even more complicated. But, if you skip this step, your fridge's contents will get in the way of a thorough clean. Plus, as annoying as emptying your fridge might seem, it's even more annoying if that jar or bottle you didn't want to take out falls over and spills just after you've cleaned everything around it.
So, consider emptying your fridge as the first step to a satisfying deep clean. Experts advise using a cooler to store food items you don't want to leave out. As for the food and drinks that should be thrown away, you can see this as killing two birds with one stone: As you remove things from your fridge, throw out anything that shouldn't be returned to your new, fresh fridge.
Do take out removable parts of your fridge when cleaning
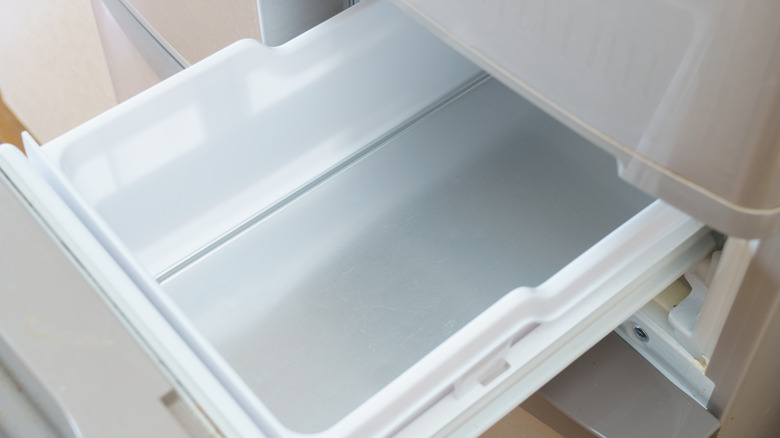
The next step in cleaning your fridge is to take out any removable parts, like shelves and drawers. This will make them a lot easier to clean since you won't have to worry about reaching deep into your refrigerator to wash every nook and cranny. If these parts are made of glass, let them warm up a bit before you start wiping them with hot water, as the abrupt temperature difference could make them crack.
Before you use a wet substance on drawers and shelves, remove any dry dirt. Once that's done, if your movable fridge parts are basically clean, you can wipe them down with white vinegar. But if there are sticky areas you should remove those by using white vinegar and baking soda. You'll find lots of suggestions for the ratio of baking soda to vinegar, but some experts have recommended using about one part baking soda to two parts white vinegar. That being said, you don't really have to measure each ingredient exactly. Just be sure it's fizzing, either on a cloth/paper towel or directly on the sticky spot you're trying to remove.
When you're finished, rinse the removable refrigerator parts off with warm water, get rid of any baking soda that might have lingered, and dry them. But don't put them back into the fridge just yet, as you still have to clean the rest of it first.
Do opt for natural cleaning products
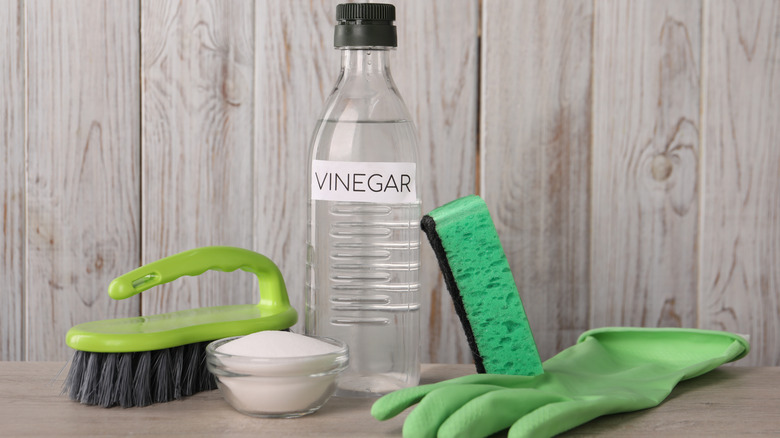
One piece of advice you'll find from just about any expert when it comes to cleaning your fridge is to use natural cleaning products like baking soda and white vinegar. And there are a lot of reasons why. For one thing, white vinegar can kill certain bacteria, including listeria, E. coli, and salmonella. So it's great for a general wipe-down of your fridge, not to mention other areas of your kitchen. For tackling more than the usual messes, vinegar and baking soda mixed together can effectively remove sticky spots and dirt.
Another advantage to using natural household cleaners like baking soda and vinegar is that they're affordable and easy to find. And because they're non-toxic, you don't have to worry about kids or pets getting into them. This also means that when it comes to your fridge, they're mostly harmless if they somehow get into your food. Vinegar and baking soda don't have much of a lingering odor (which can be the case with chemical cleaning products), so there won't be a smell lingering in your fridge. In fact, baking soda is specifically good at removing and absorbing odors. Another big advantage is that white vinegar, baking soda, and gentle products like dish soap have lots of other uses in your kitchen, as well as in the rest of your house. We love degreasing kitchen cabinets with Dawn, for instance.
Don't waste paper towels
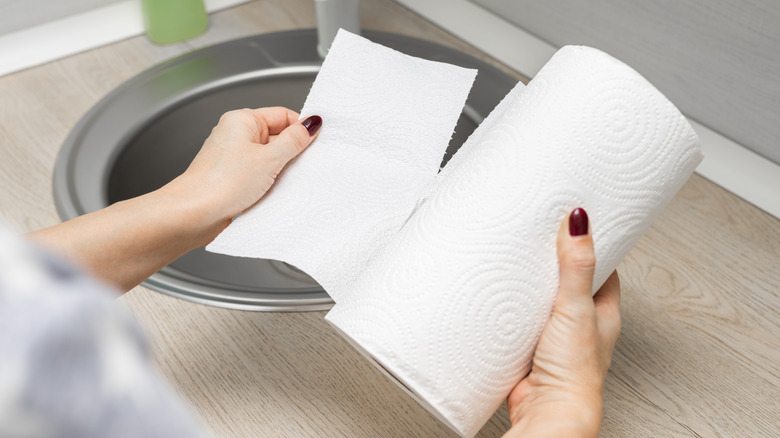
Paper towels are a basic cleaning item that are in most of our house cleaning arsenals. But when it comes to cleaning your fridge, consider limiting how much you use them. While you should use paper towels to wipe up fluid from meat or dairy products, once the initial mess has been removed and wiped down, switch to reusable cloths or a sponge for the rest of the job to save money and help the environment.
You can use fresh rags or small towels to clean your fridge. Or, you can be like Martha Stewart and opt for microfiber cloths. But keep in mind that this is for the inside of your fridge; depending on the material of your refrigerator's exterior, it may be better to take up the paper towels again, or use a very soft rag, in order to avoid any kind of scratches. And, as always, be sure to check the owner's manual for questions about your specific refrigerator model.
Do pay attention to crevices
The hardest part of your refrigerator to clean will probably be all those little crevices. These include the edges of shelves, the ridges where the shelves sit, corners of drawers, parts of your refrigerator door, and the corners where the sides of your refrigerator meet.
Unfortunately, small as these spots are, dirt and residue — and thus bacteria — can still get inside them, so it's important to give them a bit of your attention, too. Typical advice you'll come across is to use a toothbrush or cotton swabs for this part of the fridge deep clean. These small, soft objects are a great way to let you get inside the tiny, hard-to-reach spots without damaging anything. And, like the natural cleaning products we've mentioned, they're affordable and useful for other household tasks, too. Finally, as with the rest of the fridge, make sure all surfaces (including these crevices) are completely dry before reassembling.
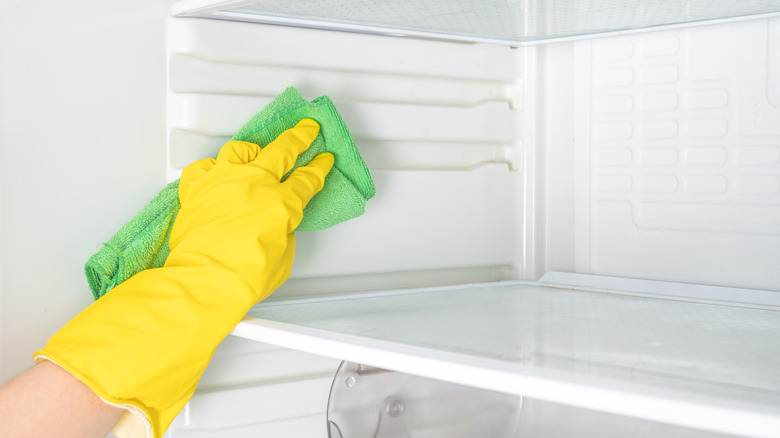
Do start cleaning at the top

Once you've focused on the smaller stuff, like washing all those shelves and drawers and getting into those tricky spots, it may seem like cleaning the rest of the inside of your fridge will be easy. After all, what's left are big, smooth surfaces. And while that's generally true, there's something to keep in mind before you start, and this strategy can make or break the entire experience.
When cleaning the inside of your fridge, it's best to start from the top — that is, the "ceiling" of the inside of your fridge — and work your way to the bottom. This way, any dirt or dirty water that drips down will gather all in one place, at the lowest point of the fridge. This means you'll only have to wipe the biggest mess away once, instead of having to re-clean different layers if you work your way up. Another advantage to cleaning your fridge from top to bottom is that, if a part of your fridge is relatively clean, the clean water or vinegar that drips down to the other levels will also help clean them.
Don't forget to wipe everything dry
Although vinegar, baking soda, and other products you might use will fight bacteria and make your fridge clean, one thing can seriously cut down on their effectiveness: not wiping things dry. For instance, if you don't wipe away any areas where you used baking soda, you're likely to still have some residue, which can get onto your food containers and create a new mess when you put them back into the fridge.
Another issue is that wet surfaces offer the perfect environment for mold and bacteria to grow. With that in mind, you could say that cleaning your fridge but not wiping things dry is like putting up a "Welcome" sign for all the germs you just kicked out. So, use a (clean) towel and gently dry anything that's still wet. Make sure you especially pay attention to those pesky crevices. You could even use cotton swabs to ensure every spot is as dry as possible.
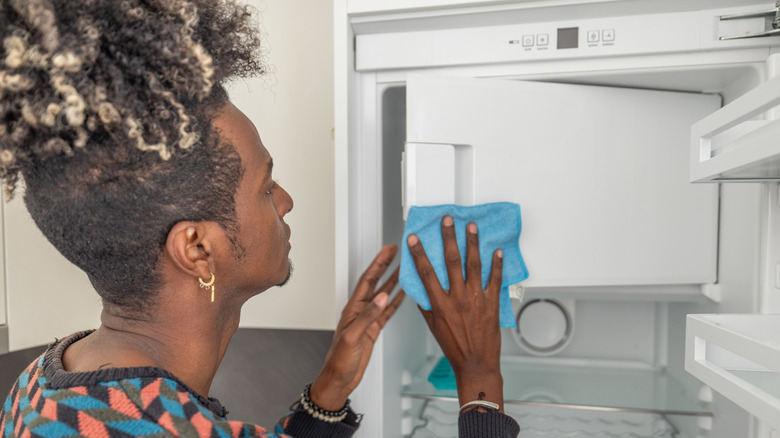
Do remember to wash the refrigerator gasket
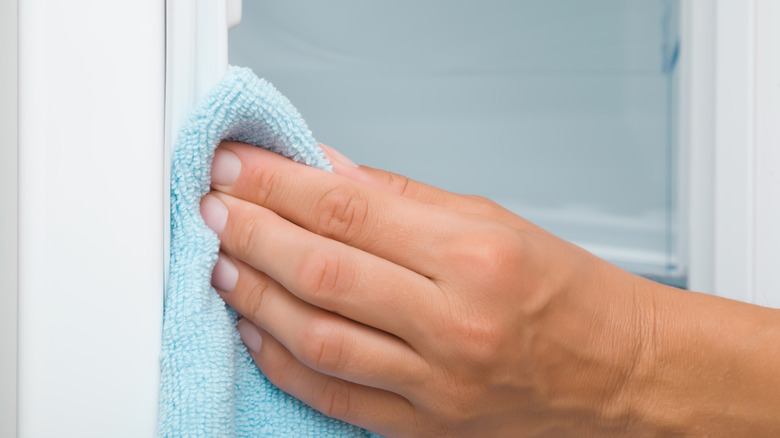
The refrigerator gasket is the rubber lining around the door that keeps the cold air inside your fridge. It's undeniably essential, but when it comes to cleaning, it might seem like a daunting prospect. The rubber and any ridges it might have tend to attract crumbs and dirt. But you can actually wipe it down with a simple mixture of warm water and dish soap. Be sure to get into any ridges to really make sure you're getting it clean (again, cotton swabs may be helpful here).
On the other hand, if the gasket has mold on it, you'll have to use something stronger, like a cleaner that contains some bleach. Check the product label to be sure it's okay to use on rubber, and be careful not to get the product into the rest of your fridge since it could contaminate your food. One way your refrigerator gasket isn't so different from the rest of your fridge's interior is that it's probably the most important place to keep dry. When you're finished cleaning the gasket, remember to wipe up any leftover moisture with a towel, especially being sure to dry inside any ridges.
Don't neglect the condenser coils
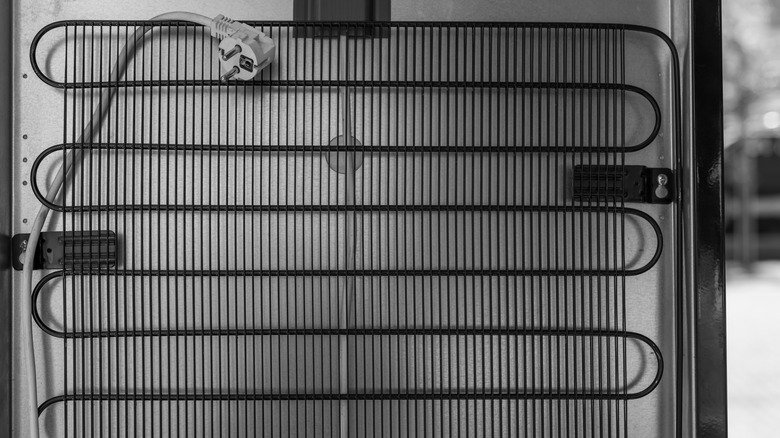
Condenser coils are a crucial part of a refrigerator, as they prevent the machinery that cools your fridge from overheating. Unfortunately, the coils also easily trap dust, dirt, and pet hair. Depending on how your refrigerator is situated, it may take a bit of work to get to them, as they are generally in the back or under the refrigerator. But if you can manage it, cleaning its condenser coils at least once or twice a year is a good way to keep your fridge running smoothly.
As a general rule, if you're regularly cleaning your refrigerator coils, you can just run your vacuum tube over them to remove all those nasty things they've collected. But if a deeper cleaning is in order, experts recommend checking your refrigerator manual for advice. One thing is certain, though: While there's some debate about whether or not you should turn off your fridge for a general cleaning, if you're dealing in-depth with the condenser coils, it's important to be sure your fridge is turned off before you start.
Do clean the outside of your fridge
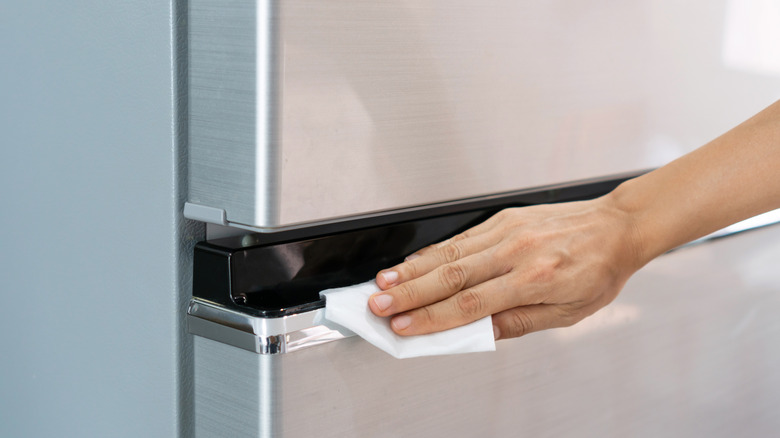
Once the inside of your fridge is clean and dry, and you've given those condenser coils some much-needed attention, you may feel like your work is done. But be sure to take a quick minute to wipe the outside surface of your fridge. Pay special attention to the door handle: Think about how many times a day people touch that ... and you'll see why it could definitely use a wipe-down. You can use dish soap and warm water for this, or, if the handle is sticky or greasy, white vinegar and baking soda should do the trick. Make sure you rinse the baking soda residue away after.
While this advice works for most refrigerator surfaces, stainless steel fridges need special care. You can use specific stainless steel cleaners to get those streaks out, or stick with white vinegar and baking soda. Just make sure not to use anything too harsh, like bleach. When in doubt, keep it simple, and stick to white vinegar. Remember to also use a soft, clean cloth to avoid scratches. (Use microfiber for the best results.)
Do leave some baking soda behind
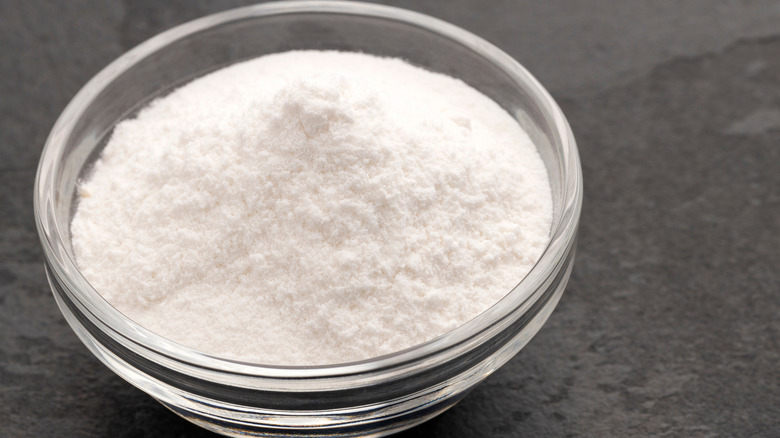
Baking soda is one of our favorite kitchen cleaners, including when it comes to the fridge. Not only can you use it along with vinegar to remove dirty or sticky spots, it's also got a lot going for it in its own right. For instance, baking soda is an incredible natural odor-remover.
Sodium bicarbonate, baking soda's scientific name, is alkaline in nature, which means it reacts to acid – hence why it fizzes when it comes into contact with vinegar. And, it turns out that a lot of bad smells are caused by acidic compounds, and baking soda neutralizes them. This is why it's a good idea to leave an open jar or small plastic container of baking soda in the back of your fridge. Although it can take one to three days for baking soda to neutralize a particular odor, its constant presence should keep your fridge a lot less smelly in general. Unfortunately, it's not recommended to cook with the opened baking soda in your fridge. However, the baking soda lasts a while – about three months – before it needs to be changed ... just in time for your next refrigerator deep clean.