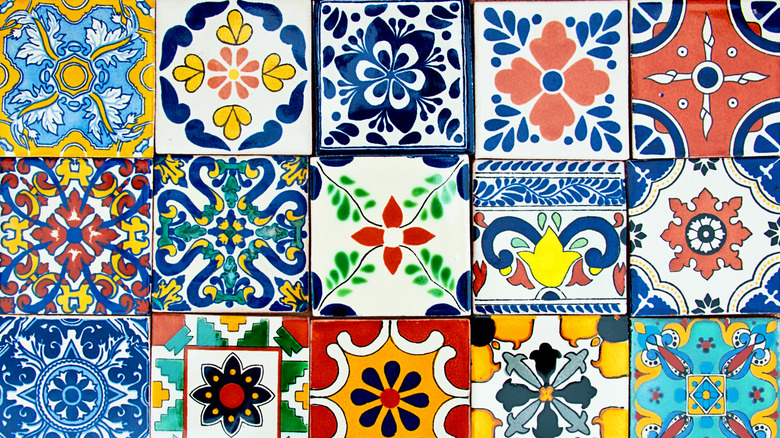
5 Inexpensive But Gorgeous Kitchen Backsplash Ideas
Remodeling a kitchen isn't cheap, and with expensive trends like kitchen sculleries coming back in style, it can feel hard to give your space a new look without overspending. A smaller remodel, such as refacing cabinets and updating appliances, still costs an average of $24,000 in the United States, according to Home Depot. And if you want new cabinets, high-end countertops, and custom lighting for a full-scale remodel, you can expect to pay nearly $70,000. But sometimes, the kitchen just needs a refresh. Something fairly minor, such as adding a backsplash, can liven up your kitchen's look without breaking the bank — as long as you choose a cost-effective backsplash and installation method.
A kitchen backsplash is placed on the kitchen wall, usually on any walls with countertops. These days, some kitchen backsplashes are more about aesthetics than practicality, but the backsplash is primarily used to catch any cooking splatters or spills and prevent them from staining your drywall. It can also be an easy way to elevate your space without doing any structural work, which saves time and money. And there are plenty of inexpensive backsplash options that will still give your kitchen a high-end appearance.
Wallpaper
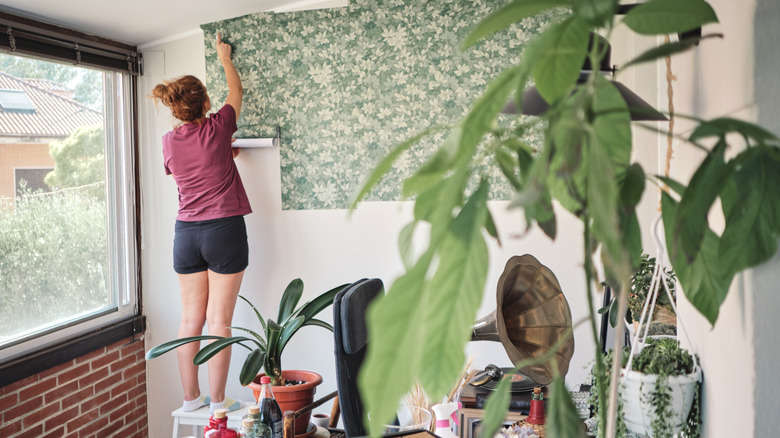
If you're willing to make wallpaper the backdrop of your living room, then why not do the same in the kitchen? Wallpaper is durable and often water resistant, so while it doesn't provide quite the same durability as tile, it's a much less expensive way to install a kitchen backsplash, and you won't have to worry too much about stains. Plus, it's an easy way to create a trendy, vintage kitchen look.
Wallpaper varies in price depending on quality, and it's usually sold in rolls that cover around 30 square feet. The average price per basic roll ranges anywhere from $18 to $40 (via Fixr). You will also have to purchase a few additional materials, such as wallpaper adhesive, a level, and a tape measure to ensure the project is done well, but the cost still adds up to substantially less than you would spend on tile or stone. For an easier option that requires less elbow grease, you can use peel and stick wallpaper, which eliminates the need for adhesive and is much easier to remove if you ever want to change it. (Bonus point: peel and stick wallpaper is often much less of a turnoff to potential buyers than true wallpaper, because it requires so much less effort to remove.)
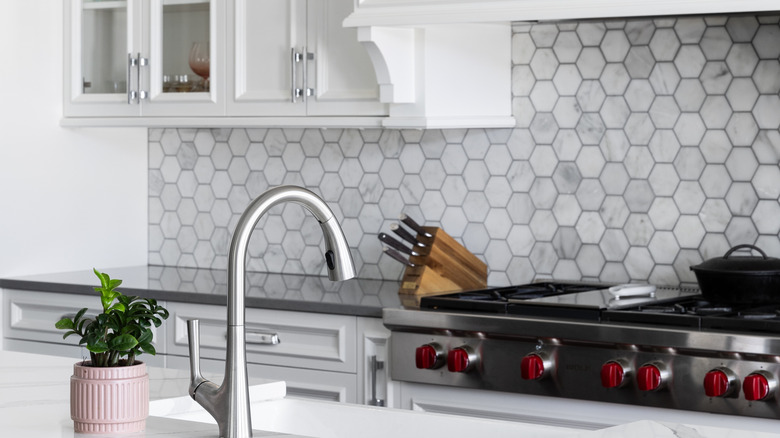
Peel and stick subway or mosaic tile
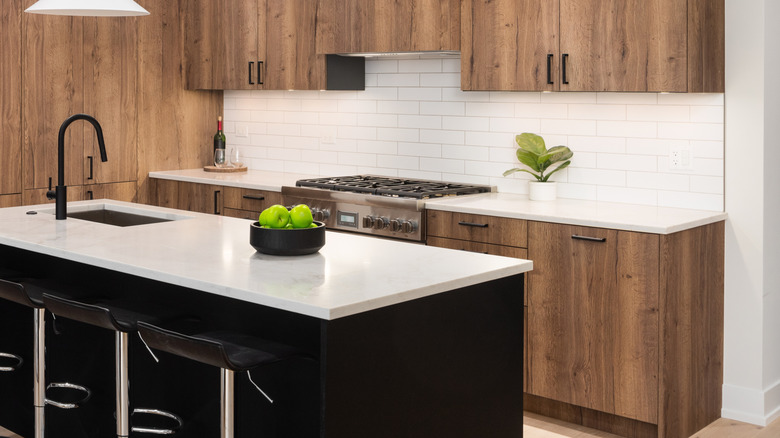
For that same tile look without the price or installation process, you can opt for peel and stick tile. This backsplash option isn't made from real tile, but rather a less expensive material that's meant to look like tile. It has an adhesive backing, meaning you don't have to use any mortar or grout in the process, saving on cost and effort. You can expect to spend about $30 to $40 for a box of basic subway tile-inspired vinyl peel and stick backsplash, which covers about 10 square feet of space. You might need multiple boxes depending on your kitchen size, but it's still far less than what you'd spend on a true subway tile, which costs an average total of $21 per square foot for the tile and professional installation (via HomeGuide).
If you want something higher-end than vinyl backsplash, you can also use peel and stick glass backsplash. This is available in a variety of looks but will run you about $200 for a case, which covers 19 square feet — still less expensive than true tile but pricier than vinyl.
Plywood shiplap or beadboard
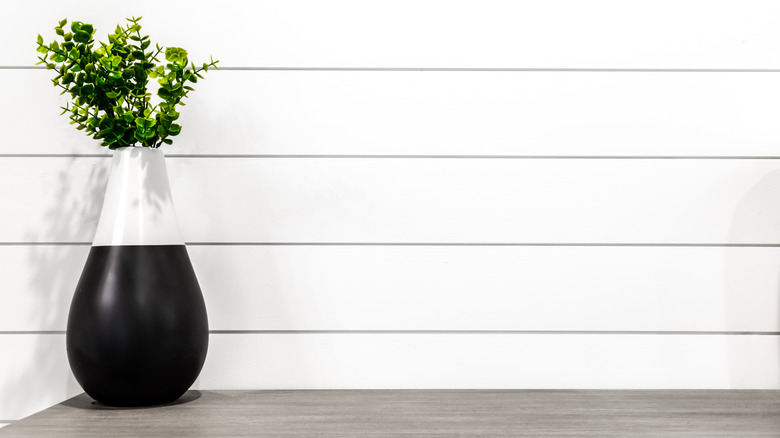
Wallpaper and tile aren't the only backsplash options. If you're willing to put in a little work, you can create a stunning shiplap or beadboard backsplash using plywood and paint. True shiplap is made with thick wood boards that overlap one another, but you can mimic the look for far less by using plywood. For this job to remain the most cost-effective, you should measure, install, and paint the shiplap yourself. This is a little more of an intensive job in terms of elbow grease, but you can purchase a two-by-four of plywood (8 square feet) for less than $15 (make sure you take measurements to know how many two-by-fours you'll need).
The same concept can also be done with beadboard. Beadboard has a similar look to shiplap, but the wood is often narrower and tighter looking. If you do opt for professional installation for either of these, expect to pay an additional $5 to $6 per square foot, per Angi, which will still come out to less than a professionally installed tile or stone backsplash.
Brick veneer
Another alternative to traditional tile is to install a brick veneer backsplash. This style might depend on the overall look of your kitchen, but exposed brick is sought-after because it creates character and texture in a home. Even if your kitchen doesn't have any true exposed brick, it's fairly easy to install this façade yourself without spending too much.
Brick veneer runs about $35 for 30 square feet, meaning it isn't much more expensive than typical peel and stick tile but will give your kitchen a completely different look.
You can purchase faux brick in a number of styles, from gray to white-washed, depending on the look. Outside of brick, you can also use other stone veneers to fit the vibe of your space. The installation process is similar to that for peel and stick tile, meaning you're also saving plenty on installation costs; you'll just have to measure and cut the veneer on your own, and adhere it to the wall yourself.
Painted tile
If you already have tile backsplash in your kitchen and don't want to spend the money to have it removed and have a new one installed, then consider using tile paint to change it up. Typical ceramic tiles can be painted as long as you use tile paint, which costs around $16 per quart. To add more creative details, purchase stencils to create designs on your tiles. This will give them a more elevated look and help you achieve a specific vision, such as a Tuscan-style kitchen, on a budget. You shouldn't see any issues after painting your kitchen backsplash, but keep in mind that tile paint can wear off if it's subject to elements like too much moisture.
If you're doing the project yourself and don't have much experience, consider buying a tile paint and primer in one, which means you should only have to do one coat. Depending on how much tile you have, a quart should be enough; this will cover between 60 and 100 square feet of space.
