11 Mistakes Ruining Your Homemade Beer
We may receive a commission on purchases made from links.
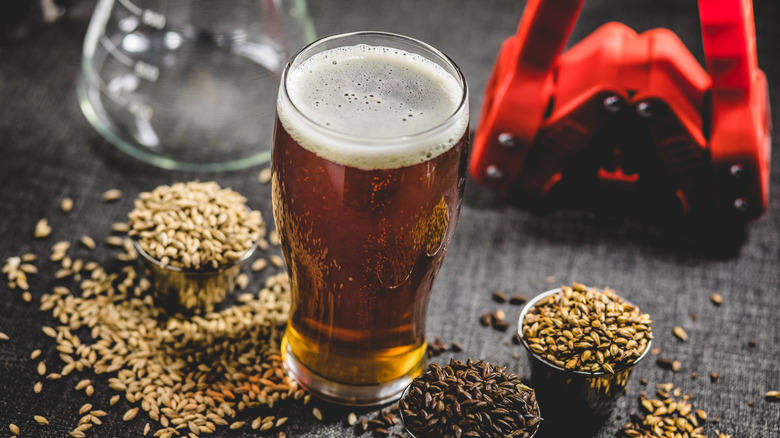
If you enjoy beer and love to make things from scratch, homebrewing may be the hobby you never knew you needed. Dedicated homebrewers relish the satisfaction of transforming a handful of simple ingredients — primarily water, malt, hops, and yeast — into a replica of their favorite unique bucket-list craft brew. As it turns out, few things can feel more rewarding than drinking a good beer with friends knowing that your skills and work brought that beer into the world. Do a good job, and your non-brewing friends will think you're a magician.
Great results, however, are far from guaranteed, especially for novice brewers. Like cooking, woodworking, and other crafts, homebrewing rewards practice, experience, and attention to detail. Adding to the challenge is the fact that the success of your brew relies on the good behavior of a bunch of microorganisms — yeast — which can act unpredictably if you don't keep a close eye on your brew as it ferments. To ensure your next batch of homebrew is everything you want it to be, we've enlisted three experts — award-winning homebrewers and certified beer competition judges Allen Kent and Ron Minkoff, and Paul Brake, owner of OG Homebrew Supply in Gainesville, Florida.
Un-sanitized equipment can ruin your beer
Whoever came up with the adage "cleanliness is next to godliness" must have been a brewer. All our experts said the biggest mistake you can make as a homebrewer is to fail to sanitize your equipment. While you want to cultivate an environment in which yeast can flourish, you also need to keep out other microorganisms that can ruin the flavor of your beer.
"Poor sanitation can lead to off-flavors caused by wild yeast and bacteria," Allen Kent explained. "There is a range of flavors, anything from band-aids/plastic to sour and funky." Thus, if you're planning to brew, one of the top items on your shopping list should be a food-safe cleansing agent, such as Five Star's Powdered Brewery Wash or Star San. In addition, Paul Brake emphasized that it's critical to sanitize absolutely everything that could potentially come into contact with your beer — and it's often the parts brewers don't think about that cause big problems. "It's usually not, 'Oh, my kettle is dirty' — it's the little bits and pieces," he said. Pay attention — be sure to run sanitizer through the valve of your dip tube and through any tubing you plan to use. Your taste buds will thank you later.
Uneven fermentation temperatures lead to off flavors
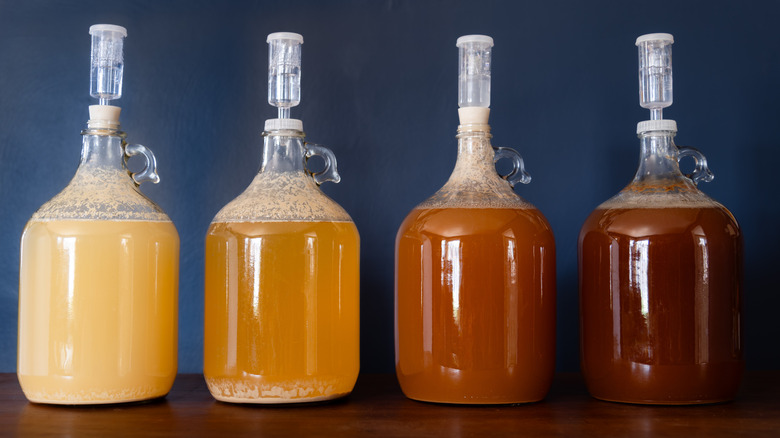
So you brewed your beer according to your recipe and kept everything fastidiously clean throughout the brew, but your beer still came out tasting funny. A likely culprit is a failure to control the temperature of your beer during fermentation. Different yeast strains thrive at different temperatures, and the wrong temperature can cause the yeast to contribute undesirable flavors. "Temperatures that are too high tend to be the more common mistake by homebrewers," Ron Minkoff said.
A reason this is such a common problem is that many yeasts ferment just around room temperature — in the 68 to 70 degrees Fahrenheit range — which can tempt less experienced brewers to just store their fermenting beer in a corner of their house. However, actual room temperatures are often much higher. "Usually they're fermenting something that's supposed to be at 68 [when] the room temperature in the summer is 80," Paul Brake said. "We get a lot of people that don't have the equipment for temperature control." Allen Kent recommends that you ferment your beer in a refrigerator with an external temperature control, but you can also improvise a cooler with a large bucket filled with ice and water.
Poor quality yeast will produce poor beer

Yeast isn't in beer just to produce alcohol, though that's one of its mission-critical roles. It's also there to help build the beer's flavor profile. The distinctive flavors of Belgian beers, for instance, are largely defined by the unique aromas generated by their special yeast strains as they ferment, as are the flavors of some intentionally funky sour beers. Thus, one of your jobs as a homebrewer is to ensure you start with healthy yeast and keep them healthy and happy while the beer ferments.
"You need a portion of healthy fresh yeast," Ron Minkoff said. "This is more important than the quantity of yeast you are pitching (though a good sufficient quantity is also a must)." Once you've pitched your yeast into your wort (beer in progress), you can think of your work as something like maintaining an aquarium. "The conditions of your beer wort must be such that the healthy yeast can thrive," Minkoff said. "This includes wort that is at the proper pH (about 5.0-5.3). Proper temperature that matches the desired conditions for the particular yeast strain you are using."
Water quality matters when making beer
Water may be the least flavorful ingredient in your beer, but your choice of water can make a huge difference in its final flavor. Advanced homebrewers know this, and to produce authentic-tasting traditional beer styles, some intentionally doctor their brewing water to replicate the natural water at the beer's place of origin. "There are minerals that are present in certain beers from around the world at different quantities, calcium, magnesium, things like that," Paul Brake explained. "So you can add salts and minerals to water to make the water taste [a certain way]."
If the idea of trying to figure out exactly how much magnesium needs to go into a classic porter makes your head explode, don't worry. For novice or casual brewers, it's enough to start with decent-tasting water. "It is okay to use tap water from your home, but it needs to be run slowly through a carbon filter to remove the chlorine/chloramine, which can give a phenolic off-flavor," Allen Kent said. "Also, if using an outdoor tap, the choice of hose is important; standard green water hoses will also introduce an unpleasant favor, so it's best to use RV-grade water hoses." If you don't feel like filtering your water, Brake said a good option is to use gallon jugs of supermarket spring water. If you're unsure which bottled water to use, taste a few and use the variety that tastes best to you.
Don't expose beer to oxygen during fermentation
A cold hard truth about homebrewing is that the battle to keep your beer free of contamination is relentless. Not only must you ensure that everything that touches your beer is sanitized, you have to continuously protect it from airborne contaminants during fermentation — even the seemingly harmless air in your house can be filled with invisible bugs waiting to ruin your beer, and prolonged exposure to air itself can compromise the flavor of your beer.
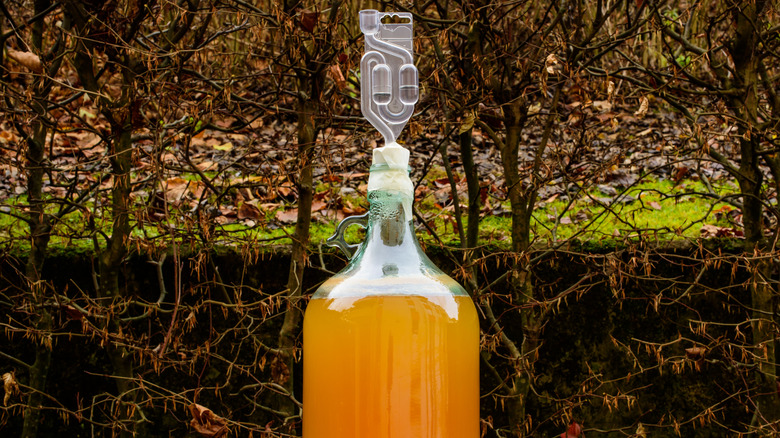
"Introducing oxygen on the cold side causes beer to stale more quickly and cause off-flavors," Allen Kent said. For this reason, it's standard practice among homebrewers to close their fermentation vessel with an airlock — a small, water-filled device that allows gases generated by fermentation out, but doesn't let air from the outside in. To minimize oxygenation, Kent advises brewers to minimize splashing when moving a fermenting vessel and when transferring the wort to the fermenting vessel.
Don't ignore your beer during fermentation
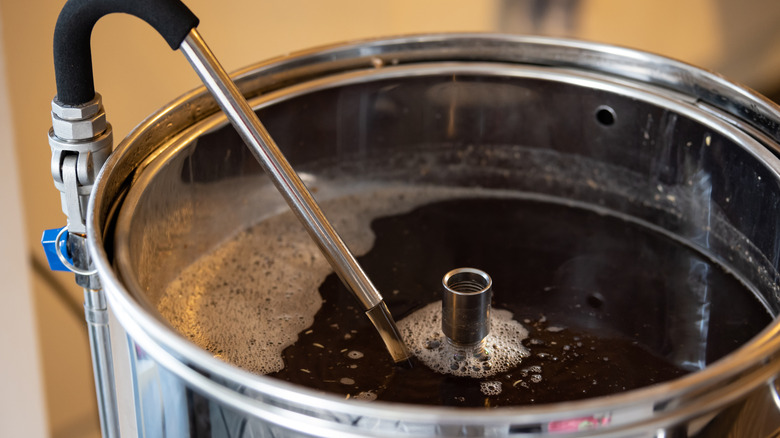
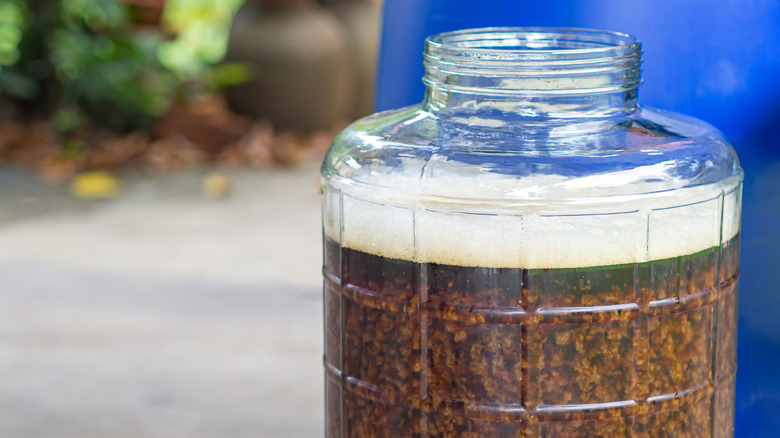
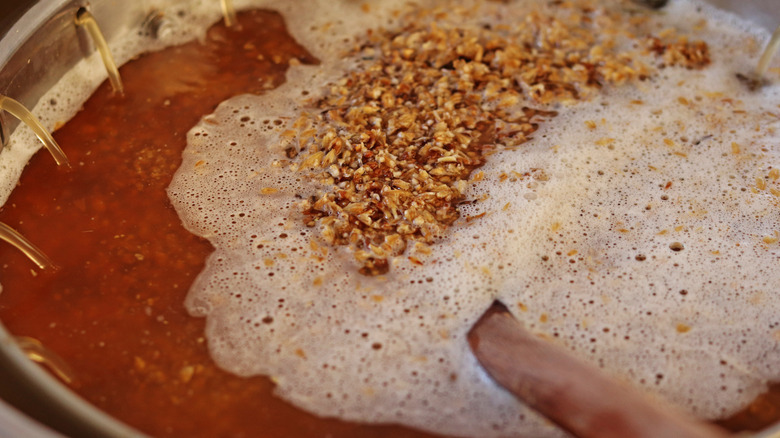
When newcomers to homebrewing think about making beer, they tend to zero in on the brewing — the process of boiling the malt to extract its flavor before steeping the hops and finally adding the yeast to the cooled mixture. And while this is the most intense, hands-on part of the beer-making process, it's only the start of the journey. Just as important is the relatively hands-off process of fermentation.
"Homebrewers tend to have a good brew day and think the hard work is behind them," Ron Minkoff said. "But then they don't give the fermentation phase the same level of attention." This is a huge mistake because the fermentation stage is where the rubber meets the road — it's where a batch of sweet, malty water with some hops thrown in transforms into beer. However, this is also when where serious problems can emerge. "Many of the off-flavors get generated during the fermentation phase," Minkoff said. So don't just chuck your fermenter into a corner and hope for the best. Ensure it's sealed with an airlock and kept at the appropriate temperature for the yeast you're using. Be sure to keep enough water in the airlock, and monitor it for bubbles — these come from gas released by the yeast as it digests the sugars in the wort, and are a welcome sign that fermentation is in progress.
Ending fermentation too soon is a big mistake
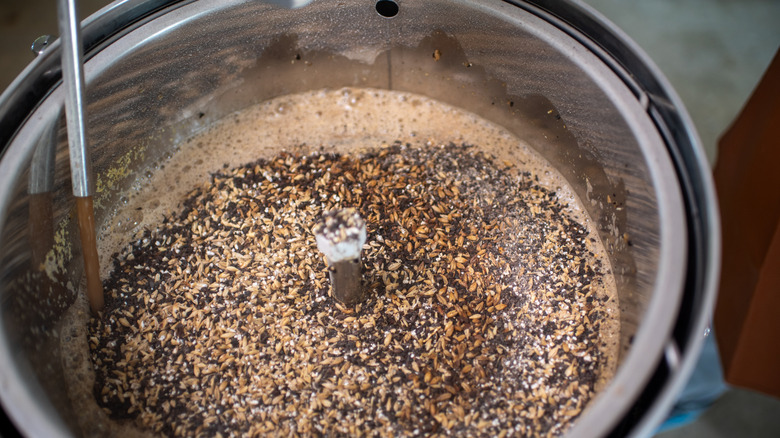
While the process of actual brewing — combining and cooking the malt and hops -– is tactile and satisfying (malt smells amazing as it cooks), the fermentation stage is pretty boring from a brewer's perspective: Your only job is to keep an close eye on the beer and ensure the fermentation progresses as planned. The only potential excitement comes from troubleshooting unexpected problems, such as yeast that fails to start fermenting or that stops fermenting prematurely.
So just as we're always tempted to sneak out of boring events early, novice homebrewers often fall prey to the temptation to cut short their fermentation. This is a huge mistake. "[Brewing is] a patience hobby, and a lot of new brewers aren't patient," Paul Brake said. "They see the bubbler [airlock] stop moving and they want to drink it right away." But, he said, beers taken off fermentation prematurely are not pleasant to drink. "Every first beer somebody brings me to OG tastes like yeast because they didn't let the yeast finish and clean up," he said. So while beer doesn't need months or years to mature as do wine or whiskey, making it is still a slow process that can't be rushed — the best beer has been given the time to reach its potential.
Bottling your beer too early can create exploding bottles
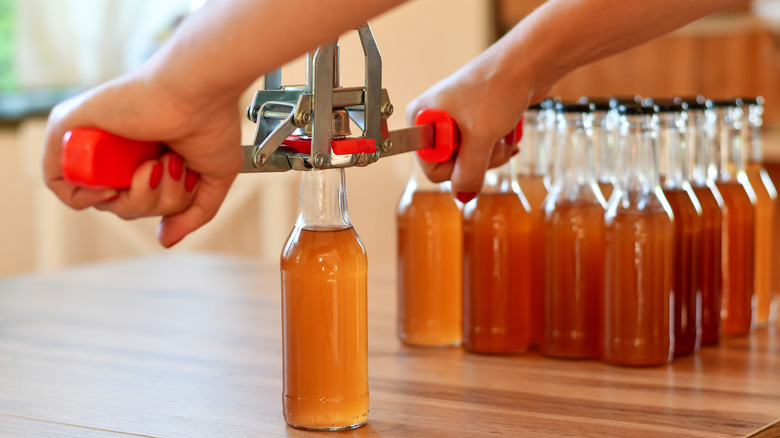
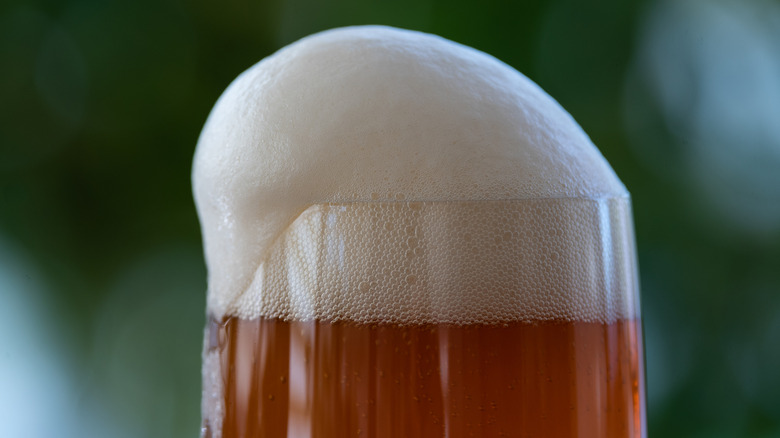
Even after your beer has finished fermenting, it's not yet ready for consumption. At this point, it's still flat. To give beer its characteristic fizz, brewers either put it in a keg and charge it with carbon dioxide, or condition it in bottles — the latter option is more common for novice or casual homebrewers who are not ready to invest in a kegging system.
To carbonate beer in bottles, brewers add a bit of sugar to each bottle before filling it with beer and sealing it. If the fermentation was done correctly, the sugar should be just enough to get some of the spent yeast going again, and the gas it produces as it consumes the sugar carbonates the beer. But if you fill your bottles with beer that hasn't completely finished fermenting, it can lead to a messy problem: The still-hungry yeast will produce more gas than the bottles can hold. "You get bottle bombs," Paul Brake said. "There's bottle caps and stuff exploding." So if you frequently find yourself with beer on your ceiling, give your next fermentation a few more days.
Thinking of brewing as a one-day project is a big mistake
Homebrewers know that brewing can take up a big part of the day — the whole process, from heating up the water to cooling down the finished wort and transferring it to the fermenter will take several hours. This makes it a rewarding project for quiet weekends when there's not much else going on. But even after you've completed your brewing and cleaned up and stored all your equipment, you still have important work to do in the coming weeks to ensure your beer develops into its best self — and a big rookie error is failing to put these critical steps on the calendar.
The main thing to remember is that brewing beer isn't just a daylong project, but a project spanning several weeks. "It's literally a month from brain to glass," Paul Brake said. And while your work for much of that time is just watching and waiting while the beer ferments, you still need to be around to do that. In addition, after fermentation has completed (which can take anywhere from a few weeks to a few months, depending on the beer style), you'll need to schedule in a block of uninterrupted time to bottle it or transfer it to a keg. So if you know the beer recipe you like ferments in three weeks, don't schedule a brew day three weeks before an extended out-of-town trip.
Not measuring your original gravity can lead to trouble
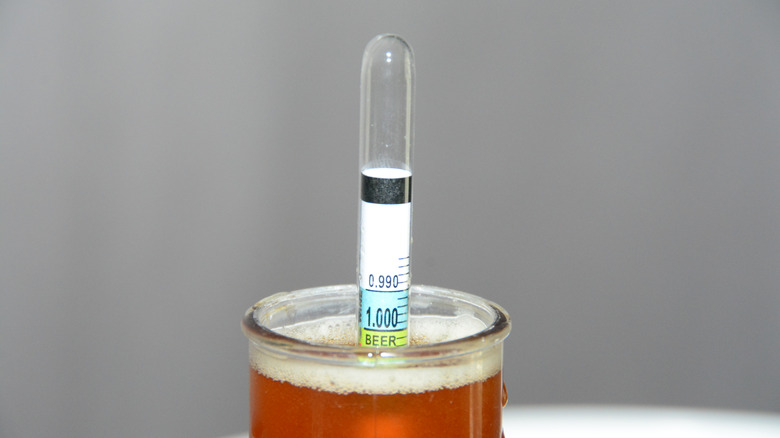
Craft beer lovers may romanticize brewing as a craft built on tradition and vibes — think of the Trappist beers of Belgium, handcrafted for centuries by cloistered monks, or the classic beers of Germany, made according to strict legal codes intended to preserve their purity and integrity. But once you read a modern beer recipe, you'll realize that brewing is a highly technical craft. Among the many details you must monitor during your brew is the specific gravity – the ratio of the density of the mixture relative to the density of water. To take gravity measurements, you'll need a hydrometer (which looks like a floating glass thermometer) or a refractometer, a smaller device that takes measurements from just a drop of liquid.
Why does specific gravity matter? First, it will give you an idea of the final ABV of your brew. This is because the density of the mixture just before you add the yeast (which brewers call the original gravity (OG)) represents the amount of sugar released by the cooked malt, and this sugar is what the yeast will eat and convert into alcohol. Recipes typically indicate the desired OG, which will be higher for bigger beers and lower for lighter ones. Second, a gravity reading can help you determine if your fermentation is done — recipes typically include the desired final, post-fermentation gravity for the brew, which will either confirm your fermentation is complete or let you know you need more time.
To avoid more mistakes, connect with experienced brewers
Brewing is an ancient craft practiced for millennia by thirsty people around the world — the oldest evidence of beer brewing, unearthed in a cave in Israel, dates back 13,000 years, and the oldest beer recipe was a hymn created by Sumerians from about 1800 B.C. The beer produced by these early brewers was more like a boozy porridge than the fizzy beverage we enjoy today, and probably much easier to make — it clearly didn't require fastidiously sanitized equipment or precise temperature control.
Given that modern brewing is a technical skill with a bit of a learning curve, you shouldn't get discouraged if your first attempt doesn't come out as you expected. And the next time you brew, don't go it alone — there's more help out there than you think. "Join a homebrew club to benefit from the lessons of experienced homebrewers," Ron Minkoff suggested. He also recommended homebrewing magazines such as Brew Your Own and Zymurgy as well as online homebrewing forums. In addition, homebrewing supply shops can be good sources of advice — at his shop, Paul Brake regularly tastes samples brought in by customers to help them troubleshoot their brewing technique.